
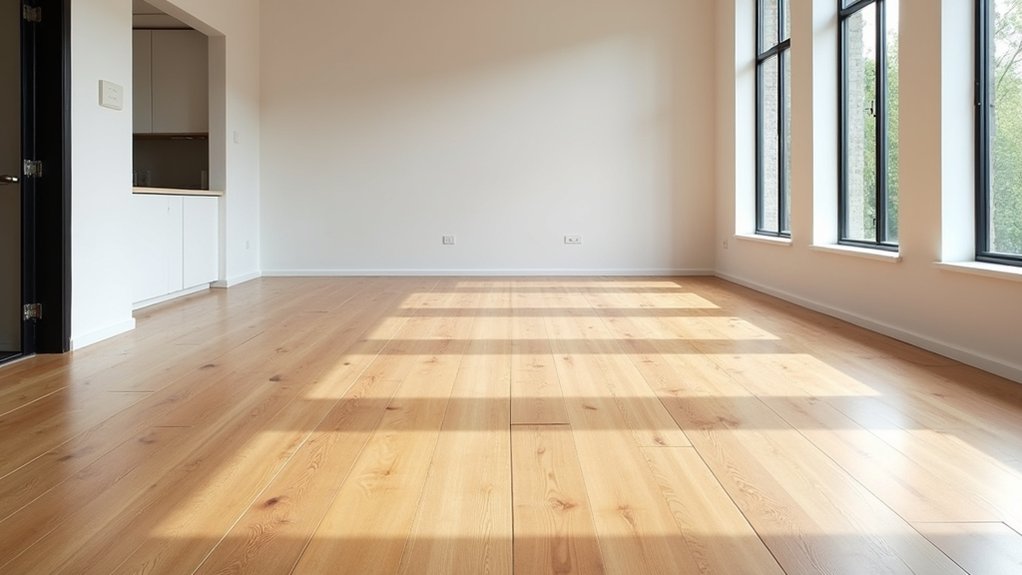
You can often date a house by the way its floorboards creak, cup, and catch the light. You start by checking each board for rot, worm, split ends, and old fixings worth keeping, then decide what you can repair and what must be lifted. You match replacements with reclaimed timber, sort squeaks at the joists, and pack gaps with hemp or flexible filler so movement’s respected. Next comes sanding, stain, and seal—but the order matters…
Key Takeaways
- Assessed floorboards for bounce, rot, beetle holes, and stains, probing suspect areas to decide repair versus replacement.
- Lifted damaged boards carefully, labelled them, checked joists for damp, and sourced matching reclaimed timber for seamless heritage repairs.
- Stopped squeaks by marking joists, pre-drilling, and screwing boards down; punched nails, used talc, and shimmed gaps with card or hemp.
- Sanded progressively from 36–40 to 60 and 80 grit, keeping machines moving and hand-sanding edges to avoid dishing and tramlines.
- Finished with tested period-appropriate stain and two to three coats of hardwax oil or water-based polyurethane, de-nibbing lightly between coats.
Assess Original Floorboards: Repair or Replace?
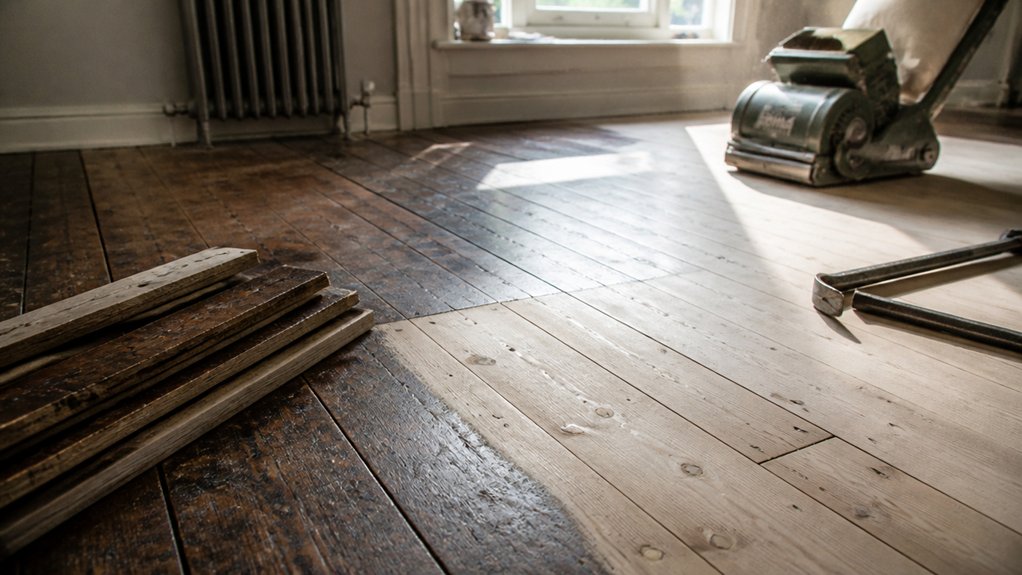
Before you reach for the pry bar, take a proper look at what you’ve got, because most original floorboards can be repaired if the structure beneath is sound. Start by checking bounce and squeaks, then inspect from below where possible: look for rot at joist ends, beetle flight holes, and black staining from old leaks.
Probe suspect areas with a bradawl; firm fibres mean salvage, crumbly timber means you’ll need a careful decision. Note board width, thickness, nail pattern, and any Victorian or Edwardian edge detail, keeping Historical accuracy in mind.
If only localised damage exists, plan repairs that respect Material matching—species, grain, and cut—so the room reads as one continuous period floor.
Lift and Replace Damaged Floorboards
Where do you start when a board’s split, rotten, or too thin to take another sanding? You lift it carefully, so you don’t sacrifice surrounding boards or the skirting line. First, score along the tongue with a sharp knife, then drive a bolster chisel under the edge and prise up gently.
If it’s face-nailed, punch nails below the surface and work along the joist positions, not between them, to avoid snapping the board. Label each piece as it comes up, and check the joists for damp staining before you refit anything.
To replace, match species, width, and thickness—often pine in Victorian and Edwardian houses. Source reclaimed boards for Vintage character and keep original fixings where safe, preserving Historic authenticity.
Stop Squeaks and Fill Gaps Before Sanding
Once you’ve got the sound boards back down, tackle squeaks and gaps while the floor’s still bare, because sanding won’t fix movement and filler won’t survive a flexing joint.
Find the noise by walking each run; mark joists with chalk. Drive cut flooring screws into joists, pre-drilling to avoid splitting Victorian pine, and punch any proud brads below the surface.
If boards rub, dust talc into the seam or trim the tongue edge with a sharp chisel. For floor squeak solutions at thresholds, pack thin card shims on joists, then refix.
Next, use gap filling techniques that respect seasonal movement: insert matching slivers (ripped pine) for wider gaps, or hemp/rope and a smear of flexible filler for hairlines. Keep joints tight, not rigid.
Sand Original Floorboards for Clean Lines
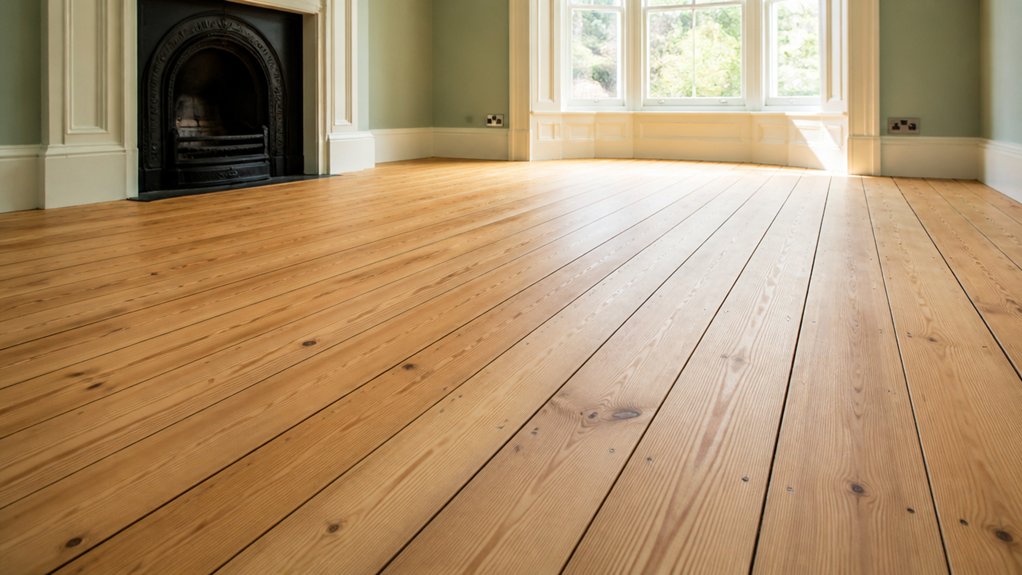
With the boards tightened, quietened, and any gaps dealt with, you can sand with confidence that the surface won’t shift under the machine and tear out your repairs.
Start with a drum sander running with the grain, using 36–40 grit to level lipped edges, then 60 and 80 for refinement. Keep it moving; pause and you’ll dish soft pine.
Switch to an edging sander for the perimeter, but feather the *progression* so you don’t leave a halo.
Around fireplaces, thresholds, or Decorative inlays, ease off and hand-sand with a cork block to protect crisp outlines.
Vacuum between passes, then rake a work light low across the boards to spot tramlines and nail shadows. That discipline preserves Historical authenticity and gives clean, modern-heritage lines.
Choose Stain or Clear, Then Seal for Durability
Although the sanding stages leave you with pale, even timber, you still need to decide whether you’ll showcase the boards’ natural tone under a clear finish or warm them up with a stain that suits the house’s period.
In a Victorian terrace, a light oak can feel too new; a mid-walnut or antique pine often reads more authentic. Do sample boards first and check in daylight and lamplight for color matching with skirtings, doors, and any patched sections.
Once you’re happy, seal for longevity. Apply a primer or first coat to reduce tannin bleed, then build two to three coats of hardwax oil or water-based polyurethane.
Choose eco-friendly finishes with low VOCs, and de-nib lightly between coats for a calm, durable sheen.
Conclusion
By now, you’ve kept your original boards honest: you’ve repaired what could be saved, slipped in reclaimed matches where it couldn’t, quietened joists, and respected seasonal movement with sympathetic fillers. You’ve sanded for crisp lines, then chosen a stain or clear finish that sits comfortably in a British period home. It’s worth noting buildings account for roughly 39% of global CO₂ emissions—so reusing timber isn’t just tasteful; it’s responsible.
About the Author



