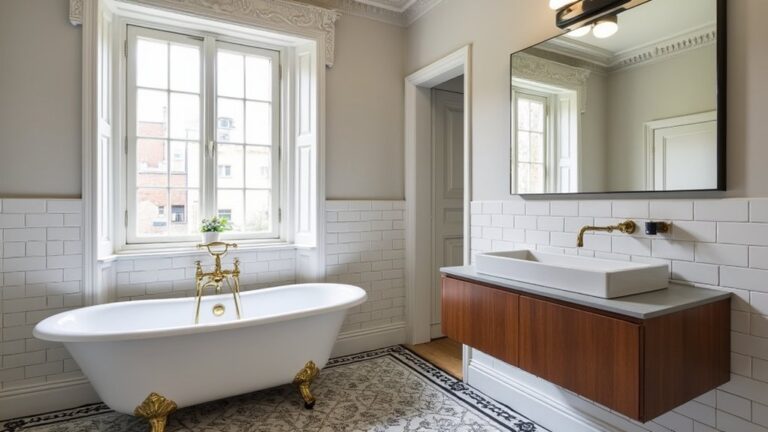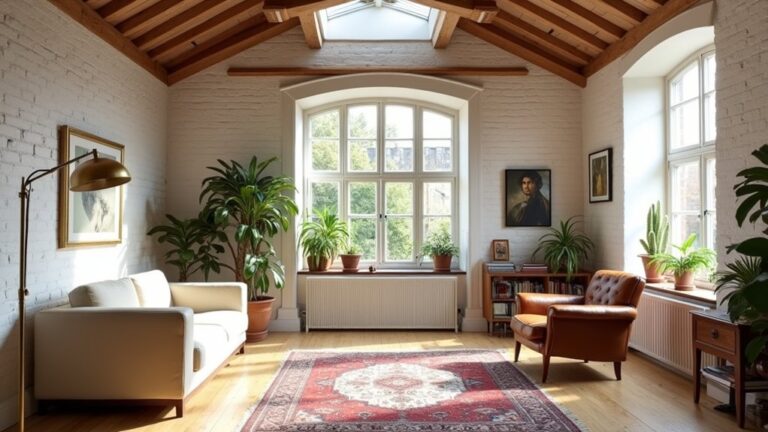
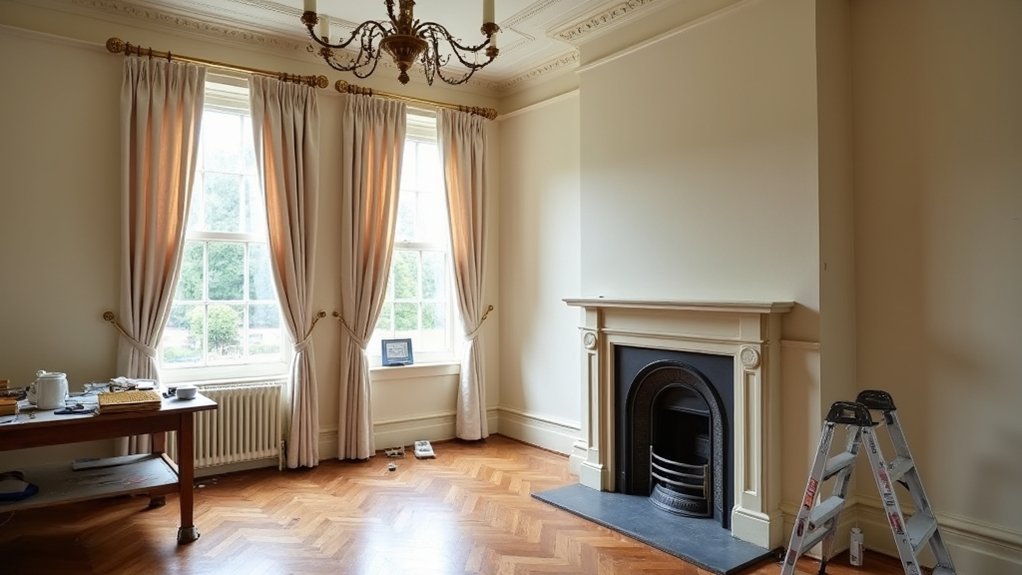
Coincidentally, you’ll often spot the best original details the moment you start planning a “quick refresh”. You begin by photographing cornices, ceiling roses, skirting and fireplaces, then tackle damp, unsafe wiring, and any lead paint before you touch a brush. Next, you repair plasterwork, restore timber floors, and bring the hearth back to safe working order. Once those foundations are right, the choices that keep it authentic become surprisingly clear…
Key Takeaways
- Survey and photograph each elevation in daylight, measuring mouldings, rails, doors, and fireplaces to guide accurate matching and restoration.
- Fix root issues first: trace damp, check rot, upgrade unsafe wiring with an EICR, and test for lead paint before disturbing old finishes.
- Stabilize and rebuild plaster details: resecure loose cornices and roses, patch cracks, and recast missing profiles using matching casting plaster.
- Restore timber and joinery: repair floors with reclaimed boards, sand and seal, then prep, prime, and repaint doors and trim in durable eggshell.
- Finish with period-appropriate styling: use warm layered lighting and restrained, symmetrical decor groupings to highlight features without clutter.
Assess Your Period Living Room’s Original Features
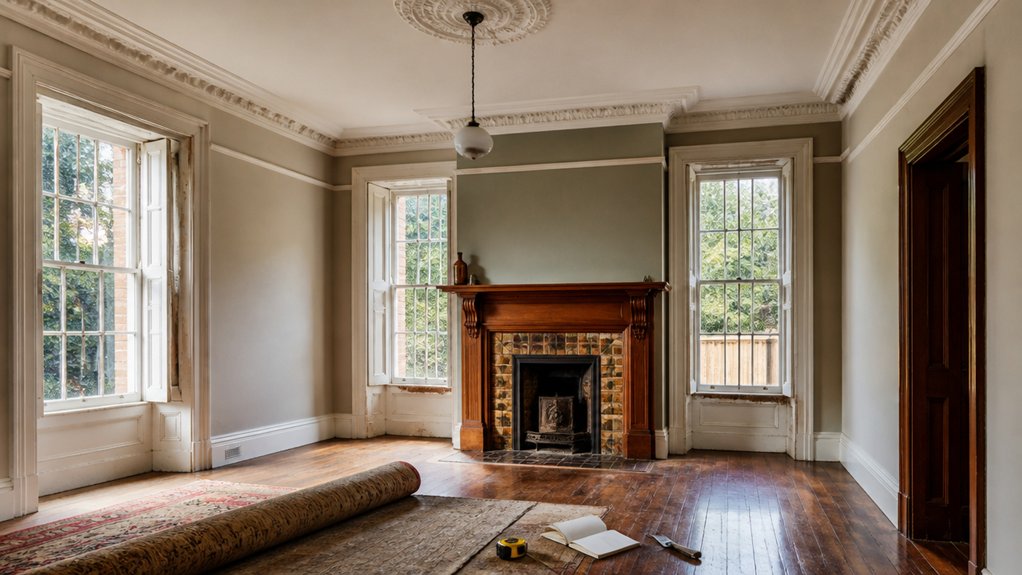
Before you lift a brush or order new cornicing, take stock of what’s already there by inspecting the room in good daylight. Walk the perimeter and note skirting profiles, picture rails, ceiling roses, architraves, original doors, shutters, and any surviving fireplace surround.
Check for crisp mitres, consistent moulding runs, and signs of previous alterations, such as patched lath lines or blocked chimney breasts. Photograph each elevation and measure key dimensions so you can match replacements accurately with UK suppliers.
Scrape a tiny, discreet test area to identify paint build-up that may be hiding sharp detail, but don’t strip anything yet.
Map your furniture placement against focal points so you protect Period charm rather than obscuring it with sofas or tall cabinetry.
Fix Damp, Wiring, and Lead Paint Risks First
Before you restore any cornicing or fireplaces, you’ve got to tackle the risks that will undermine the work. You should trace damp to its source—bridged DPCs, failed guttering, leaking pipework, or poor ventilation.
Then get unsafe electrics brought up to standard by a NICEIC electrician.
If your paintwork could be pre‑1978, treat it as potentially leaded: test it, control dust, and use safe removal methods or an accredited contractor.
Identify Damp Sources
If you tackle period features without tracking down the damp first, you’ll end up repainting, re-plastering, and rejoining timbers that simply fail again. Start by mapping symptoms: tide marks and salt blooms point to rising damp; dark patches after rain suggest penetrating damp; black spotting behind furniture signals condensation.
Next, inspect the fabric. Check external ground levels against internal floors, blocked air bricks, bridged DPCs, and leaking gutters, downpipes, and flashings. Inside, lift a vented floorboard if you can and smell for rot; probe skirtings and joist ends with a bradawl. Use a moisture meter for comparison, not diagnosis, then confirm with a specialist if readings stay high.
Prioritise mold prevention through ventilation improvement: clear vents, keep trickle vents open, and avoid drying laundry in-room.
Update Unsafe Wiring
Next, get your electrics checked and upgraded where needed, because damp and ageing wiring make a risky combination in older rooms. Book a NICEIC or NAPIT registered electrician to test the installation, including insulation resistance, earthing, bonding, and RCD protection.
Ask for an EICR so you’ve got clear, UK‑recognised evidence of circuit safety before you refit skirtings, cornices, or fireplaces.
If you’ve got rubber, fabric, or lead‑sheathed cables, don’t patch them—plan proper wiring upgrades, typically new twin‑and‑earth, modern consumer unit protection, and correctly rated breakers.
Keep routes sympathetic: run cables in floor voids or behind dado rails, and fit metal back boxes at compliant depths.
Replace overheated accessories, and label circuits for future work.
Manage Lead Paint Safely
Although period paintwork adds character, many traditional living rooms still hide lead in older layers, so you need to manage it as a safety job, not a cosmetic one. Assume lead paint hazards if your home predates 1960, especially on skirting, sash windows, doors, and radiators. Use a UK-approved test kit or book a competent surveyor if you’re unsure.
Don’t dry-sand, heat-gun, or scrape aggressively; you’ll aerosolise dust.
For safe removal, isolate the room, seal vents, and lay polythene sheeting. Wear a P3-rated respirator, disposable coveralls, and nitrile gloves.
Use wet methods or chemical stripper suited to timber, and collect debris straight into heavy-duty bags. Vacuum with an H-class unit, then damp-wipe surfaces, and dispose as hazardous waste via your council.
Repair Cornices, Ceiling Roses, and Mouldings
Once you’ve assessed the room, turn your attention upward: damaged cornices, ceiling roses, and mouldings can undermine every other restoration choice. Identify what’s original ornamental plasterwork versus later filler by tapping for hollows and checking hairline cracking.
Stabilise loose sections first: remove friable material, mist with clean water, then bond with a PVA primer or proprietary plaster adhesive suited to lime or gypsum. Rebuild missing profiles using casting plaster and a running mould, matching decorative cornices from an intact length.
For ceiling roses, support the centre, refix with screws and washers into sound joists, then plug and skim. Finish by sanding lightly, caulking fine gaps, and sealing with a breathable primer before paint.
Restore Timber Floors (Sand, Stain, and Seal)
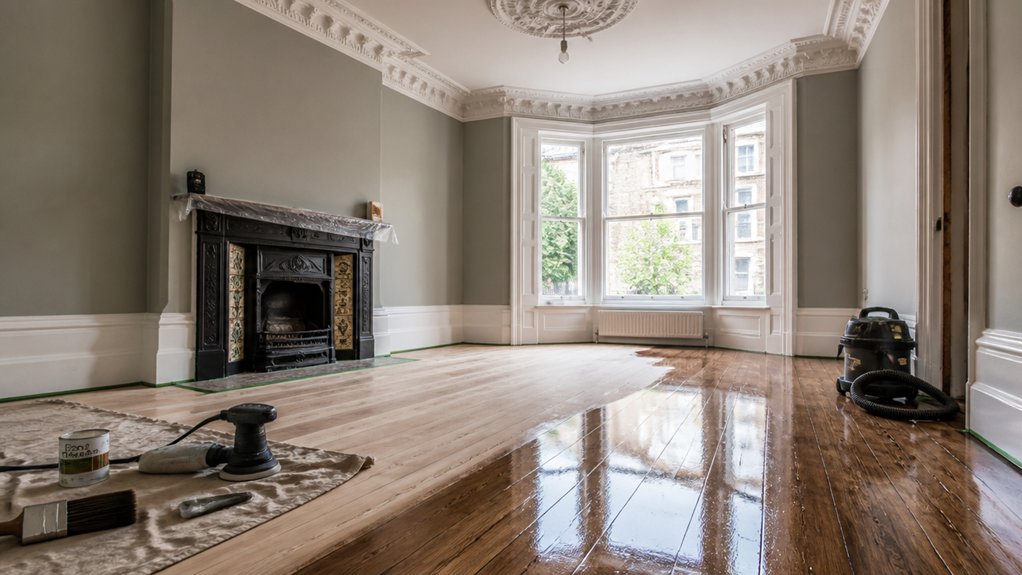
Before you think about rugs or furniture placement, get the timber floor back to sound, even boards, because no amount of decorating hides scratches, cupping, or patchy finishes.
Start by checking for loose boards and protruding nails; punch fixings down and replace damaged sections with reclaimed matching boards where possible.
Hire an edging sander and drum sander (or book a reputable local firm) and work through grits methodically, keeping the machine moving to avoid troughs.
Vacuum thoroughly, then choose Wood staining only if you need to even out colour—test in a cupboard first.
Finish with Floor sealing: a hardwax oil for a traditional look, or a tough water-based lacquer for high traffic.
Allow proper drying times between coats.
Restore a Period Fireplace and Surround Safely
If your living room still has its original fireplace, treat it as both a heritage feature and a potential safety risk. Before any cosmetic work, book a HETAS-registered installer or competent chimney sweep to inspect the flue, check for blockages, and advise on ventilation.
Ask for a smoke test and confirmation the hearth meets current UK Building Regulations (Part J) for thickness and projection.
If you’re reopening an unused grate, expect soot and debris: seal the room, wear a P3 mask, and vacuum with a HEPA-rated unit.
For surround restoration, clean gently with non-acidic products, repair cracks with appropriate lime-based fillers, and keep original tiles or cast iron where possible.
Finally, fit a carbon monoxide alarm nearby.
Fix and Repaint Original Doors, Skirting, and Trim
With the fireplace made safe, turn your attention to the joinery: original doors, skirting boards, architraves and picture rails often carry decades of paint, knocks and loose fixings that spoil the room’s lines. Start by tightening screws, plugging stripped holes with timber dowel, and refixing any loose skirting into studs or masonry plugs.
Ease sticking doors by planing lightly, then rehang and check reveals. Strip back only where paint has failed; use a carbide scraper and gentle heat, keeping lead-paint precautions in mind.
Fill dents with two-part filler, sand to 180 grit, then dust off thoroughly. Prime bare wood with stain-blocking primer, undercoat, then apply two topcoats.
Clean and polish door hardware, or replace like-for-like. Choose a historically sympathetic paint color in durable eggshell.
Style a Traditional Living Room Without Fuss
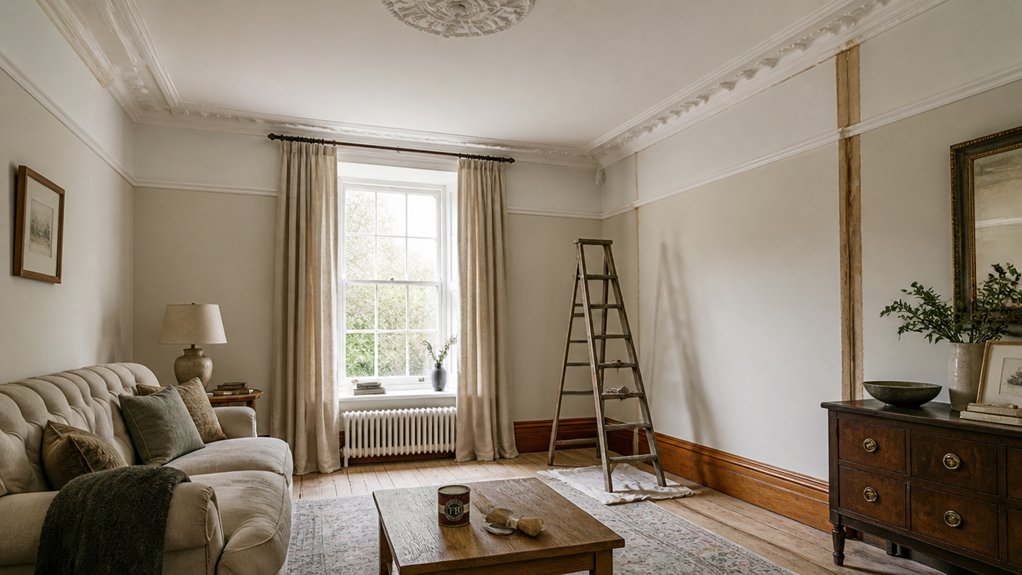
Once the paint’s cured and the joinery sits crisp, you can style the room in a way that honours its period features without turning it into a museum. Keep the scheme calm, then layer character through texture, patina, and scale so the cornice, chimney breast, and sash proportions still lead.
- Anchor seating with a properly sized wool rug, then add Vintage textiles—a Welsh blanket, faded kilim cushions, or linen curtains—so the room feels lived-in.
- Choose Antique accessories sparingly: a brass candlestick, framed prints, a cut-glass bowl. Group in threes on the mantel for balance.
- Light it like a British winter: warm LED bulbs, shaded table lamps, and one statement pendant. Hide cables, and keep surfaces clear for use.
Conclusion
Bring your period living room back to life by tackling risks first, then restoring plasterwork, timber, and fireplaces with the right materials and methods. Don’t rush the finish: careful prep and breathable paints protect historic fabric and keep details crisp. One compelling fact: Historic England estimates traditional buildings make up around a quarter of England’s building stock, so getting repairs right preserves more than your home—it safeguards everyday heritage. Keep styling restrained, and let the craftsmanship lead.
About the Author