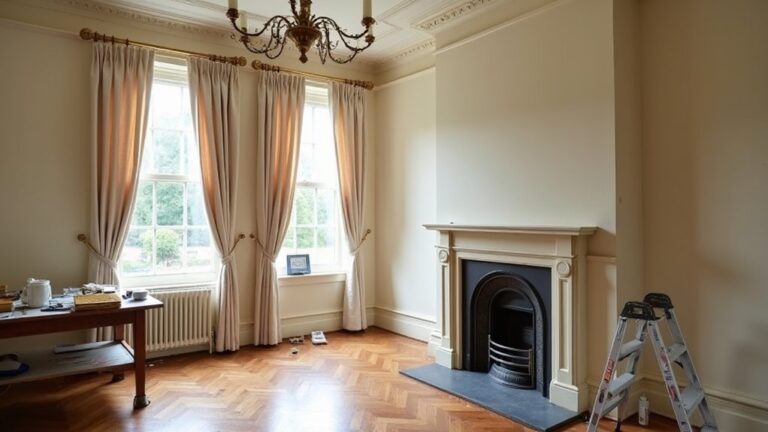
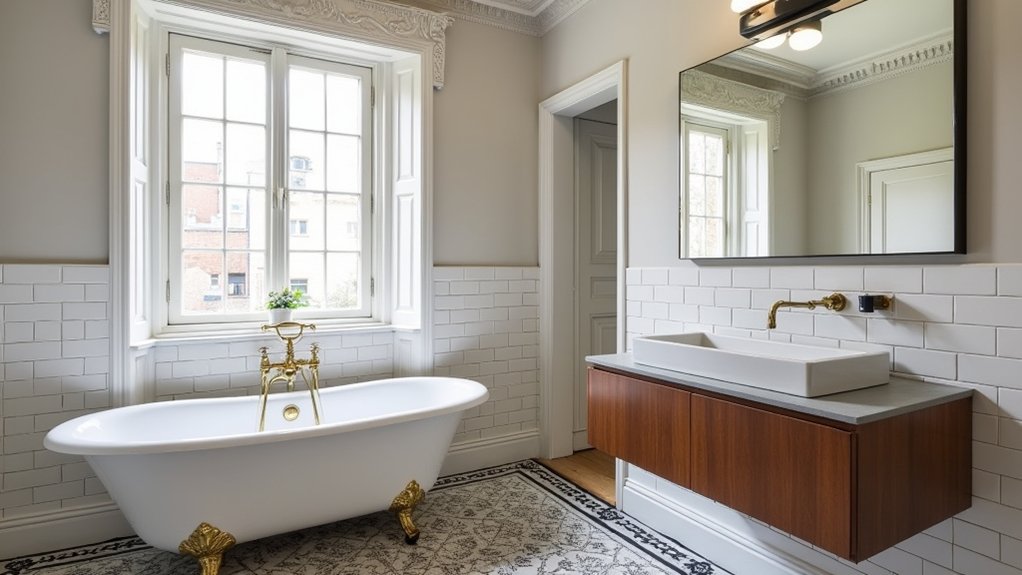
If your heritage bathroom feels a bit tired, you don’t need to strip out its character to make it work properly. You start by deciding which originals must stay—encaustic tiles, brassware, cornicing—then you check listed-building consent, local authority expectations, and any lease or strata limits. From there, you can reroute plumbing and electrics within existing voids, add quiet extraction, and specify classic tapware with modern internals—then comes the part most people get wrong…
Key Takeaways
- We documented and restored original features—tiles, joinery, brassware—repairing where possible instead of replacing period fabric.
- We kept the heritage layout and proportions, updating fixtures with era-appropriate profiles and discreet modern internals for reliability.
- We navigated heritage permissions early, preparing photos and drawings and allowing 8–12 weeks for approvals before ordering long-lead items.
- We modernised plumbing, electrics, and ventilation invisibly, routing services through voids and adding quiet inline extraction with insulated ducting.
- We matched tiles and grout precisely, then added integrated storage and warm layered lighting that complements Victorian materials without looking pastiche.
Decide What Heritage Elements Must Stay
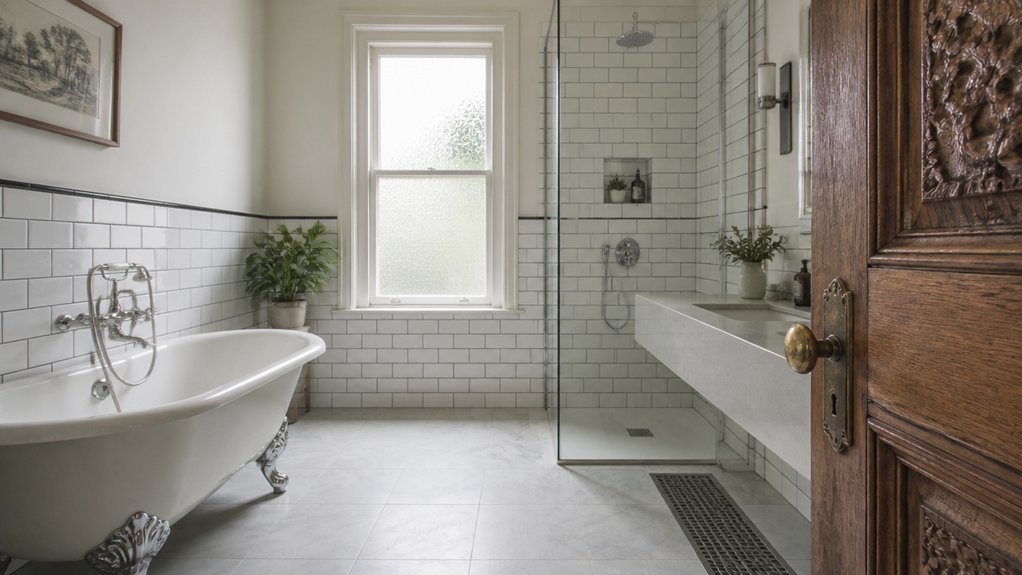
Before you choose tiles or taps, work out which original features you must preserve to keep the bathroom’s heritage value intact. Start by listing what’s genuinely period: cast-iron roll-top bath, high-level cistern, encaustic floor tiles, dado rails, original joinery, and any brassware with maker’s marks.
Photograph everything, note damage, and decide what you can restore rather than replace. You’ll often keep layout-defining items (bath position, chimney breast, window proportions) while upgrading hidden services.
When you introduce Modern paint, match historically plausible tones and breathable finishes so plaster and timber don’t suffer. Keep decorative cues subtle: framed Wall art and a sympathetic mirror can add personality without fighting the era.
Choose replacements that echo existing profiles, not generic “heritage” pastiche.
Check Heritage Rules, Permits, and Strata Limits
Before you finalise layouts or order fittings, you’ll need to check whether your property sits under a listed status, conservation area, or local heritage overlay that controls what you can alter.
Map out the permit pathway early—listed building consent, planning permission, building regs sign-off—because lead times and survey requirements can stretch your programme by weeks.
If you’re in a flat, read the strata/leasehold bylaws and secure the freeholder or management company’s written approval for waterproofing, pipework changes, and any noisy works.
Heritage Controls And Overlays
Where do you start when your bathroom sits in a listed building or a conservation area? You map the “Heritage overlays” that apply: listing grade, conservation appraisals, Article 4 Directions, and any local design guides. These controls shape what you can touch—original encaustic tiles, lath-and-plaster, cornices, sash reveals, and historic joinery often count as significant fabric.
Next, you plan Control restoration rather than replacement. You’ll specify like-for-like lime plaster repairs, salvage and re-bed tiles, and keep skirting profiles and architraves consistent.
You can still modernise discreetly: run services through existing voids, use surface-mounted heritage-style switches, and choose brassware that suits the period.
If you’re in a flat, check the lease and strata rules on shared stacks, ventilation routes, and noise limits.
Permit Pathways And Timelines
Because heritage bathrooms sit under multiple layers of control, you’ll save time (and abortive design fees) by plotting the permit pathway upfront: check whether you need Listed Building Consent for any work affecting historic fabric, Planning Permission for external changes or altered drainage/vent terminals, and Building Regulations sign‑off for plumbing, electrics, ventilation and waterproofing.
Start with a pre‑app chat with the council conservation officer and your Approved Inspector or Building Control, then lock the scope: what stays, what’s reversible, what’s like‑for‑like.
For Historical preservation, document existing tiles, joinery, and pipe routes; photos and measured sketches speed decisions.
Allow 8–12 weeks for consent on listed work, longer if statements of significance are needed.
Order long‑lead items only after your Building permits route is confirmed, and keep a contingency for opening‑up surprises behind lath and plaster.
Strata Bylaws And Approvals
Even if you’ve nailed Listed Building Consent and Building Regs, your project can still stall if your building sits under a leasehold or strata‑style regime with strict bylaws. In UK mansion blocks, converted terraces, and conservation flats, Strata bylaws can control wet-room layouts, pipe routes, ventilation terminations, and even tile weight on timber floors.
- Read the lease and house rules: look for “wet areas”, “noise”, and “structural alterations”.
- Map shared services: soil stacks, party walls, and communal risers often need sign‑off.
- Submit a tight pack: drawings, method statement, waterproofing spec, and contractor insurance for Approval processes.
- Book neighbour notices: agree working hours, skip permits, and lift protection.
Get written approval before you order brassware or start strip‑out.
Build a Heritage Bathroom Budget + 15% Contingency
While you can modernise a heritage bathroom without overspending, you’ll only stay in control if you build a line-by-line budget and ring-fence a 15% contingency from the outset. Price every trade and item: surveyor notes, strip-out, making-good, carpentry repairs, lime plaster, tanking, plumbing, electrics, heating, tiling, decorating, and final snagging.
For Heritage restoration, allow for specialist salvage, glazing, and careful refinishing, plus extra labour for protection and dust control.
For Modern design, cost efficient lighting, low-flow brassware, underfloor heating controls, and cabinetry that suits period proportions.
Use UK benchmarks, but get three written quotes and check what’s excluded (waste, parking permits, congestion, lead times). Keep the contingency untouched unless a hidden defect appears.
Fix Layout Pain Points Without Moving Walls
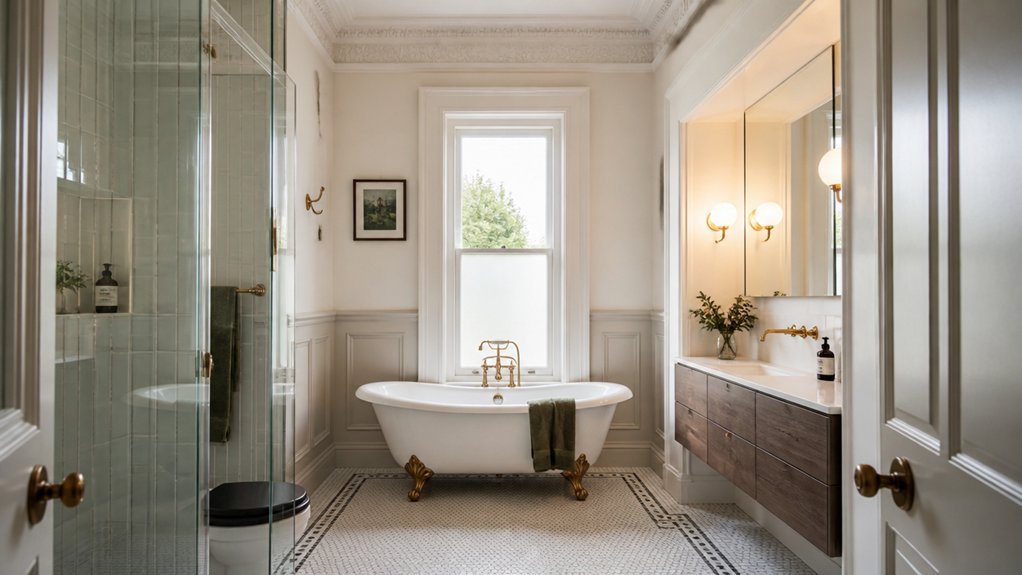
If your heritage bathroom feels cramped or awkward, you can usually fix the worst layout pain points without touching structural walls by rethinking clearances, door swings, and fixture sizes. Start by mapping everyday routes: towel to basin, basin to WC, bath to exit. Keep sightlines kind to original cornicing and dado rails while improving use.
- Swap a hinged door for a neat pocket or outward swing where regulations allow.
- Choose a slimmer vanity or wall-hung basin that still suits Edwardian proportions.
- Reposition accessories: mirror cabinet, robe hooks, and radiator rail to free elbow room.
- Use a shower screen that folds, not a bulky enclosure, for better clearance.
These tweaks respect Heritage preservation yet deliver Modern integration with minimal disruption.
Upgrade Plumbing, Wiring, Ventilation (Quietly)
You’ll get the biggest day-to-day upgrade by renewing what’s behind the plaster: concealed pipework, safer electrics, and proper extraction.
You can reroute feeds in floor voids or studwork, update bonding and RCD protection, and run new cabling with minimal disruption to original cornices and tile lines.
Finish with a low-sone inline fan and discreet venting so the room stays dry and compliant without spoiling the period feel.
Concealed Plumbing Upgrades
Because a heritage bathroom’s charm sits in what you can see, the smartest modernisation often happens behind the plaster: discreetly renewing tired pipework, dated wiring and inadequate extraction without disturbing original cornices, tiles or joinery. You’ll keep Vintage fixtures and timeless materials front and centre, while you quietly bring performance up to current UK expectations.
- Re-run hot and cold feeds in barrier pipe, sleeved through joists to prevent squeaks and abrasion.
- Fit modern isolation valves and serviceable access panels behind the bath apron or vanity, not through tile faces.
- Upgrade waste runs with correct falls and anti-odour traps so basins and roll-tops drain fast, no gurgle.
- Add pressure balancing or thermostatic mixing valves, hidden in studwork, for safer, steadier showers.
You’ll test for leaks before plastering back.
Silent Wiring And Ventilation
How do you make a heritage bathroom feel more comfortable without hearing—or seeing—the upgrade? You plan routes like a conservation electrician, not a chaser. Run silent wiring through existing voids behind skirtings, within ceiling roses, and along service risers, then keep fittings sympathetic: brass pull-cords, discreet dimmers, warm LEDs that flatter Victorian tile.
You’ll also add RCD protection and IP-rated zones without peppering original plaster.
For the air, choose a low-sone fan and treat the whole run, not just the unit. A proper ventilation upgrade means insulated ducting to an outside grille, backdraught shutters, and vibration mounts so the fan doesn’t telegraph through joists.
Put the isolator in a cupboard, keep grilles painted to match, and you’ll notice only dryness, not noise.
Match Period Tile Sizes, Edges, and Grout Lines
Even if you’re swapping out only a few cracked pieces, the fastest way to keep a heritage bathroom looking “right” is to match the original tile size, edge profile, and grout joint as closely as possible.
Older UK bathrooms often used imperial formats and softly rounded edges, so modern metric tiles can look subtly “off” even when the colour’s close. Protect the Tile pattern by measuring before you order, then test-lay a small section to confirm grout consistency under your bathroom lighting.
- Measure tile face size and thickness with calipers, not a tape.
- Check edge: glazed cushion, bevel, or square-cut.
- Match joint width with spacers; don’t “eyeball” it.
- Choose grout colour by dried sample, not the wet chart.
Choose Classic-Look Tapware With Modern Internals
You can keep true period styling by choosing classic-look tapware with ceramic handles and the right proportions for your era, so the fittings sit comfortably against heritage tile and sanitaryware.
Behind that vintage aesthetics, specify hidden quarter‑turn cartridges for smooth control, easy servicing, and readily available UK spares when you need them.
Look for WRAS-approved, water‑efficient options with flow regulators so you meet modern expectations without compromising the traditional look.
Period Styling, Ceramic Handles
While a heritage bathroom benefits from period-correct details, tapware works hardest when it hides modern engineering behind a classic face. You’ll get the look right by focusing on period styling and ceramic handles that echo original Edwardian or Victorian fittings, without making the room feel like a pastiche.
In the UK, pair white ceramic indices with crosshead or lever forms, and match finishes to your existing brasswork.
- Choose ceramic handles with crisp lettering and glazed depth, not printed caps.
- Keep proportions slim: tall spouts, compact bodies, and restrained collars.
- Stick to era-true finishes: polished nickel for Edwardian, aged brass for Victorian.
- Confirm UK sizing and compatibility with your basin and bath tap holes.
Hidden Cartridges, Easy Servicing
Because original-looking tapware doesn’t need original guts, the smartest heritage upgrade hides a modern ceramic cartridge behind that crosshead or lever, giving you smooth quarter‑turn control and far better sealing than old-style washers. You keep the Edwardian silhouette, but you lose the drip-and-fettle routine that came with it.
Look for bodies with standard UK BSP connections and readily available cartridges, so you’re not tied to obscure spares. Ask whether the cartridge is front-accessible: with hidden cartridges, you can pop the cap, undo the retaining nut, and swap the unit without pulling the whole tap or disturbing tiles. That’s easy servicing that suits listed-era bathrooms where you don’t want invasive work.
Choose reputable UK suppliers who’ll stock parts for years, and you’ll protect the period look.
Water Efficiency, Vintage Aesthetics
Hidden cartridges sort the reliability; the next win comes from tapware that keeps the Victorian/Edwardian profile but quietly cuts water use. You can keep crosshead handles, tall spouts, and porcelain indices, yet specify modern ceramic discs, flow regulators, and aerators that meet UK expectations for Water conservation without shouting “new build”.
Choose finishes that suit the era—polished nickel, unlacquered brass, or chrome—then pair them with WRAS-approved bodies and flexible tails for tidy installs.
- Pick basin taps at 5–6 l/min with aerated outlets.
- Specify thermostatic showers with eco stops and stable temperature control.
- Match period escutcheons and lever proportions to your existing pipe centres.
- Add a discreet flow limiter to keep vintage charm, not waste.
Add Storage That Looks Built-In, Not Bulky
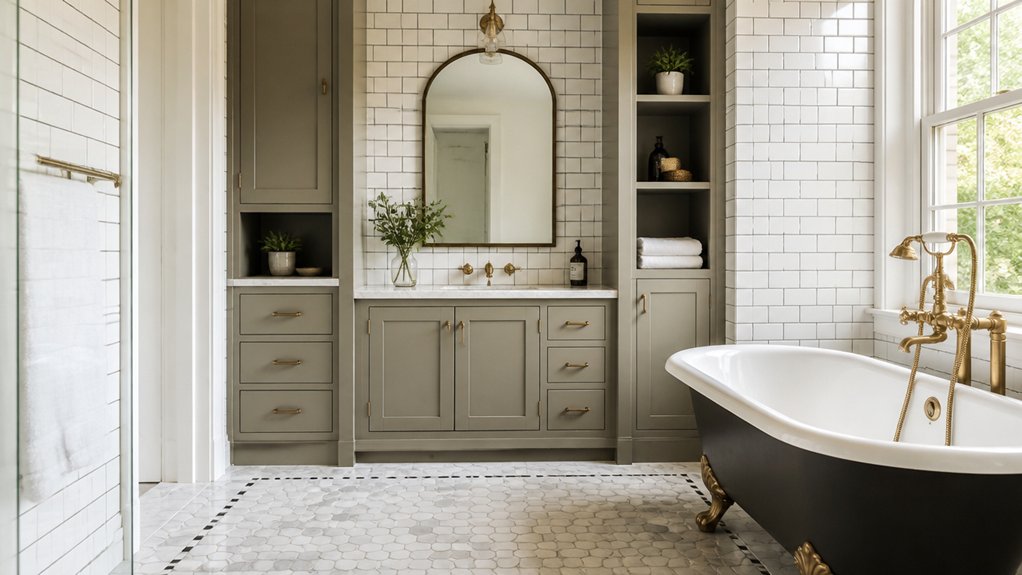
Even in a compact heritage bathroom, you can add generous storage without introducing anything that looks like an afterthought. Start with integrated cabinetry that mirrors original joinery: shaker-style doors, beaded frames, and painted timber tones that suit period plasterwork.
Run units wall-to-wall so every gap looks intentional, and scribe panels neatly to skirting and architraves.
Choose a vanity with drawers rather than a pedestal, but keep proportions slim and legs set back to echo Edwardian furniture. Add recessed shelves between studs where you can, then line them in tile or moisture-rated panelling for seamless storage.
Use aged brass knobs, latches, and mortice-style catches to match existing ironmongery. Finish with a tall, narrow cupboard for linens so you keep clutter off the floor.
Layer Lighting: Task, Ambient, and Mirror Glow
While heritage bathrooms often started life with a single harsh pendant, you’ll get a far more authentic—and usable—result by layering three types of light. You’ll keep the room’s proportions flattering, avoid shadows on your face, and make evening baths feel calm, not clinical. Choose warm LEDs (around 2700K) and guarantee fittings suit UK bathroom zones and IP ratings.
- Ambient: a ceiling fitting or small chandelier on a dimmer, centred to honour the plan.
- Task: discreet downlights over the shower or basin run, aimed where you need clarity.
- Mirror glow: vertical sconces either side of the glass for even, shadow-free grooming.
- Accent: highlight cornice lines or niche depth with concealed tape.
Layer lighting lets decorative fixtures shine without sacrificing function.
Finish With Period-Style Details (Trim, Hardware, Paint)
Once you’ve got your lighting doing the heavy lifting, period-style finishes are what make a heritage bathroom read as “always been there” rather than newly fitted.
Keep Historical preservation front and centre by matching trims to the era: lamb’s-tongue architraves, simple skirting, or a slim picture rail if it’s Victorian.
Choose unlacquered brass, aged nickel, or chrome taps in classic silhouettes; avoid bulky levers and oversized backplates.
For aesthetic consistency, repeat one metal across towel rails, latch sets, and the cistern lever.
Paint matters too: use a soft off-white on woodwork and a muted heritage shade on walls, in durable satin or eggshell suited to UK humidity.
Finish with traditional caulk lines and neat mitres, not silicone blobs.
Conclusion
You’ve proved you can bring a heritage bathroom up to modern expectations without erasing its story. By keeping the encaustic tiles, brassware and original layout, then quietly improving plumbing, electrics and ventilation, you get comfort that doesn’t shout. Classic-look tapware with modern cartridges, built-in style storage, and layered lighting make daily use effortless. Finish with period-true trim, hardware and paint, and you’ll have the best of both worlds—without breaking the bank.
About the Author