
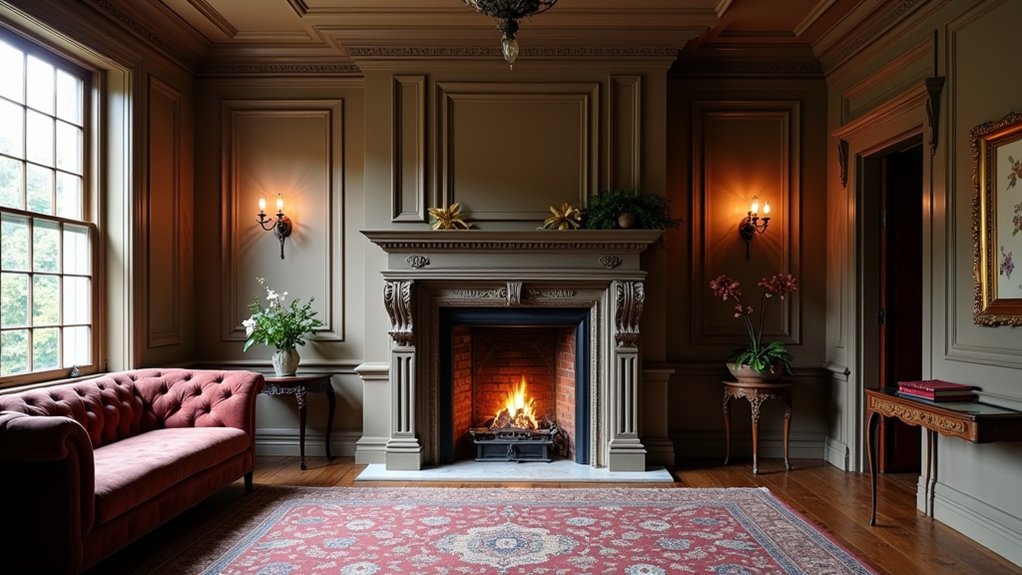
Nearly 60% of Victorian terraces still hide a blocked or altered fireplace behind plasterboard and paint. You start by checking the chimney’s draw, soot deposits, and any cracked firebricks, then you compare mouldings and tool marks to spot what’s genuinely original. You price in a flue liner and lime bedding, because Building Regs won’t bend for charm. Once you’ve identified the imposters, the real question becomes what you keep, and what you replace…
Key Takeaways
- Inspect the surround, hearth, and lintel, then book a HETAS sweep for flue assessment, smoke testing, and safe soot removal.
- Identify original Victorian fabric by checking tool marks, moulding lines, and maker’s stamps, documenting evidence before altering anything.
- Budget for opening-up, lime plaster repairs, hearth work, chimney tests, and possible flue lining, adding a 15–25% contingency for hidden issues.
- Source a correctly sized reclaimed surround and cast-iron insert, prioritising crisp details, sound casting, and minimal restoration to preserve authenticity.
- Install and commission safely with a HETAS engineer, then style simply with period-appropriate accessories, subdued colours, and furniture angled toward the hearth.
Assess Your Victorian Fireplace (Safety + Chimney Checks)
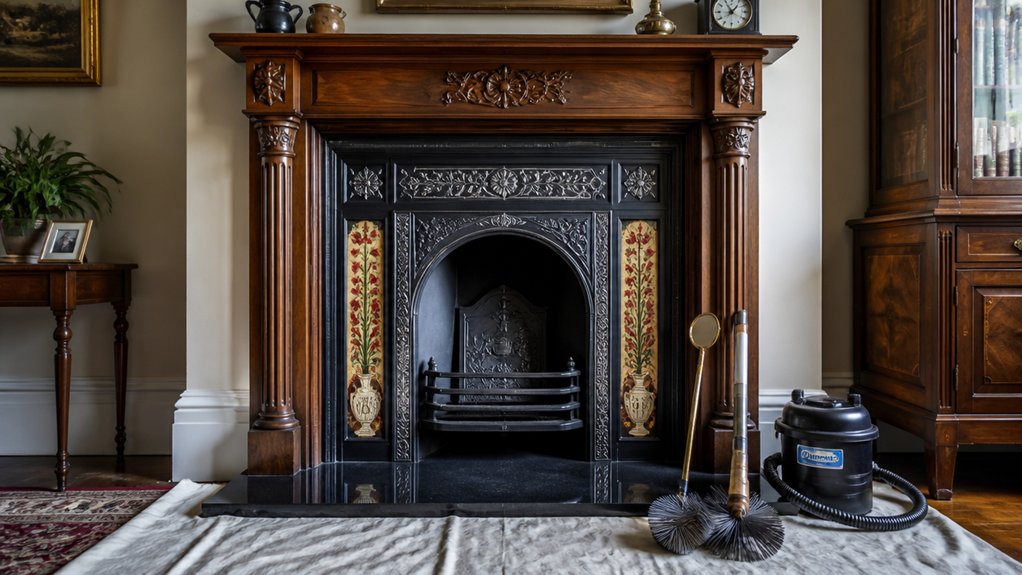
Before you so much as lift a tile or prise off a bit of timber, assess the fireplace as though you’re dealing with a listed feature—because, in practice, you often are.
Check the surround and hearth for hairline cracks, spalls, loose slips, and any scorch marks that suggest past overheating.
Probe gently for damp, salts, and soot bleed on adjacent plaster, then confirm the opening’s clearances and the lintel’s soundness.
Book a Chimney inspection with a HETAS-registered sweep: you need a flue integrity check, smoke test, and a look for fallen parging, nests, or tar glaze.
Arrange Fireplace cleaning only after you’ve isolated loose debris and protected floors; vacuum soot with a HEPA unit.
If you smell creosote, stop and investigate.
Work Out What’s Original (and What’s Not)
Once you’ve confirmed the fireplace is sound, start by separating Victorian fabric from later patch-ups, because your repair choices should match what’s genuinely there. Look for crisp moulding lines on the surround, fine tool marks on slate or marble, and tight, lime-based joints rather than hard, grey cement.
Check the firebricks: uneven, sooty, and hand-cut often signals age; machine-perfect units can be replacements. Compare tiles and inserts against late-19th-century catalogues, and note whether the grate sits true to the opening or perches on shims.
Paint can mislead, so lift a small edge to spot earlier colours. Photograph stamps, foundry marks, and quarry pencilings to support Historical significance and Material authenticity.
Budget Your Victorian Fireplace Reinstatement (Scope + Risks)
How much should you set aside to reinstate a Victorian fireplace without being caught out? Start by pricing the fabric work: opening up, lintel checks, making-good in lime plaster, and repairing hearth construction to meet current Building Regs.
Add chimney sweeping, a smoke test, and likely flue lining if the stack’s tired or tarred up. If you’re in a conservation area or dealing with a listed room, budget for drawings and approvals, and allow time.
Factor specialist labour for cast-iron fixes, tile repairs, and careful cleaning that preserves fireplace ornamentation and patina for historical accuracy.
Hold a 15–25% contingency for hidden voids, failed timbers, salts, or previous cement pointing that needs reversing.
Include scaffolding if stack access is awkward.
Source an Antique Victorian Surround and Insert
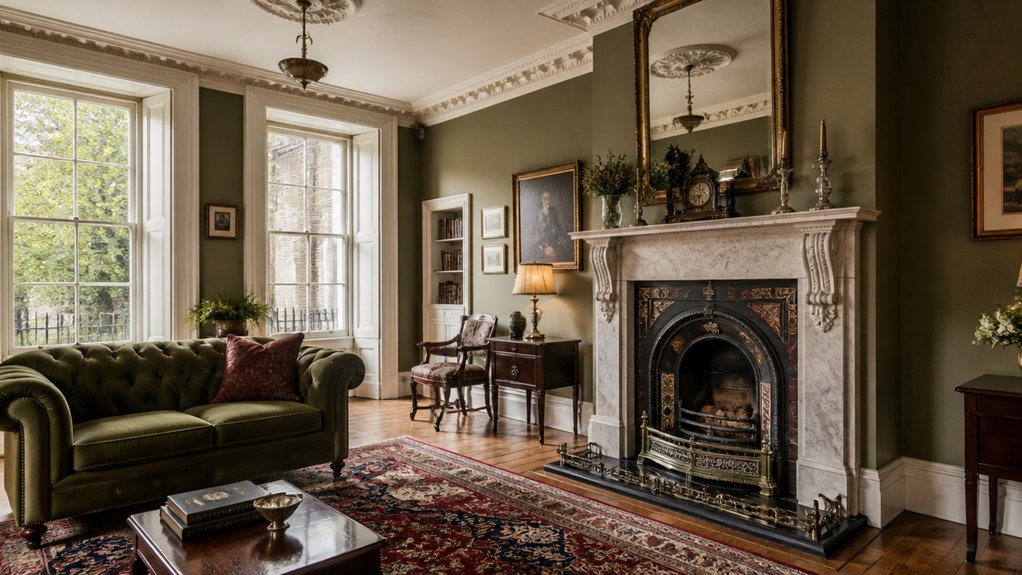
Although you can buy a “Victorian” fireplace new, a genuine surround and insert usually come from architectural salvage yards, reclamation dealers, or auction rooms.
When selecting a surround and insert, you’ll need to match not just the look but the dimensions and construction to your opening. Take a tape measure and note the width between jambs, height to lintel, and depth to the back wall. Then compare these measurements with any cast-iron insert and mantel shelf you’re considering.
Check for crisp mouldings, tight mitres, and hand-tooled details that signal Victorian craftsmanship, not later repro. On cast iron, look for maker’s marks, original vents, and consistent casting. Avoid warped grates or cracked corners.
Ask for provenance, and favour pieces with minimal over-restoration for historical authenticity.
Repair the Hearth and Subfloor to Modern Standards
Before you even think about bedding in the new surround, bring the hearth and the floor beneath it up to today’s expectations, because Victorian fixings often sit over ash, loose bricks, and joists that were never meant to take a modern load or meet current fire safety.
Lift the boards carefully, keep any sound originals for historic preservation, and vacuum out soot to see what you’re dealing with.
Then work methodically:
- Rake out friable mortar, rebuild the hearth bed in lime where appropriate, and pin loose brickwork.
- Sister or replace compromised joists, fit noggins, and bring levels true with ply.
- Install a non-combustible hearth base to current Building Regulations, checking clearances.
- Seal edges, stop draught paths, and schedule routine fireplace maintenance before refitting.
Choose Victorian Fireplace Tiles and Grout
Once the hearth’s solid and level, you can choose Victorian-style tiles and grout that look right for the period and stand up to heat cycling. Go for encaustic-style or transfer-printed ceramics in soot, oxblood, sage, or geometric borders typical of late-19th-century UK grates.
Check Tile durability: pick frost-proof, low-porosity tiles and avoid soft faience if you’ll burn regularly.
Dry-lay a course to centre the pattern on the opening and keep cuts symmetrical. Use a heat-resistant, polymer-modified adhesive and a narrow joint to match originals.
For grout, choose flexible, stain-resistant, smoke-friendly formulations; charcoal tones hide ash and simplify Fireplace maintenance. Seal only if the manufacturer approves high-temperature use.
Choose Finishes for Surround, Insert and Grate
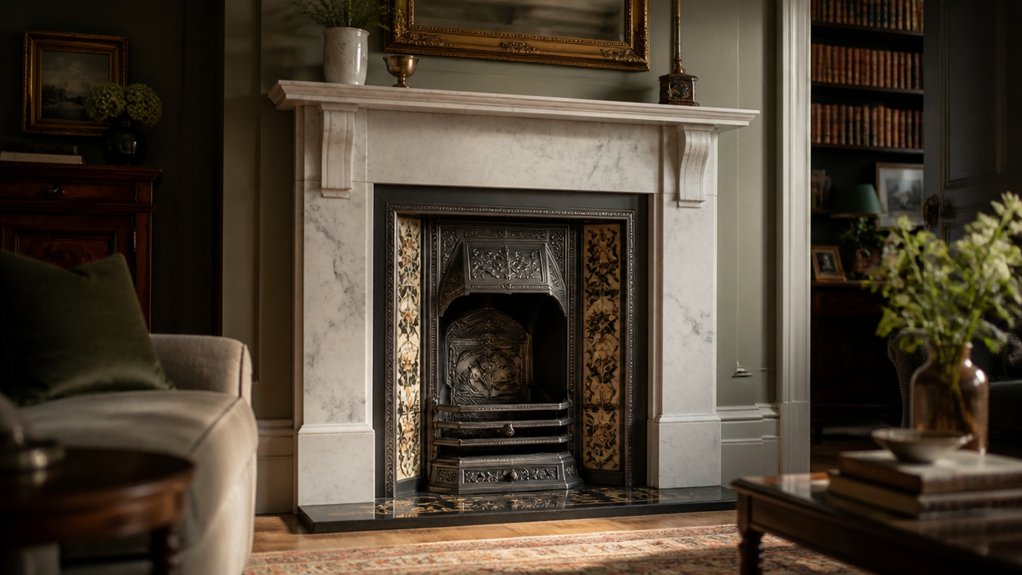
When you’ve settled the tilework, choose finishes for the surround, insert and grate that suit a late-Victorian room and cope with real heat. Your finishing options should echo what a British parlour would’ve worn: sober, durable, and quietly decorative.
Start by weighing material choices against soot, polishing, and daily use.
- Surround: keep original marble if you can; otherwise use painted hardwood in deep oxblood or bottle green, finished in eggshell.
- Insert: pick cast iron with crisp registration marks; black-lead it for an authentic graphite sheen, or use a heatproof matt black.
- Grate: choose a simple basket with replaceable bars; avoid shiny chrome.
- Fender: go for brass, lightly aged, and plan for regular buffing.
Reinstall the Fireplace: Lining, Fitting and Sign-Off
Although the tiles and finishes set the tone, the fireplace only earns its keep after you’ve lined the flue properly, bedded the insert true, and had the whole lot signed off. You’ll book a HETAS engineer (or Gas Safe, if applicable) to sweep, smoke-test, and specify a stainless flexible liner with a register plate, top plate, cowl, and a proper backfill where required.
You’ll dry-fit the cast-iron insert, pack and level it on slate or fireboard, then lime-bed the surround so the joints can move with the old brickwork.
You’ll set the grate square, check clearances to combustibles, and add ventilation solutions: an air brick or underfloor vent to prevent draw problems and CO spillage.
Finally, you’ll refit Fireplace accessories only after commissioning and paperwork are complete.
Style the Victorian Fireplace as the Room Focal Point
Now that the installer’s signed it off, you can treat your Victorian surround as the room’s proper centrepiece.
You’ll keep mantel styling essentials in mind—symmetry, scale, and a tight edit of period pieces such as a gilt mirror, a pair of candlesticks, and a framed print—so the shelf looks intentional rather than cluttered.
You’ll then balance period and modern by letting one contemporary object or lamp sit quietly among the antiques, keeping finishes muted and proportions respectful of the original cast-iron and tiled insert.
Mantel Styling Essentials
Once the surround’s been repaired and the grate sits square, you can treat the Victorian mantel as the room’s visual anchor, not an afterthought. Aim for Historical accuracy and Material authenticity, and keep the arrangement disciplined, as a late-19th-century parlour would.
- Start with one central piece: a gilt mirror or ebonised clock, set dead centre on the shelf line.
- Flank it sparingly: matching candlesticks in brass or Sheffield plate, kept equal in height.
- Add a single ceramic note: a pair of Staffordshire dogs or a glazed vase, not a jumble of trinkets.
- Finish with paper and scent: a slim framed print and a lidded potpourri jar, placed to the side.
Keep the hearth clear, letting the mantel read first.
Balance Period And Modern
When you mix Victorian detail with modern comfort, you need a clear hierarchy so the fireplace still reads as the focal point. Keep the surround and mantel true to period proportions, letting carved slate or marble stay unpainted where possible for Historical accuracy.
Use restrained wall colours—stone, buff, or deep Brunswick green—so the chimney breast frames, rather than competes.
Bring in Modern functionality quietly. Hide a soundbar in a low oak cabinet, run cables through the skirting, and choose a simple brass fender that echoes original register grates.
Place a pair of armchairs angled towards the hearth, then set your sofa opposite, leaving a clear sightline from the doorway.
Finish with one large mirror or an oil landscape, not a gallery wall.
Conclusion
When you reinstate a Victorian fireplace properly, you’re not just fitting a feature, you’re restoring the room’s heartbeat. You’ve checked the chimney and flue, proved what’s original, budgeted for hidden snags, and sourced a faithful surround and insert. With a sound hearth, correct tiles and grout, and lime-bedded finishes, everything sits right. Once the liner’s signed off, you dress the mantel modestly, and let the whole room fall into order.
About the Author



