
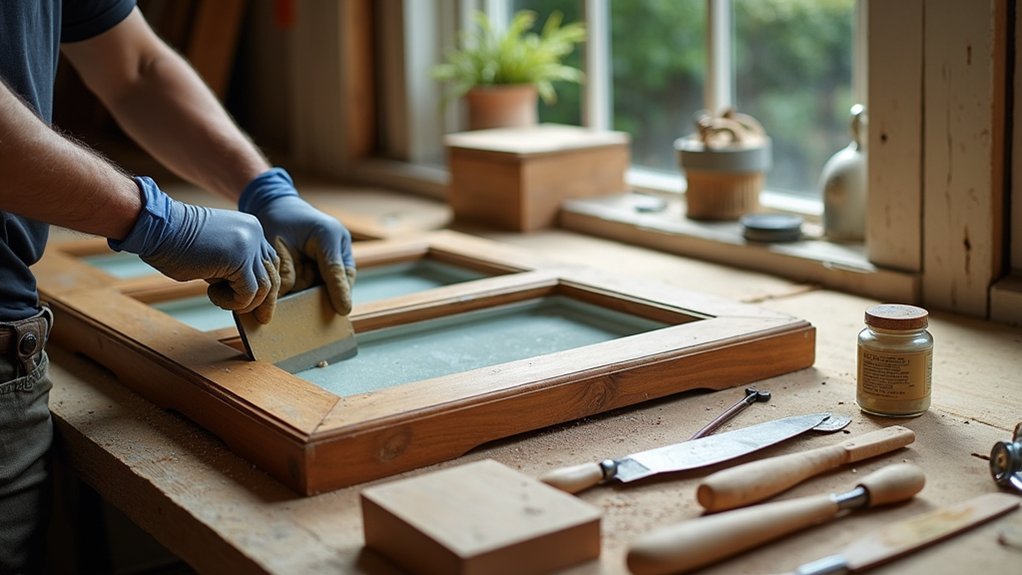
You start by inspecting each sash with a careful, heritage‑minded eye: probe the sill for softness, check joints for movement, note cracked putty, rattling glass, and tired pulleys. You’ll label every bead and screw before anything comes out, so it goes back exactly as it should. From there, you’ll tackle rot and looseness with restrained repairs, then reglaze, rebalance, and add discreet draught seals. The order matters—and the first mistake is usually made right here…
Key Takeaways
- Inspect sills, rails, joints, glazing, operation, and ironmongery; probe for rot, failed putty, paint bridges, and draughts before dismantling.
- Remove sashes, stops, and parting beads carefully; label every piece with orientation and window ID to ensure accurate reassembly.
- Repair timber by removing minimal decay, splicing matching profiles, and sealing end grain; preserve original sightlines and patina.
- Reglaze by priming rebates, bedding glass in fresh putty, replacing sprigs, and allowing putty to skin before painting.
- Upgrade performance by replacing cords, servicing pulleys, rebalancing weights, fitting discreet draught seals, and keeping paint off channels for smooth movement.
Inspect Timber Sash Windows: What to Fix First
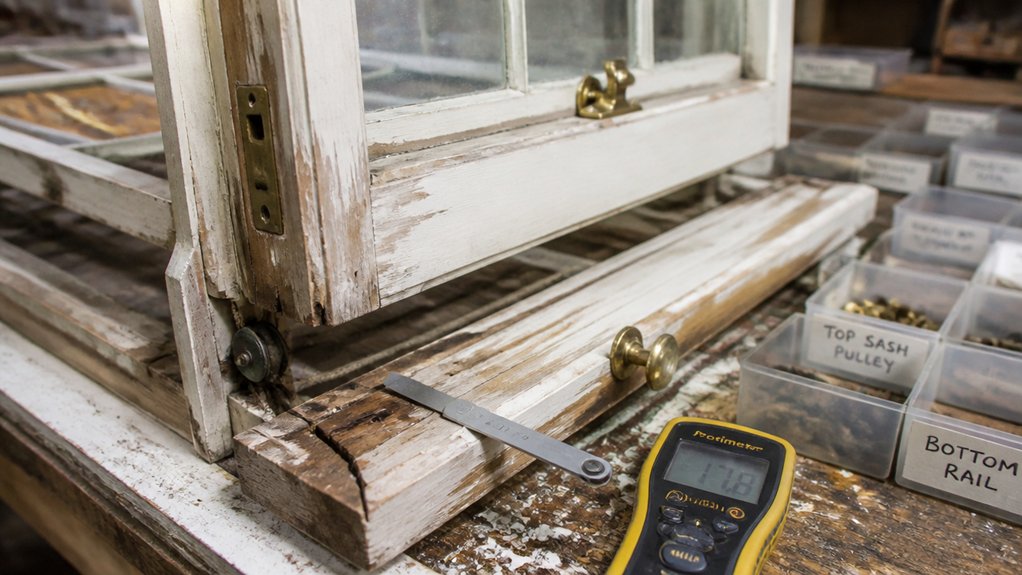
Before you pick up a scraper or order new cords, inspect each timber sash window methodically so you fix the failures that threaten both performance and heritage fabric first.
Start with the sill and lower rails: probe for soft spots, staining, and open end-grain that wicks water. Check joints for movement, failed putty, and paint bridges that trap moisture.
Examine glazing: look for rattling panes, cracked linseed putty, and missing sprigs. Test operation gently: note binding, uneven reveals, and draught lines around staff and parting beads.
Assess ironmongery for wear and misalignment, not just shine. Photograph profiles and mouldings to preserve historical accuracy during repairs.
Prioritise water ingress, decay, and loose glass before refinishing, so aesthetic restoration lasts and feels properly bespoke.
Remove Sash Windows Safely (Label Parts)
Before you lift a sash, you’ll label each sash, parting bead, and stop so everything returns to its original, heritage-true position.
You’ll remove pieces in order and mark orientation (top/bottom, room side) with low-tack tape and pencil, not anything that scars the timber.
You’ll bag screws, pulleys, and lifts by window and step, then store them in a compartmented box so reassembly stays precise and effortless.
Label Sashes And Stops
Once you start taking a sash window apart, the pieces can look interchangeable even when they’re not, so label everything as you remove it. Use low-tack tape and a soft pencil so you don’t scar original paint or timber. Label sashes clearly: “top/outer,” “bottom/inner,” and note the room and elevation so each returns to its long-set position.
Then label stops and parting beads in sequence, because subtle thickness changes affect draught-proofing and that satisfying, smooth slide. Keep markings discreet, placed on hidden edges, and add arrows for “face” and “up” to preserve historic alignment.
- Protect patina: mark where it won’t show.
- Respect joinery: return each piece to its mate.
- Save time later: your notes prevent guesswork.
Store Hardware Systematically
Although sash hardware looks like a handful of identical screws and pulleys, you’ll save hours—and protect original fittings—by storing it as deliberately as you label the timber.
Set up a clean tray and divide it into “top sash,” “bottom sash,” “staff bead,” and “parting bead.” Drop each fastener into a mini zip bag, add a paper tag, and note position and length (e.g., “right meeting-rail, 32 mm”).
Keep pulleys, catches, lifts, and stops paired, and tape any shims to the matching bag so they don’t vanish. Photograph each set before you close the bag.
This Hardware organization prevents mismatched patina and chewed slots. Finish with disciplined Tool storage: nest bags in a lidded box, ordered by window ID, ready for refit later.
Repair Rot and Loose Joints in Timber Frames
- Remove minimal fabric; preserve patina
- Match profiles; respect sightlines
- Seal end grain; stop recurrence
Reglaze Timber Windows: Glass, Putty, Beads
When you reglaze a timber window, you’re not just swapping glass—you’re resetting the weather seal, the sightlines, and the way the sash sheds water.
Start by easing out the beads with a sharp chisel, working along the grain so you don’t bruise old timber. Soften brittle putty with gentle heat, then lift glazing points and remove the pane safely.
For glass replacement, measure the rebate, not the old pane, and allow a small clearance for movement. Prime bare rebates with an oil-based primer so the putty bonds and doesn’t dry out.
During putty application, roll a clean fillet, press it firmly into the rebate, bed the glass, and set new points evenly. Tool a crisp 45° arris, then refit beads neatly, keeping profiles faithful to the original.
Let it skin before painting.
Rebalance Sash Windows: Cords, Pulleys, Weights
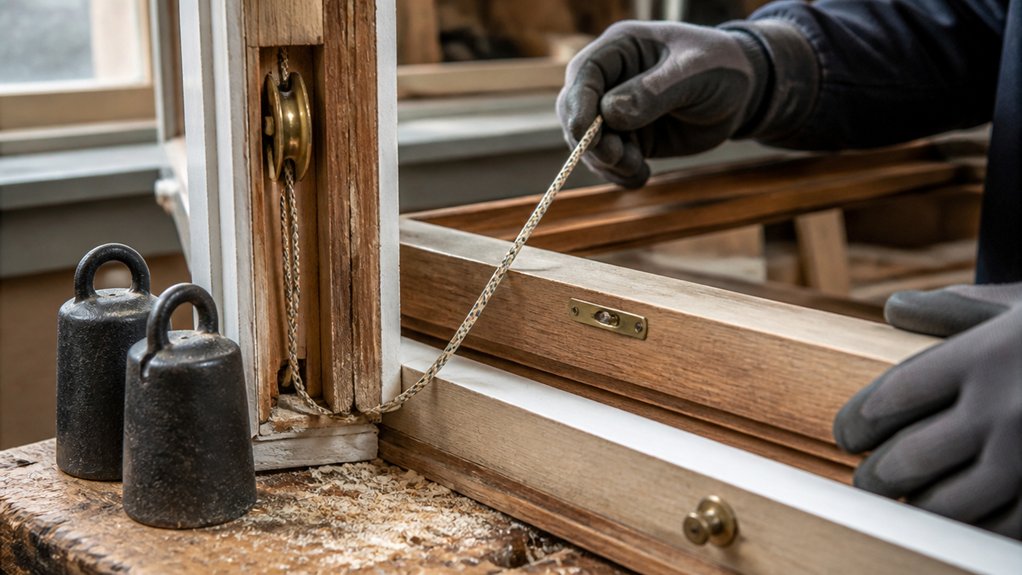
You’ll restore that effortless, period-correct glide by inspecting the sash cords and pulleys for fraying, play, and paint bind, then cleaning and lubricating where appropriate.
When cords are tired, you’ll replace them with quality waxed cotton or pre-stretched cord and rethread them cleanly over smooth-running pulleys.
Finally, you’ll adjust or match the weights so each sash holds position without drifting, preserving the window’s original feel while improving daily performance.
Inspect Cords And Pulleys
Although the timber sash itself often gets the blame, the real cause of a dropping or sticky window usually hides in the cord-and-pulley system. Ease off the staff bead, open the pocket, and inspect each cord for glazing dust abrasion, fraying at the knot, and flat spots where it’s been pinched.
Rotate the pulley by hand; it should spin freely, sit square in its stile, and show no sharp edges that’ll cut fibres. This is the moment to plan cord replacement without rushing it, and to prioritise gentle pulley maintenance—cleaning, alignment, and a light, appropriate lubricant—so original joinery stays unmarked and balanced.
- Preserve original hardware where sound
- Fix friction before it becomes failure
- Let smooth movement protect paint and patina
Replace Sash Cords
Where does that sudden drop or drag actually begin? Usually at tired cords that have stretched, frayed, or glazed with paint.
For sash cord replacement, work methodically to protect heritage joinery: score paint lines, remove staff and parting beads carefully, then lift the sash out and label its position.
Open the pocket, untie the old cord, and let the weight rest gently inside.
Thread new pre-stretched cotton or waxed cord over the pulley, keeping it true to the original run.
While you’re there, do pulley maintenance: vacuum grit, add a drop of light oil, and confirm the wheel spins freely without wobble.
Tie a secure figure‑eight knot, refit the cord to the sash, and check for smooth travel.
Adjust Weights And Balance
Once the cords run cleanly over a free-spinning pulley, the sash should float—not slam shut, creep open, or hover only when you’re holding it.
Now fine-tune the balancing weights. Weigh each sash, then match it with weights totaling about the same mass, allowing a slight bias toward closing for draught control. If it feels heavy, add weight; if it rises on its own, reduce weight.
Rehang, then test travel through the full range and watch sash alignment at the meeting rail and in the channels.
- Keep cords equal length so both sides lift together.
- Seat weights gently to avoid bruising the pocket and paint.
- Adjust in small increments; heritage timber rewards restraint.
Draughtproof Timber Sash Windows: Seals and Paint
If you want your timber sash windows to feel quieter, warmer, and still look authentically period, you’ll get the best results by pairing discreet draught seals with a paint system that doesn’t clog the moving parts.
Start by cleaning the staff and parting beads, then rout or replace them with brush-pile or compression seals sized to the sash gap.
Add a slim meeting-rail seal and a vented seal at the sill to cut whistles without trapping moisture—classic weatherproofing techniques that respect old timber.
Before painting, ease tight edges, prime bare wood, and keep paint off channels, pulleys, and the sash cords’ run.
Choose paint finish options like durable satin or traditional linseed systems, applied in thin coats, then wax the tracks for a smooth glide.
Conclusion
By the time you’ve inspected, labelled, lifted, repaired, reglazed, rebalanced, and draughtproofed, you won’t just “fix” a sash—you’ll rescue a century of craft from the brink. You’ll chase rot into every end grain, pull joints tight as a violin, and bed glass so neatly it looks poured in. When cords glide and seals hush the wind to a whisper, you’ll paint with restraint, and your windows will feel lavishly original.
About the Author



