
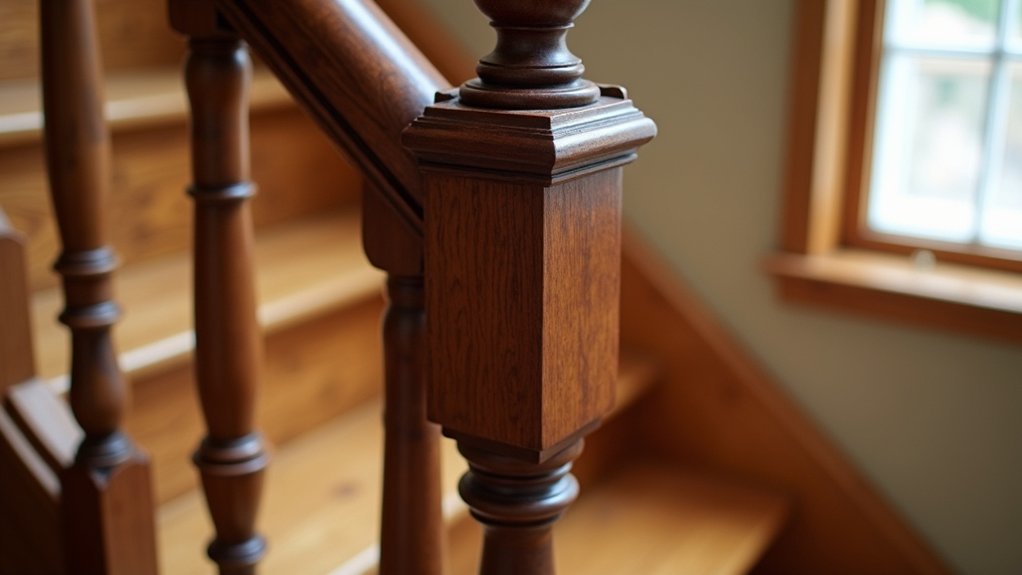
You start by surveying every creak, soft tread, and old bodge repair, because a Georgian stair tells you where it’s failing if you listen. You decide what you can save and what must be replaced like-for-like, then strip tired paint and varnish without tearing up the timber’s edge. You re-fix treads and risers with pegs and hide glue, tighten joints with wedges, and avoid metal. Then comes the finish—but not before one difficult choice…
Key Takeaways
- We assessed movement, gaps, and rot using raking light, awls, photos, and sketches to plan minimal, preservation-led interventions.
- We stripped paint and varnish in controlled passes using scrapers, low heat, or gel strippers to protect crisp mouldings and wear marks.
- We stabilised structure by re-seating treads and risers, re-cutting mortise-and-tenon joints, and adding reversible hide-glued wedges and blocks.
- We repaired, not replaced, by splicing tread ends, patching risers with dutchmen, and matching original timber species, profiles, and tool marks.
- We finished with a penetration-first sealer, careful colour-matching, and durable satin lacquer, scuffing between coats for adhesion and authentic sheen.
Survey the Georgian Staircase: Creaks, Rot, Past Fixes
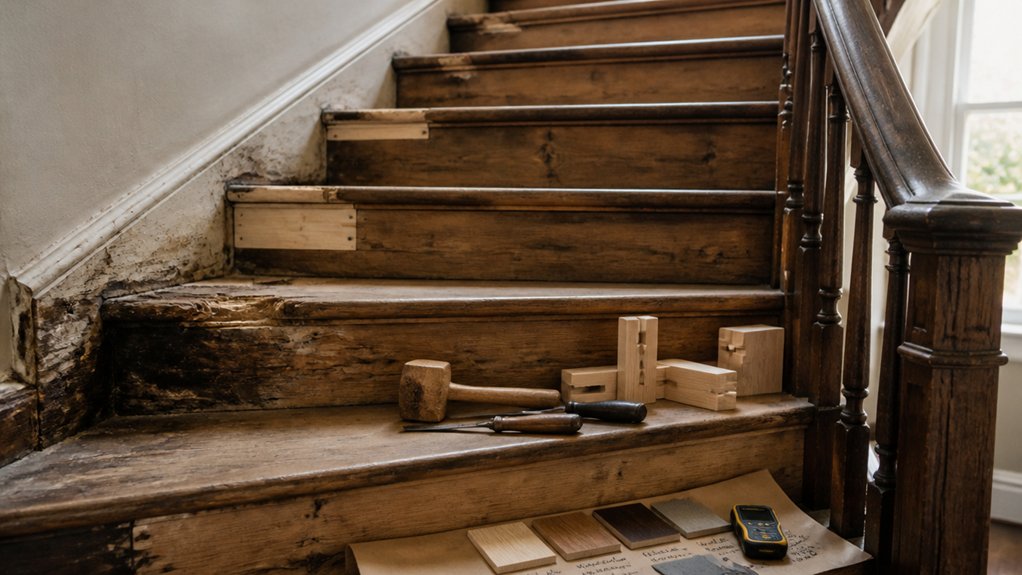
Before you lift a single tread, you’ll want to survey the Georgian staircase as it stands, treating every creak, soft patch, and wonky riser as evidence of how the structure’s been stressed over time. Walk it slowly, noting where the nosings dip, where the balusters rack, and which joints open under load.
Use raking light to pick out hairline splits, failed glue lines, and shrinkage gaps along the strings. Probe suspect areas with an awl for rot, especially near external walls or below leaky landings.
Record old interventions: wire nails, filler, hard varnish, or odd screws that telegraph later repairs. Photograph everything and mark defects on a sketch for Historic preservation, while considering Material durability in damp, heated UK homes.
Plan What to Repair vs Replace (and Why)
Your survey notes now need turning into decisions, because a Georgian stair’s value lies as much in its original fabric and tool marks as in its safe day‑to‑day use.
Start with retention: if a tread’s sound but cupped, you’ll plane, plug, and re‑wedge joints rather than swap timber. Repair nosings where wear hasn’t broken the fibre; replace only when section loss undermines strength or fixing.
Keep balusters and handrail whenever profiles remain legible; scarf in matching species to preserve patina and rhythm. When you must replace, copy mouldings from the best surviving examples and mark new work discreetly for future custodians.
Balance Modern staining techniques with Historical accuracy considerations so colour unifies without faking age, and approvals stay straightforward.
Strip Old Paint and Varnish Without Gouging Timber
Although stripping finishes feels like straightforward prep, you’ll get the best result on a Georgian stair by treating it as conservation work: remove paint and varnish in thin, controlled passes so you don’t round crisp nosings, soften moulded strings, or erase plane marks and burnished wear that give the timber its age.
Start with gentle paint removal: a tungsten scraper with a fresh burr, held low, works on flats; switch to shaped card scrapers for quirks and fillets.
Use a low-heat gun or infrared lamp to lift stubborn layers, moving constantly to avoid scorching pine or raising oak tannins.
For varnish stripping, choose a heritage-friendly gel stripper, dwell briefly, then wipe with coarse cloth, not wire wool.
Neutralise as specified, rinse sparingly, and let the staircase dry fully.
Refit Loose Treads and Risers to Stop Squeaks
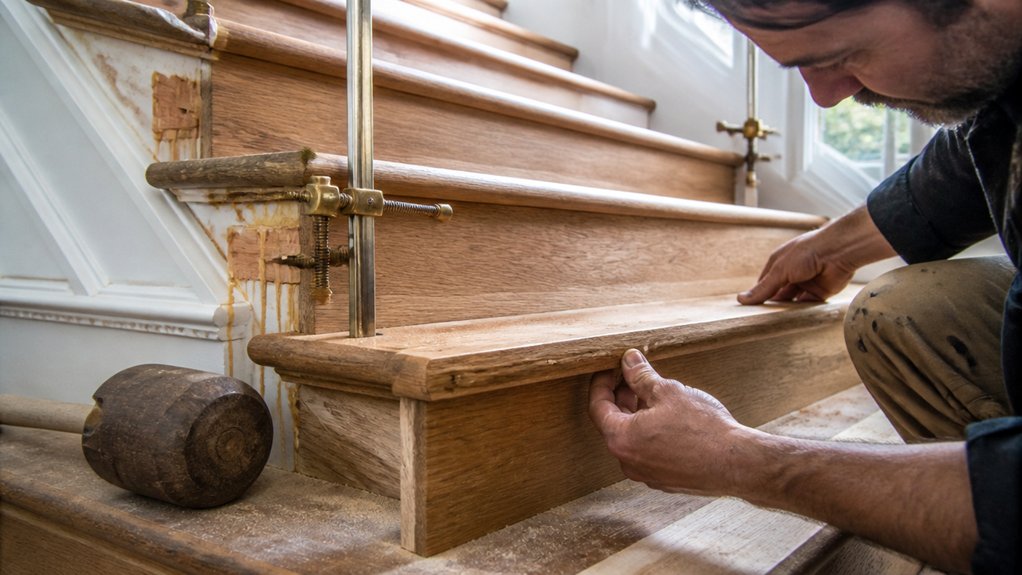
Once you’ve stripped back to sound timber, chase down movement in each tread and riser, because a Georgian stair squeaks where old fixings have worked loose and joints have dried and opened.
Work step by step, weighting each tread and listening, then mark the worst offenders in chalk.
To address common Squeak causes, you’ll refit rather than over-tighten, keeping patina and original profiles intact.
- Pull the tread forward slightly, clean debris from housings, and re-seat it true.
- Re-fix risers with lost-head nails or traditional screws, piloting to avoid splits.
- Add discreet glue blocks beneath, using hide glue so future repairs stay reversible.
- Apply Tread reinforcement with wedges and packers, then clamp until stable.
Finish by testing underfoot; silence means the structure’s working again.
Re-Cut Mortise-and-Tenon Joints for Tight Lock-Up
With the treads and risers sitting quiet and true, turn your attention to the stair’s joinery, where worn mortise-and-tenon joints let the whole flight rack under load. You’ll mark each junction from the face side, then pull the rail or stringer just enough to read the old shoulders and glazing lines left by the Georgian chisel work.
Pare back bruised fibres, square the mortise walls, and re-establish a crisp mortise lock that matches the original layout, not a modern approximation. On the tenon, you’ll true the cheeks with a router plane or sharp rebate plane, then knife in new shoulders to restore joint precision.
Dry-fit repeatedly; it should seat firm by hand, no gaps, no twist, and no forceful ramming.
Tighten the Structure With Wedges and Glue Blocks (No Metal)
After you’ve proved the re-cut joints seat cleanly, you’ll lock the flight up the Georgian way: tapered timber wedges driven to draw each tenon home, then discreet glue blocks to stop creep and chatter, all without a scrap of metal to telegraph through old oak or pitch pine.
You cut wedges from straight-grained beech or oak, mark their taper, then drive them in with measured blows for controlled wedge tightening. Keep everything reversible with hot hide glue where appropriate, and reserve modern adhesive only for non-visible blocks.
- Saw kerfs true, so wedges expand evenly
- Size wedges to bite, not split, the stile
- Fit glue blocks across grain changes to bridge movement
- Clamp lightly, then let glue block reinforcement cure undisturbed
Repair Handrails, Spindles, and Newel Posts
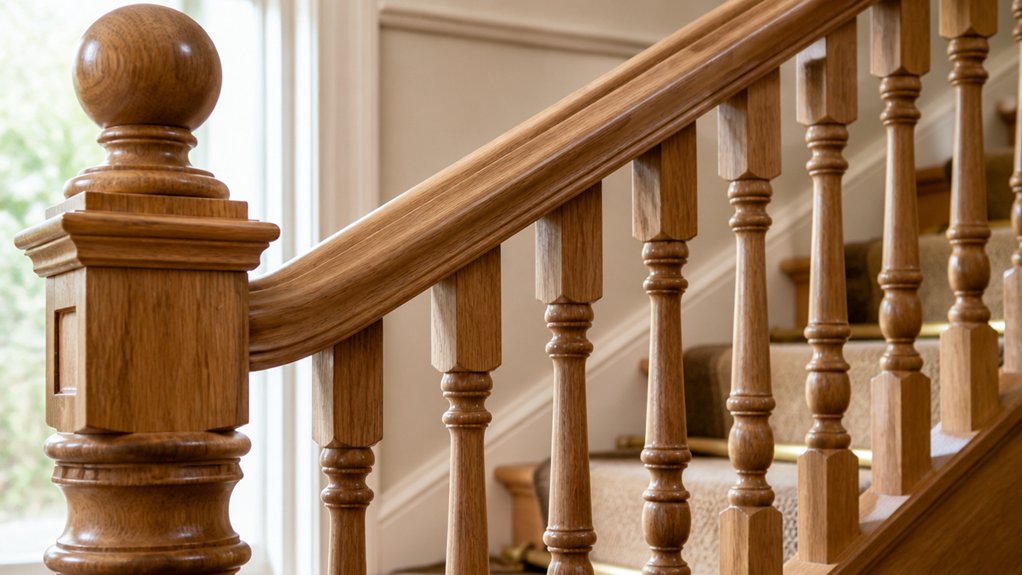
Next, you’ll tackle handrail crack repairs, stopping splits from travelling and keeping the original profile true to its Georgian section.
You’ll check spindles and newel posts for wobble, rot, and failed joints, then repair where you can to retain as much historic fabric as possible.
When parts are beyond saving, you’ll replace spindles or a newel with like-for-like timber, matching turnings, dimensions, and sightlines so the staircase still reads as period.
Handrail Crack Repairs
Although a Georgian handrail often looks robust, decades of shrinkage, seasonal movement, and over-eager fixing can open fine cracks along the grain, around joints, and at the newel shifts. You start by mapping each handrail crack under raking light, then remove old varnish and brittle filler so the timber can close properly.
For a durable crack repair, you warm the rail gently, work in hot hide glue, and draw the split together with padded clamps, keeping profiles true and edges crisp. When the glue’s cured, you pare flush and blend the sheen to match adjacent patina.
- Mask mouldings to protect original arrises
- Inject glue with a fine syringe
- Use tinted wax only for hairlines
- Finish with shellac and hardwax oil
Newel And Spindle Replacements
When a newel goes loose or a run of spindles has been lost to rot or past alterations, you need replacements that read as original, not “new work”. You start by recording every profile: diameter, taper, fillet lines, and the exact pitch between balusters.
You salvage sound sections for patterns, then turn new spindles in matching timber—often deal or oak—so grain and medullary rays sit like the existing work. For Decorative carvings on the newel cap or stop-chamfers, you copy tool marks, not just shapes, so the patina takes evenly.
You anchor the newel with concealed coach screws and resin-free wedges, then peg and glue balusters into a true handrail mortice. Good spindle craftsmanship keeps the staircase visually calm and structurally tight throughout.
Replace Only Failed Georgian Staircase Parts (Like-for-Like)
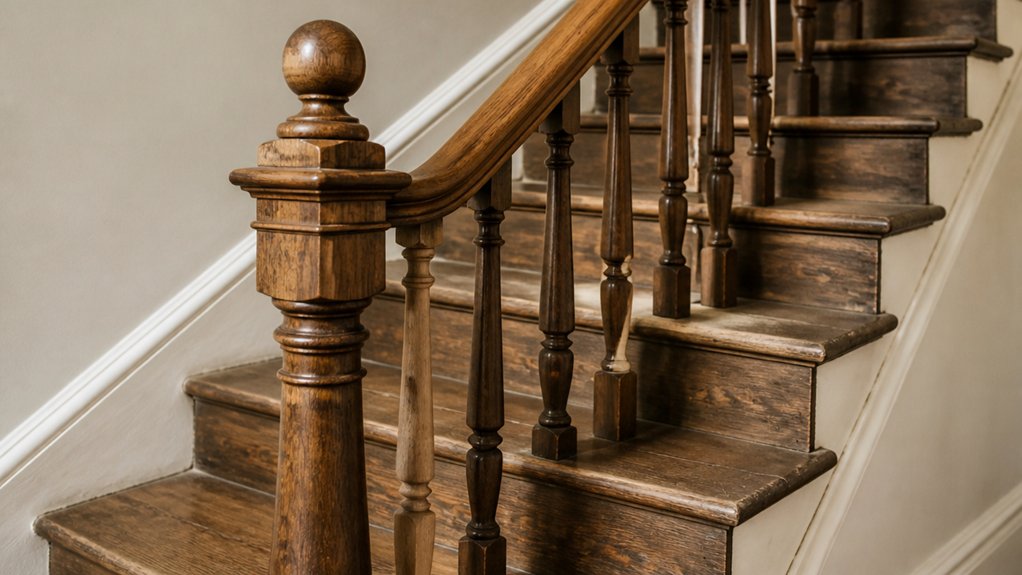
Rather than stripping out sound fabric, you should replace only the Georgian staircase parts that have genuinely failed, matching them like-for-like in species, profile, and method of fixing. That protects Historical accuracy and keeps patina where it belongs.
Start by proving failure: check for rot at tread nosings, splits at housed strings, and loosened wedges or glue blocks.
Then let Material selection follow the evidence, not convenience, sourcing comparable softwood or hardwood and replicating mouldings with scratch stocks or cutters. You’ll also keep structural behaviour consistent by reusing traditional joints and fasteners.
- Splice in new tread ends rather than swapping whole treads
- Repair risers with dutchmen and pegged patches
- Replace handrail sections only where fibres have crushed
- Reinstate glue blocks, wedges, and brackets to original patterns
Sand, Seal, and Colour-Match With Hardwearing Finishes
You’ll get the best result by working through a progressive sanding sequence, keeping profiles crisp and period tool marks only where they’re meant to stay.
Then you’ll choose a sealer built for high-traffic British hallways—tough enough for daily footfall, but sympathetic to historic timber.
Finally, you’ll colour-match the aged wood with careful staining and test patches so new repairs sit quietly alongside original Georgian joinery.
Progressive Sanding Sequence
Although the temptation is to jump straight to stain and varnish, a Georgian staircase only comes up properly once you’ve worked through a controlled, progressive sanding sequence that respects the original timber and profiles.
You start by reading the grain and checking edges, because crisp arrises and Artistic carving carry Historical significance you can’t replace.
- Strip back with 80–100 grit on flats, keeping off moulded nosings
- Refine with 120–150 grit, feathering repairs so they disappear in raking light
- Finish with 180–220 grit, hand-sanding balusters and strings to avoid flats
Vacuum, then tack-rag thoroughly, including newel turns, for dust-free colour tests.
You’ll keep the sander moving, use cork blocks on profiles, and stop once the surface feels even, not “glass-smooth”.
Sealers For High Traffic
Once the timber’s sanded clean and the profile work still reads sharp, lock it down with a sealer designed for heavy footfall so colour tests don’t blotch and the tread faces don’t burnish unevenly.
On Georgian stairs you’ll usually meet dense pine, oak, and patched repairs, so choose a penetration-first sealer that evens suction without building a plastic film. Apply with a quality brush, working along the grain and into nosings; tip off, then wipe any puddles from corners to avoid shiny halos.
Keep your sealing techniques consistent: one thin coat, de-nib lightly, then a second only where traffic lanes demand it. This base lets Durable coatings sit flatter, reduces edge-fray on stringer mouldings, and helps future maintenance without stripping back to bare wood.
Colour-Matching Aged Timber
How do you make fresh repairs disappear into two centuries of oxidised pine or oak without losing that Georgian honesty? You start with restraint: sand only to key the surface, keep crisp arrises, and avoid chasing patina. Vacuum, then seal end grain so stain doesn’t bloom.
For colour matching on aged timber, you build tone in thin passes, testing under north light and letting each coat cure before judging.
- Feather-sand repairs to 180–240 grit, stopping before you break through surrounding wear.
- Spot-seal with dewaxed shellac to lock in resin and even absorbency.
- Glaze with waterborne dyes, then warm with a tiny umber pigment.
- Finish with a hardwearing satin lacquer, scuffing between coats for grip.
Conclusion
You end up with a Georgian staircase that looks right and feels solid underfoot: creaks gone, joints locked, and profiles kept crisp. You might worry modern lacquer will look “too new”, but you avoid that by sealing lightly, tinting to match aged timber, and using a satin sheen that reads period in British light. Stand back and you’ll see it: tight risers, true strings, and hand-finished grain carrying through.
About the Author



