
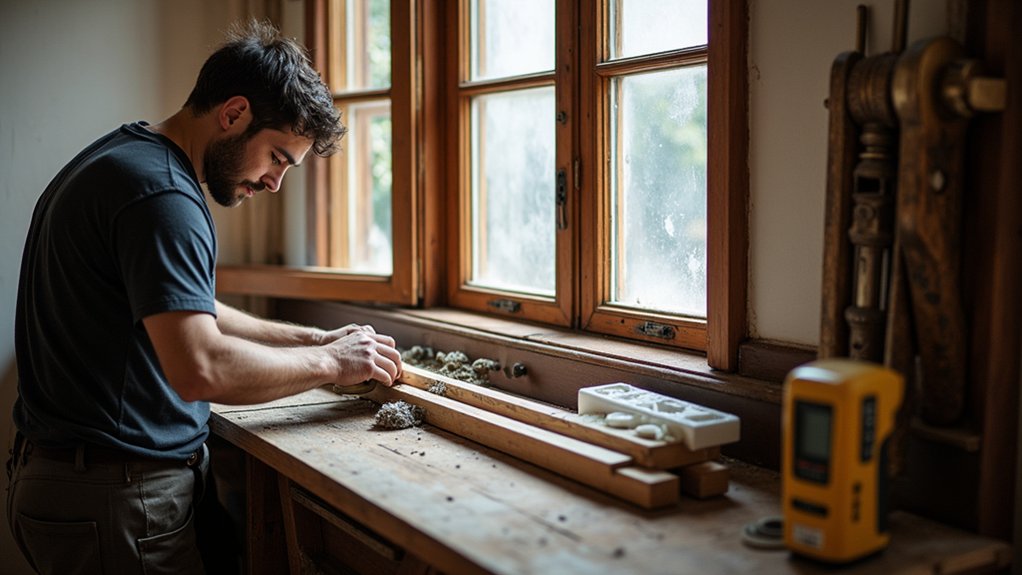
You treat an original sash window like a timeworn map: every joint, groove, and bead tells you where it’s been. You start by surveying rot, loose cords, rattles, and paint build-up, then you choose repair over replacement where conservation sense and UK practice allow. You splice matching softwood into rails and sills, ease the weights, and add discreet draught seals that don’t fatten the profiles. The tricky part comes when you lift the sashes…
Key Takeaways
- We chose repair over replacement to preserve original profiles, glazing bars, and historic glass while keeping costs and disruption low.
- We surveyed each window for rot, moisture, and loose joints, probing with a bradawl to map decay and retain maximum sound timber.
- We removed sashes safely, treating paint as leaded, labelling panes, softening putty with gentle heat, and protecting weights and cords.
- We spliced matching softwood using scarf or stepped-lap joints, aligning grain, dry-fitting carefully, and priming end grain before bonding.
- We improved efficiency with concealed brush seals, balanced weights, and breathable microporous paint, sealing glass edges with 1–2mm paint overlap.
Repair vs Replace Sash Windows: Cost, Rot, Rules
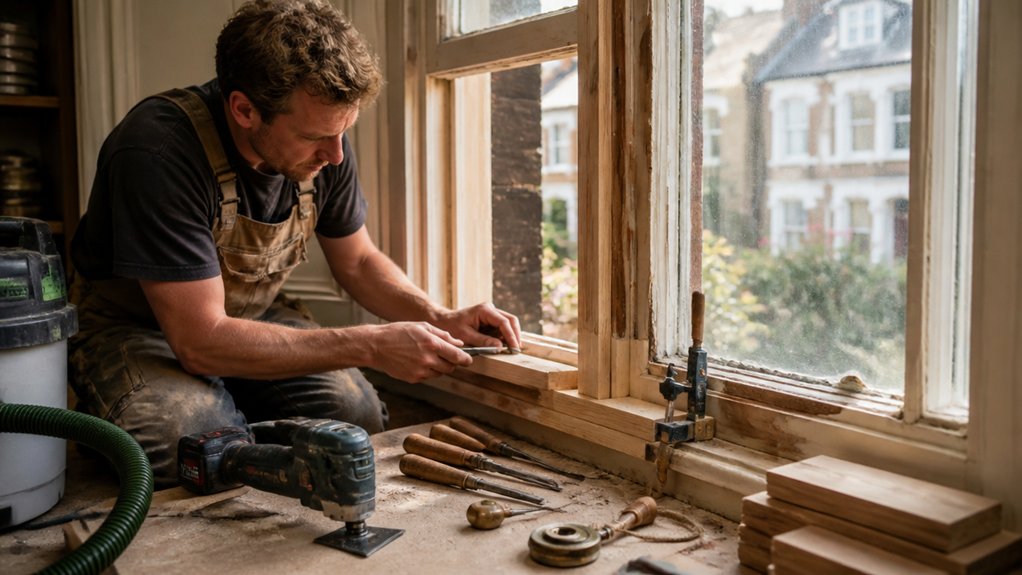
Although a full replacement can look tempting on paper, you’ll usually get better value—and a more authentic finish—by repairing original sash windows where the timber’s still sound. You keep Historic England–friendly profiles, wavy cylinder glass, and fine glazing bars that protect a façade’s Historical significance. Targeted splices, resin repairs, and careful re-lining cost less than bespoke joinery, and you avoid disrupting internal shutters, architraves, and reveals.
Replacement starts to make sense when previous alterations have erased details, sections are beyond structural repair, or you need like-for-like units to meet performance goals. Even then, you must prioritise Regulatory compliance: listed building consent, conservation area guidance, and Part L expectations.
You’ll often achieve approval faster by retaining frames, upgrading discreet draught-proofing, and improving security hardware.
Survey Sash Windows for Rot, Cords, Rattles
Before you reach for epoxy or order new sashes, you should survey what you’ve actually got, because small failures—wet rot in the bottom rail, a frayed sash cord, or loose parting beads—often drive the rattles, draughts, and sticking you notice day to day.
Work room by room with a bradawl and torch: probe cills, joints, and meeting rails for softness, black staining, or failed paint lines that funnel water.
Check sash cords for glazing grit, broken strands, and uneven tension by lifting each sash and noting drop or slam.
Listen for rattle at the meeting rail and staff bead; feel for play in the parting bead.
Mark repairs to keep Historical accuracy and aesthetic preservation intact throughout.
Remove Sash Windows Safely (Lead Paint, Glass)
Before you lift a sash in an older UK property, you’ll treat it as if it’s coated in lead paint: mask up to P3, sheet the room, and keep dust down with a misted wipe rather than dry sanding.
You’ll free the glass with care—score old putty, ease out glazing pins, and label each pane so historic cylinder or crown glass goes back in the right opening.
Then you’ll extract the sashes in order by removing the staff and parting beads, supporting the weights, and untying the cords so nothing drops or shatters.
Lead Paint Safety Measures
When you lift an original sash from its box frame, treat it as a potential lead-and-glass hazard as much as a heritage feature. Assume pre-1970 paint contains lead; test with a kit and plan your method before you disturb layers.
Seal the work zone with taped polythene, close internal doors, and switch off forced ventilation. Wear a fitted P3 respirator, disposable coveralls, and nitrile gloves; keep a HEPA vacuum to hand.
Mist surfaces lightly to suppress dust, and avoid dry sanding or grinding, which drives Lead contamination into the timber pores and your home. For paint removal, favour wet scraping and low-temperature infrared or steam, keeping heat moving to protect old growth pine.
Bag debris as hazardous waste, label it, and wash down.
Glass Removal Techniques
How do you get old glass out without turning a repair into a rake of shards and lead dust? You start by misting the putty line, taping the pane, and scoring paint with a sharp knife so the timber fibres don’t tear.
Wear a P3 mask and gloves, then warm the putty gently with an infrared heater or low-setting heat gun, keeping it moving to protect old growth pine.
Lift sprigs and glazing points with a fine chisel, working from the meeting rail outward. Support the glass with your free hand and ease it forward, not upward, so it releases cleanly.
Bag fragments immediately. If you’re reusing wavy crown, label it; if not, plan slimline toughened units that keep Vintage aesthetics while using modern materials discreetly.
Sash Extraction Steps
With the glass safely out and any reusable crown or cylinder panes labelled, you can turn to extracting the sashes without scarring the box frame or spreading lead dust through the room. Lay dust sheets, mist the paint line, then score it with a sharp knife to break the seal on the staff bead. Ease the bead off with a wide chisel and a scraper, working from the meeting rail down.
Drop the bottom sash slightly, unclip or cut the sash cords, and tie them off so the weights don’t crash inside the pocket. Lift the sash clear and bag any flaky paint.
Next, prise out the parting bead and repeat for the top sash. Keep every bead and screw for Historical accuracy, and mark each piece for reassembly using proven craftsmanship techniques.
Splice-In Sash Timber Repairs (Rails, Stiles, Sills)
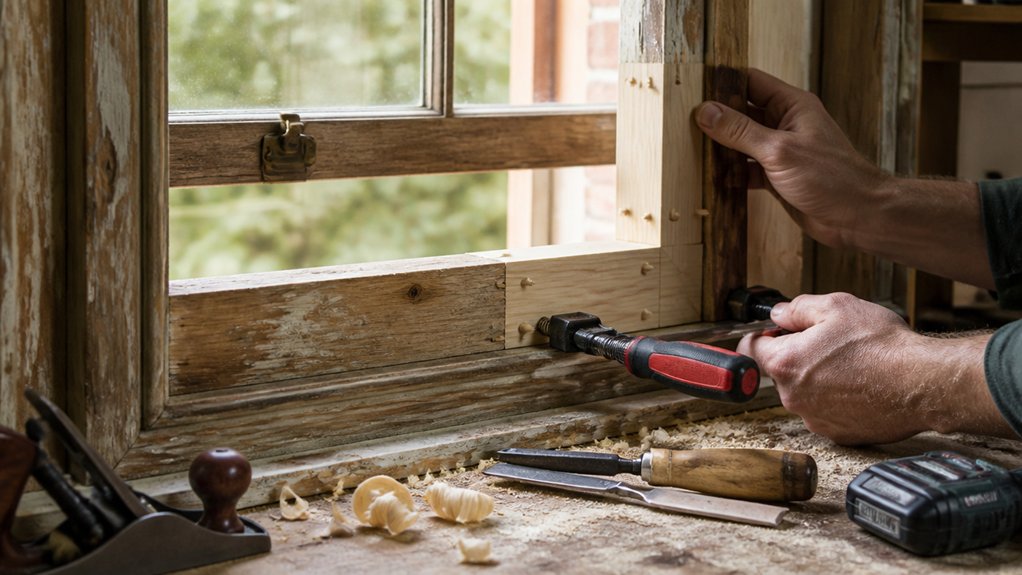
Once you’ve removed the sashes safely, you assess the rails, stiles, and sill for rot and fibre failure, probing end grain and joints where water’s tracked in.
You then cut back to sound timber and form a tight, square splice with clean shoulders and long-grain glue lines that respect the original section.
To keep the repair honest and long-lasting, you match species, grain direction, and moisture content—often slow-grown Scots pine or hardwood—so it moves and paints like the existing frame.
Assessing Rot And Damage
Before you cut in new timber, you need a clear, honest picture of what’s sound and what’s failed in the sash box and moving parts.
Start by stripping back paint at the meeting rails, bottom rail, stiles, and outer sill line, where water sits longest. Probe with a bradawl; sound timber resists and rings, while rot feels soft, fibrous, or crumbles.
Check joints for movement, glazing bars for hairline splits, and pulley stiles for damp staining that suggests failed cords or trapped moisture.
Map decay boundaries with pencil, then measure moisture content so you don’t seal in wet wood.
You’ll protect Historical accuracy by retaining maximum original fabric, and improve Material sustainability by replacing only what’s beyond salvage, not whole sashes.
Precision Splice Joinery
Marked decay lines and moisture readings give you the cut list for splice repairs, so you can remove only failed fibres and keep the original sash geometry intact.
You square the rails, stiles, or sill ends with a knife line and a fine saw, then chase to clean, sound timber.
Using Traditional joinery, you cut long scarf joints or stepped laps that keep the grain working with the load, not against it.
With modern tools, you dry-fit to tight tolerances, clamp true, and check reveals against the box frame before bonding and pinning.
- You preserve historic profiles while restoring strength where it’s actually lost.
- You keep sightlines and glazing rebates consistent across the meeting rails.
- You reduce disturbance to paint edges, putty lines, and original hardware beds.
Durable Timber Matching
Because a splice repair is only as reliable as the timber you bed into it, you need to match species, grain, and moisture content to the existing sash rails, stiles, or cill ends rather than simply using what’s on the rack.
Start by identifying the original: Victorian London stock often used slow-grown pine, while coastal properties may have denser hardwood. Select heartwood where possible for timber durability, and reject shake, sapwood, or wild grain that will wick water and fail at the paint line.
Cut your repair so the growth rings mirror the host section, prioritising matching grain through the arris and profile. Keep moisture content compatible, then prime end grain before assembly so the splice stays tight through British seasons.
Tighten Joints and Rebalance Sash Weights
Once you’ve stripped the paint back and exposed the timber properly, you can deal with the real causes of rattles and sticking: loose joints and poorly balanced weights. You’ll test each sash on the bench, checking mortice-and-tenon shoulders and the meeting rail for movement.
For joint reinforcement, you’ll glue, clamp, and pin where needed, keeping original mouldings crisp and square. Then you’ll turn to weight balancing: weigh the sash, check the cast-iron weights, and match them so the sash sits obediently at any height.
Replace frayed sash cord, wax pulleys, and confirm smooth travel in the box.
- Respect the original geometry
- Let gravity do the work
- Keep the window serviceable for decades
Draught-Proof Sash Windows Discreetly
With the joints tightened and the sash weights properly balanced, you can now tackle the remaining culprit behind most complaints: draughts slipping through tired gaps at the parting and staff beads, the meeting rail, and the pulley stile.
You’ll rout narrow grooves for brush pile or compressible carrier seals, choosing colours that disappear against aged paint and timber.
Keep every intervention reversible: retain original beads where possible, or splice matching softwood and copy the ovolo profile so the sightlines stay Georgian or Victorian.
At the meeting rail, fit a concealed sash-to-sash seal and check the lock pulls the rails tight without distorting the mouldings.
Treat the pulley stile carefully, sealing around the wheel housing while keeping the cord run free.
You’ll cut heat loss and rattle, respecting Historical significance and aesthetic preservation.
Glaze and Paint Sash Windows to Last
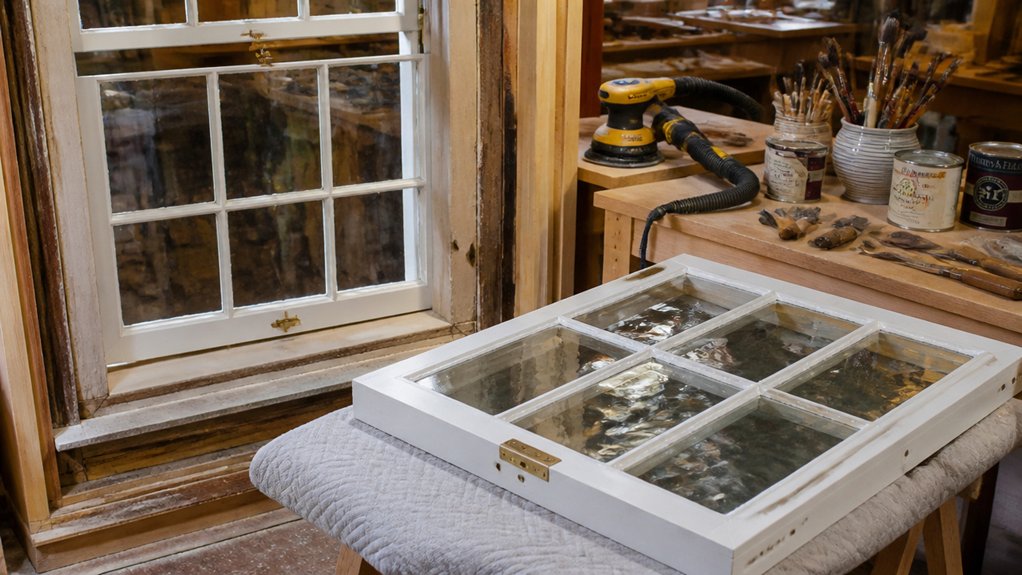
- You protect end-grain with shellac knotting and oil primer, stopping bleed and rot.
- You choose breathable microporous topcoats, so timber dries after Thames fog.
- You cut environmental impact by repairing panes and frames, not replacing PVC.
Paint onto the glass by 1–2mm to seal the putty; break the seal on the first run, and you invite capillary water.
Finish with thin coats, sanded lightly between.
Conclusion
You’ve proven you don’t need to replace heritage sash windows to make them work like they should. By cutting out rot, splicing matching softwood, tightening joints, rebalancing weights, and adding discreet draught seals, you’ve protected original profiles while improving comfort. Consider this: in typical UK homes, draughts account for around 15% of heat loss—often through leaky windows. Your careful glazing and breathable paint won’t just last; they’ll safeguard character for decades.
About the Author



