
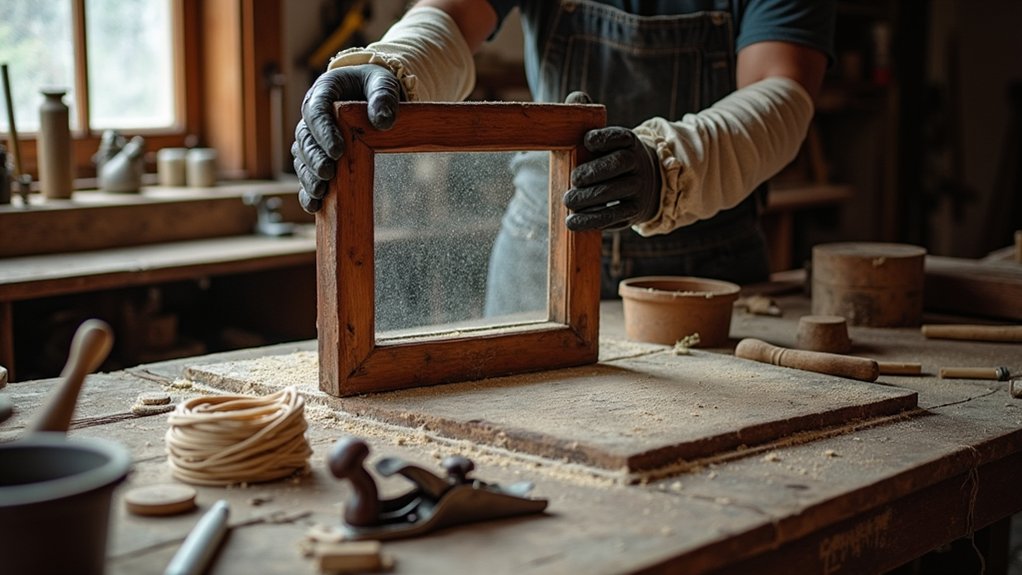
You might wonder if the theory holds that authentic sash repairs always outlast modern quick fixes. If you start with a proper inspection—rot at the cill, loose putty, rattling meeting rails—you can plan each stage with traditional timber splices, waxed cords, serviced pulleys, and linseed-oil putty. Get the order wrong and you’ll trap moisture or lose the smooth run, and that’s where the real test begins…
Key Takeaways
- Inspect stiles, rails, cill, and joints for rot, failed putty, and draughts; photograph profiles and mouldings for accurate restoration.
- Remove staff and parting beads, sashes, cords, and hardware carefully; label every component and fixing, and protect glass throughout disassembly.
- Cut back rot to clean, dry timber; splice matching seasoned wood with traditional joints, using epoxy consolidant only to stabilise weakened fibres.
- Re-glaze with linseed-oil putty: oil rebate, bed glass evenly, secure with sprigs, knife a neat fillet, then allow full curing before painting.
- Rehang upper then lower sash with correct cords and weights; service pulleys, ease binding, refit beads, and finish with breathable paint for weather-tight operation.
Sash Window Restoration: Assess Damage and DIY Limits
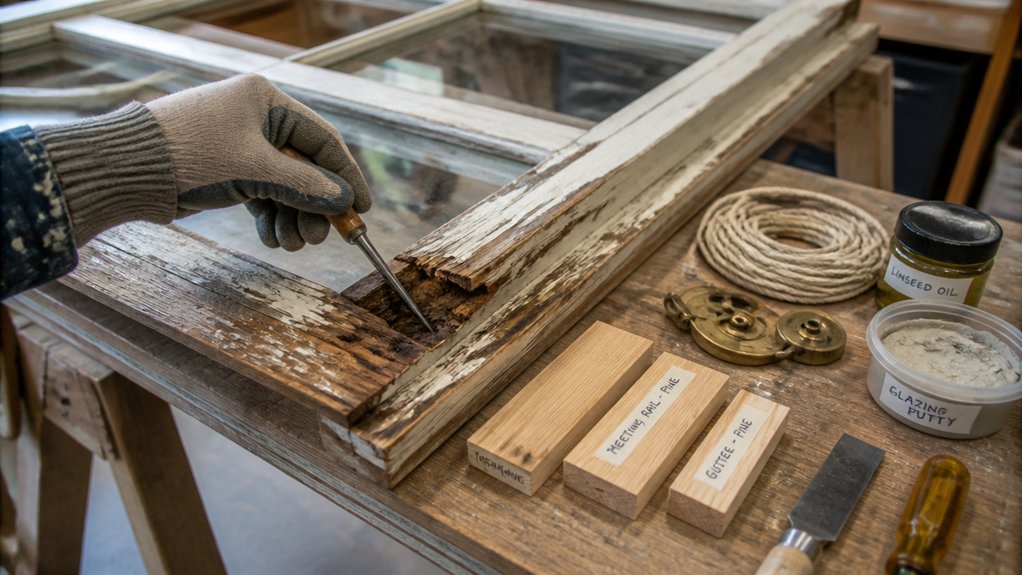
Before you pick up a scraper or reach for the sash cord, inspect each window like a surveyor: check the stiles, rails and meeting rail for soft timber, probe the cill and lower joints for rot, look for failed putty and loose glazing, and note tell‑tale draught lines or rattling that suggests worn staff and parting beads.
Photograph joints, mouldings, and horn profiles so you can keep Historical accuracy. Use Modern tools sparingly: a moisture meter confirms damp pockets; a torch and mirror reveal pulley stiles; a thin blade tests paint build-up.
Decide your DIY limits. You can clean out paint, ease sticking sashes, and replace cords if frames are sound. Stop if you find distorted boxes, widespread wet rot, loose lintels, or cracked crown glass.
Plan the Job and Choose Traditional Materials
Once you’ve judged what’s sound timber and what’s beyond a weekend fix, set out a clear order of work and gather materials that match the window’s age and behaviour.
Aim for Historical accuracy: Georgian and Victorian sashes were built to breathe, so plan for repair, not sealing-up.
Choose slow-grown redwood or oak for splices, and use matching mouldings—staff bead, parting bead, and ovolo profiles—cut to the same section as existing.
For bedding and glazing, favour linseed-oil putty and traditional glazing sprigs; avoid modern silicone.
Specify breathable paint systems: linseed paint or a high-quality microporous exterior finish, plus shellac-based knotting where needed.
Your Material sourcing matters: use reputable UK joinery yards and heritage suppliers, and order extra to allow for wastage and test pieces.
Remove the Sashes Safely and Label Every Part
Before you lift a sash, you’ll protect the glass with tape and a card shield, and you’ll pad the box frame so the old timber and putty don’t chip.
You’ll ease out the staff bead and parting bead in order, keeping the cords under control to prevent a sudden drop.
As each catch, pulley, bead, and sash comes off, you’ll label it clearly (top/bottom, left/right, room and elevation) so everything goes back exactly as the joiner intended.
Protect Glass And Frame
Although you might be itching to prise things apart, you’ll protect both the glass and the box frame by removing the sashes methodically and labelling every part as it comes off. Old crown glass chips easily, and Georgian or Victorian linings bruise if you lever carelessly, so work like a cabinetmaker, not a demolition crew.
- Tape a neat “X” of low‑tack masking tape across each pane for Glass protection, then fit a corrugated card shield inside the glazing bar line.
- Lay dust sheets and a soft timber bearer on the sill so rails don’t knock the cill edge.
- Use a wide scraper as a fulcrum and ease beads free without scoring paintwork, aiding Frame preservation.
- Bag brittle putty crumbs and paint flakes at once, keeping the channel clean for reassembly later.
Label Hardware And Sashes
As soon as the beads come away, you’ll want to treat every sash-window part as if it’s bespoke, because in most Georgian and Victorian boxes it is. Ease the lower sash forward, cut any paint bridges with a sharp knife, and lift it clear without twisting the meeting rail. Tie the cords to stopweights dropping, then pin and bag them.
Move straight to hardware labeling: tag lifts, fasteners, pulleys, and screws, noting which side faces the room. Use masking tape flags and a pencil code (L/R, upper/lower), then bag fixings with the matching tag.
For sash identification, mark each sash discreetly on the top edge or inside stile, never on the visible face. Photograph each stage to preserve original relationships and reassembly order.
Splice and Consolidate Rotten Timber the Traditional Way
You’ll start by probing the sill, bottom rail, and glazing bars with a bradawl to map the rot and mark exactly how far sound timber runs.
Then you’ll cut back to clean wood and splice in matching seasoned softwood with a proper scarf or half‑lap, keeping the grain and moulding profiles true to the period.
Where fibres are weakened but not missing, you’ll consolidate with a low‑viscosity epoxy resin before filling, sanding, and priming for paint.
Assess Rot And Extent
Before you reach for the epoxy or start cutting in new wood, you need to find out exactly how far the decay’s travelled through the sash, box frame, and cill. Start with rot detection: probe suspect rails, meeting stiles, and the lower cill nose with a bradawl; sound timber resists and rings, rot feels spongy and dull.
Follow with moisture assessment, because wetness drives decay—check behind putty lines, at pulley stiles, and where paint’s blistered.
- Map soft zones in pencil, marking depth and grain direction.
- Lift loose paint and putty to expose end grain and black staining.
- Inspect joints for movement, daylight gaps, and rusty nails.
- Trace water paths from cracked glazing, failed drips, and blocked staff beads.
Traditional Splicing Techniques
Once you’ve marked out the decay and traced the water path, move on to traditional splicing: cut back to sound, dry timber, then graft in a matching piece so the sash keeps its original strength and proportions.
Saw a neat scarf or stepped splice, keeping shoulders square and aligned with the grain, then trial-fit until the joint closes without forcing.
For Historical accuracy, copy the original section size, moulding profile, and arris, using a scratch stock or ovolo plane where needed.
Prioritise Material sourcing: choose slow-grown, straight-grained Scots pine or oak to match the existing sash, and avoid modern, wide-ring softwood.
Glue with hot hide glue or casein, clamp with cauls, then pin with fine brads.
Flush, re-cut rebates, and keep joints crisp.
Consolidate With Epoxy Resin
Traditional splices restore missing sections, but they don’t always stabilise the soft, porous fibres left at the margins of decay, especially around cills, bottom rails, and pulley stiles that have been damp for years. To keep the profile crisp and the joinery honest, you consolidate first, then splice, marrying Historic craftsmanship with Modern conservation.
- You rake out punky fibres with a sharp chisel until you reach sound, springy timber, keeping arrises square.
- You warm the area gently, then brush on a low‑viscosity epoxy consolidant so it wicks deep like thin shellac.
- You pack voids with a thixotropic epoxy filler, shaping mouldings to match the existing ogee and lamb’s tongue.
- You sand flush, prime, and leave a clean shoulder ready for a tight, pegged splice.
Replace Sash Cords, Weights, and Service Pulleys
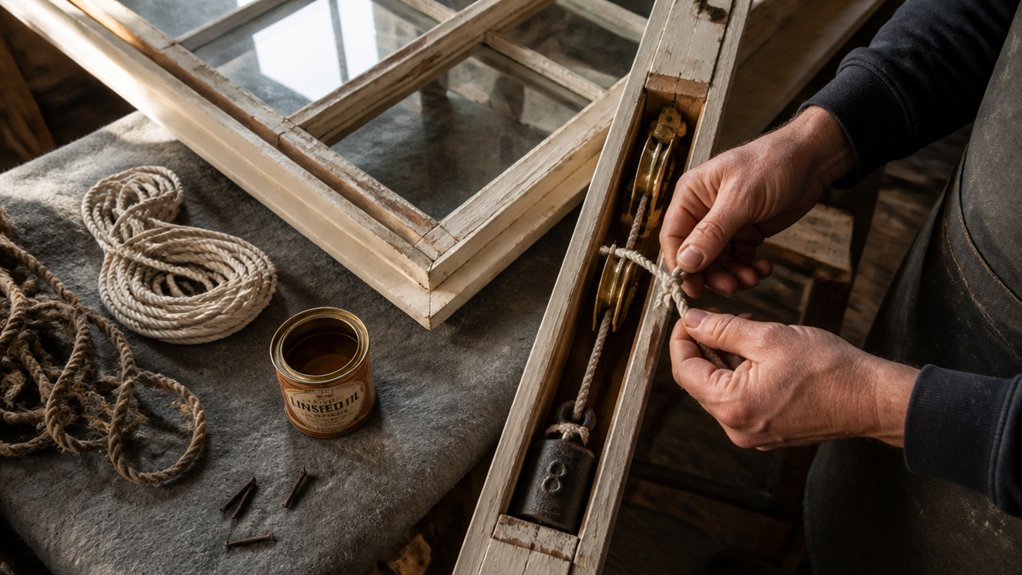
Although the timber and glazing often take centre stage, your sash won’t run properly until the cord-and-weight system is sound. Remove the staff bead, lift out each sash, and label them.
Open the weight-pocket covers, then unhook old cords and fish out the weights. Weigh them on a spring scale; match pairs and note any substitutions from past bodges.
Choose traditional Sash cord materials: waxed cotton or pre-stretched flax, sized to the pulley groove. Thread new cord over the wheel with a lead line, knot through the weight eye, and drop it back into the box.
Rehang the sash and set cord length so it meets the meeting rail squarely.
Service wheels with oil; apply pulley replacement techniques where worn. Replace screws with slotted brass.
Re-Glaze With Linseed-Oil Putty and Correct Bedding
With the cords re-set and the sashes running true, turn to the glass, because poor bedding and tired putty will still let in draughts and rattle.
For historical accuracy, keep any wavy crown glass you can, and match replacements by careful material sourcing from reclamation yards or specialist glaziers.
- Lift out the pane and scrape to bare timber; dust off, then oil the rebate lightly so the putty won’t skin too fast.
- Roll linseed-oil putty to a thin sausage and press it into the rebate for an even bed.
- Set the glass down, tap in glazing sprigs, and check the sightlines are crisp and square.
- Knife a clean front fillet at a consistent angle, trim, and leave it to cure before painting.
Refit, Draught-Proof, and Tune for Smooth Running
Once the putty’s firm enough to take paint, how do you get the sash back in so it runs sweetly and keeps the weather out?
Start by rehanging the upper sash first: hook the cords to the stile, drop the weights, and check the balance before you refit the parting beads.
Keep historical accuracy by reusing lamb’s-wool or brush pile only where it can’t be seen, and stick to timber beads in the original profile—material sourcing matters, so buy from a joinery supplier matching Victorian or Georgian sections.
Refit the lower sash, then ease any binding with a cabinet scraper, not a power sander.
Wax the meeting rails, set the fastener square, and adjust stops so both sashes glide and seal.
Conclusion
When you’ve eased each sash back into its box, you’ve done more than mend a window; you’ve reset a small piece of British timekeeping. The spliced timber is a new rib in an old frame, linseed putty a quiet seal against the weather. Fresh cords lift like reins, weights answer true, and draught-proofing stills the rattle. Finish with breathable paint, and you’ll keep the light honest, year after year.
About the Author



