
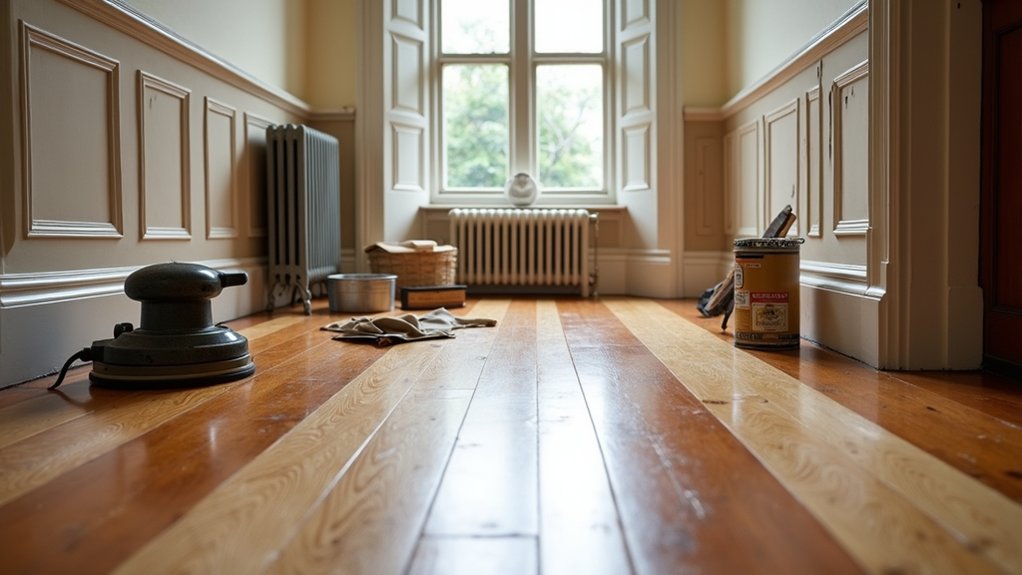
You might think a Victorian floor can hide a century of sins and still come up perfect in an afternoon. You can’t. You start with a slow walk‑through in clear daylight, marking dips, loose boards, black stains, and old paint lines that may carry lead. You clear the room, seal the doors, and choose your sander with care, because one wrong pass can erase the very edge details that prove the floor’s age—and that’s before you lift the first board…
Key Takeaways
- Inspect floors in raking light, using a straightedge to mark cupping, humps, open joints, staining, rot, and springy boards.
- Decide DIY versus professional restoration based on structural issues, beetle damage, and patterns like parquet or borders needing preservation.
- Test skirtings, stair edges, and painted borders for lead before sanding, using approved swabs or lab tests and documenting results.
- Prep the room and tools: seal doors with poly, remove mouldings, ventilate, and choose drum, edger, and detail sanders for each area.
- Repair then refinish: fix loose boards, punch nails, fill gaps with timber slivers, sand through grits, vacuum, stain if needed, and apply 2–3 coats.
Inspect Victorian/Edwardian Floors: Damage, Level, and Sandability
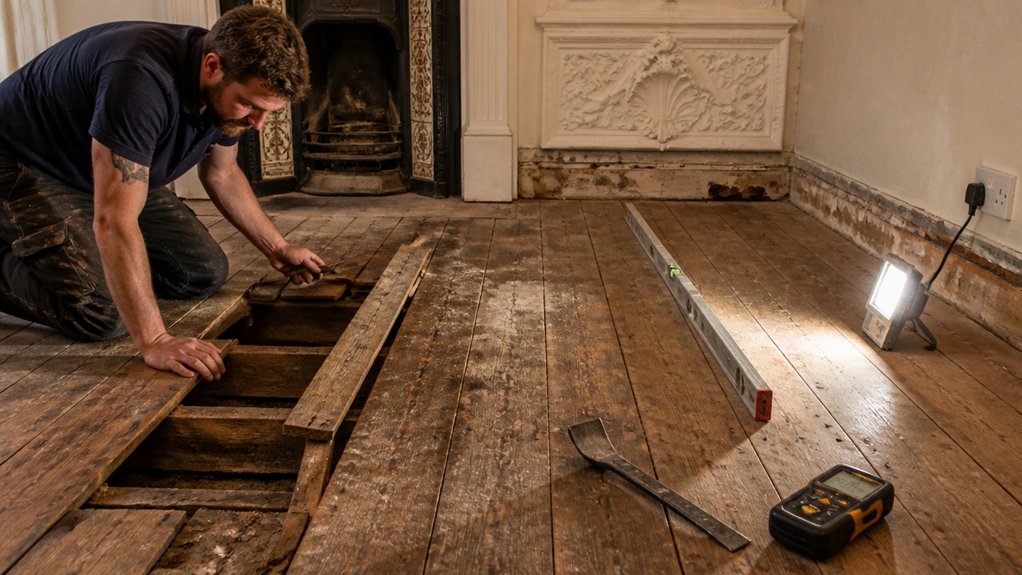
Before you so much as touch a sander, you’ll want to read the floor like a tradesman: start with a slow walk-through in good raking light to spot cupping, crowning, open joints, and any telltale “spring” that hints at loose boards or tired joists.
Set a straightedge across traffic lanes and hearth lines; mark humps and dips that’ll telegraph through any finish.
Probe dark staining at door thresholds and around chimneys for rot, beetle, or old water ingress.
Lift a vent cover and check board thickness at the tongue; you need enough meat for another cut.
Note Flooring patterns—herringbone, borders, or parquet blocks—so you don’t flatten proud details crucial to historical preservation.
Log every fault before work.
Decide DIY vs Pro and Test for Lead Paint
Your inspection notes now tell you whether you’re facing a straightforward refinish or a job that calls for a trained hand, and you’ll want to settle that question before you raise any dust.
If boards are badly cupped, riddled with beetle, or patched with softwood, you’ll do better hiring a restorer who knows period stock and can splice invisibly.
Before any scraping or sanding, test painted skirtings, stair edges, and old floor cloth borders for lead paint hazards. Use an approved swab or send chips to a lab; don’t guess.
- Choose a professional if children, pregnancy, or tight rooms make containment difficult.
- Follow DIY safety precautions: respirator, disposable coveralls, and sealed waste.
- Record results and keep them with your house papers.
Prepare the Room and Choose the Right Sanding Tools
Once you’ve cleared the lead question, strip the room down to bare work: lift draperies and vents, pull shoe moulding if you can save it, and seal doorways, transoms, and registers with taped poly to keep fine dust from wandering through the house. Remove pictures and lamps, cover radiators, and set a box fan in a window to exhaust.
Inspect your flooring materials so you match the kit: parquet, narrow boards, or soft pine each demands restraint. Choose a drum sander for broad, open runs, and an edger for perimeters; keep a detail sander and sharp scraper for corners and under nosings.
Stock grits from 36 to 100, plus vacuum bags. Practice sanding techniques on a closet threshold to learn starts, stops, and feathering.
Repair Boards and Gaps Before Sanding (Keep Period Details)
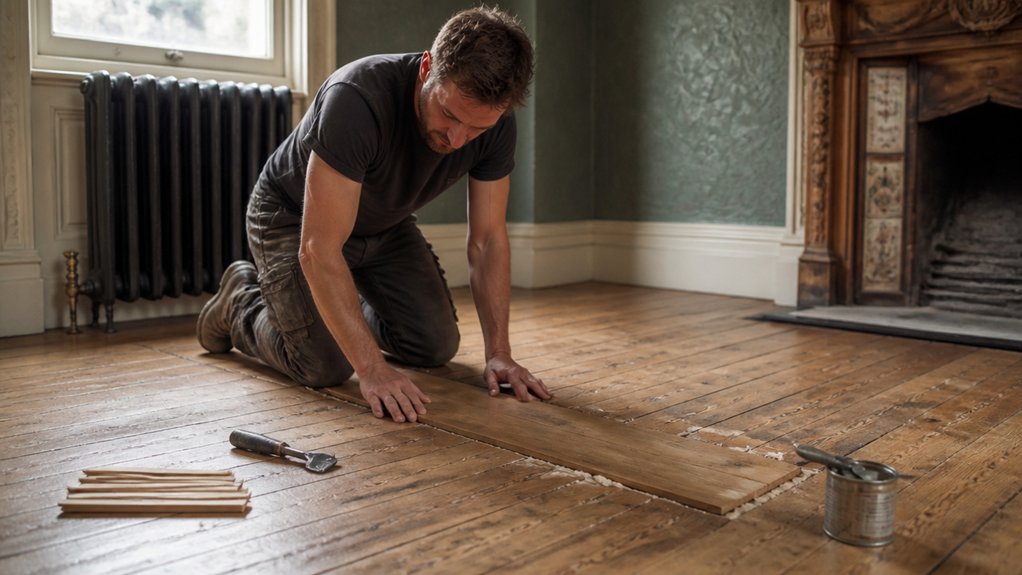
With the room sealed and the sanding kit at the ready, turn your attention to the floor itself and make it sound underfoot. A loose board will chatter under the drum, and a wide gap will only collect grit. Walk the boards, mark springy spots, and lift only what you must for material preservation.
- Re-fix loose boards with lost-head nails or cut brads into joists; keep heads discreet and align with existing fixing lines.
- Replace rotten sections with reclaimed matching species and width; copy the original edge profile for historical accuracy.
- Treat gaps with tapered timber slivers glued sparingly, not brittle filler; leave hairline seasonal movement, as period floors breathe.
Finally, punch nails just below the surface, remove old tacks, and set protruding screws, so the machines won’t strike metal or tear grain.
Sand, Clean, and Finish to Match the Original Look
After the repairs set firm and the fixings sit safely below the surface, start sanding in measured passes that respect the floor’s age rather than trying to erase it. Begin with a modest grit to level ridges, then step through finer papers, always working with the Wood grain so the boards keep their quiet, linear character.
Use a hand scraper at edges and around hearths where machines can round details.
Vacuum thoroughly, then wipe with a barely damp cloth or tack rag; any dust left behind will dull the final coat.
Choose a stain only if the patched boards must be calmed to the old tone. Seal, then build two to three coats, watching the Finish sheen: satin suits most Victorian rooms, while a soft gloss can suit Edwardian parlours.
Lightly abrade between coats.
Conclusion
When you’ve inspected every board, tested for lead, and chosen whether to DIY or call a pro, you’re ready to bring these floors back with care. You’ll clear the room, seal the thresholds, repair loose and rotten sections with matching reclaimed timber, then sand in measured stages—coarse to fine—until the surface lies true. Clean as you go, then stain or seal to suit the original tone. Like turning a key, patience reveals the period finish.
About the Author



