
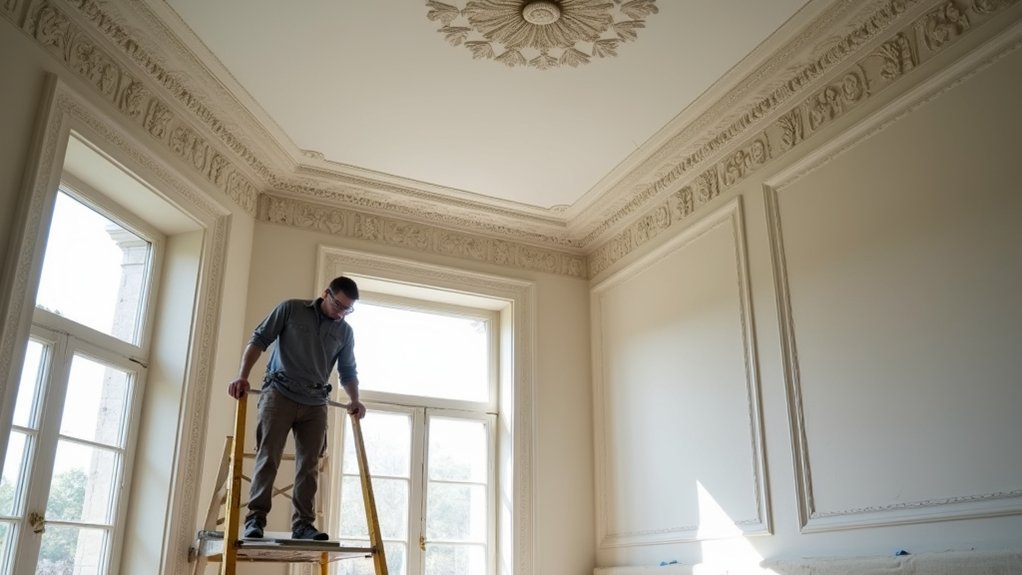
You probably don’t know that Georgian cornice shadows are as critical as the profile itself, and a millimetre off will telegraph a repair. You start by mapping every crack and hollow, then strip back failed paint and filler without bruising the lime. You pin and consolidate any loose run before you take a silicone mould of the surviving detail. Next, you cast and stitch in new lengths and roses—then the real test begins…
Key Takeaways
- We inspected each room for cracks, movement, staining, and hollow sections, mapping defects with photos and raking light before any intervention.
- We removed only failed paint and filler safely, controlling dust and avoiding aggressive sanding, heat, or over-stripping that would soften original detail.
- We stabilised loose plaster by pinning, injecting lime-compatible grout, reinstating keys, and sealing with weak size to balance suction and prevent future failure.
- We replicated missing profiles using silicone moulds and rigid mother moulds, then cast matched gauged plaster lengths after trial pulls confirmed crisp beads.
- We dry-fitted, scribed, bedded, and pinned new sections, then stopped, feathered, and re-cut shadow lines so joins disappeared and Georgian character returned.
Assessing Georgian Cornicing and Ceiling Rose Damage
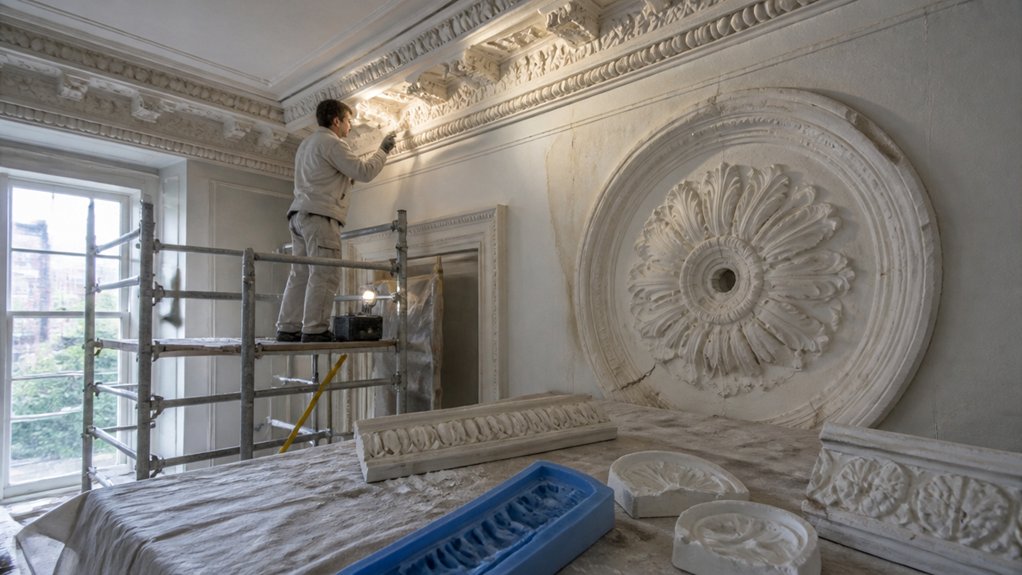
Although Georgian cornices and ceiling roses often look sound from the floor, you’ll spot the real story once you inspect them up close: check for hairline cracking along mitres and run lines, chalky or delaminating face plaster, hollow-sounding sections when gently tapped, and tell-tale shadow gaps where mouldings have pulled from the wall or lath—then note any staining, rust bloom from old fixings, or crisp “picture-frame” fractures that point to movement or past water ingress rather than simple age.
Map defects room by room, marking direction of cracks and any sag between joists. Probe for friable lime, gypsum patches, and timber grounds. Your Material analysis guides compatible repairs; your Historical preservation brief dictates what stays, what’s consolidated, and where you’ll reinstate lost enrichment without over-sharpening profiles.
Photograph junctions and take rubbings for runs.
Removing Old Filler and Paint Safely
Before you lift a scraper, treat old filler and paint on Georgian plasterwork as potentially brittle—and, in many houses, potentially leaded—so you don’t turn a tidy repair into torn arrises and airborne dust. Mask up to P3, isolate the room, and mist surfaces lightly to keep particles down.
Start with a scalpel and narrow shave hook, working with the run of the moulding; you’re aiming to lift failed layers, not abrade the original lime-and-hair face. Avoid aggressive sanding and heat guns: both can smear paint into pores and soften sharp ornament.
For Historical accuracy, you’ll only remove what’s unsound, leaving intact early coats where they protect detail. Let Material selection guide solvents: test small patches, then use mild alkaline poultices or steam, wiped clean.
Stabilising Loose Plaster Before Moulding
Before you run new mouldings, you test for movement: tap for hollows, watch for hairline cracks that open under hand pressure, and note any sag at laths or joists.
You then consolidate what’s weak—pin back loose work, inject lime-compatible grout or consolidant where it’s friable, and reinstate sound keys so the face won’t drum.
Once it’s firm, you true the arrises, set gauges, and leave a clean, keyed ground so your running mould can pull crisp and hold fast.
Diagnosing Plaster Movement
Where’s that hairline crack really coming from—settlement, vibration, or a failed key behind the lath? You start by mapping it: pencil marks, dates, and photos, so you’ll see if it’s alive.
Tap across the run with your knuckles; a crisp note means sound plaster, a hollow drum points to detached backing. Use raking light to read ridges, sag, and shadow lines around the cornice and rose.
Check junctions at joists and chimney breasts for seasonal movement, and look for rust staining from old nails. Probe gently at edges to find friable arrises without enlarging breaks.
Historical accuracy and Material compatibility begin here: you identify the original lime/gypsum mix and rule out modern stressors before any moulding work begins.
Consolidating Weak Substrate
Once you’ve mapped the crack and proved which sections still ring sound, you can stop the damage from spreading by consolidating the weak substrate before you take a mould off it.
You’ll read Surface moisture first: blotting paper or a carbide meter tells you if salts or damp are still active, because you can’t lock in wetness. Rake out friable edges with a small comb, then vacuum dust from haired lime and lath junctions so your consolidant keys.
For substrate stability, you’ll pin hollow lifts back to the laths with stainless screws and penny washers, easing pressure until the plaster beds tight. Inject thin lime-casein or acrylic micro-emulsion behind loose runs, working from sound to failed, and wipe any squeeze-out.
Finally, recheck for movement with a light tap.
Preparing For Moulding
Although the crack may look quiet after consolidation, you still need to stabilise every suspect bit of run and enrichment so the moulding rubber doesn’t tug it away.
Tap along the cornice and rose with a fingernail; hollow notes mark debonded plaster. Open hairline edges with a fine scraper, then syringe in lime-based adhesive or casein size, working from sound ground into the void.
Pin any proud sections with stainless screws and penny washers, just snug, then bed over with fine setting plaster. Recut undercuts with a knife so the rubber keys cleanly without snagging.
Dust off, then seal with weak size to control suction and keep Decorative patterns crisp. You’ll lift the mould with confidence and maintain Historical accuracy.
Making Moulds to Match Original Cornice Profiles
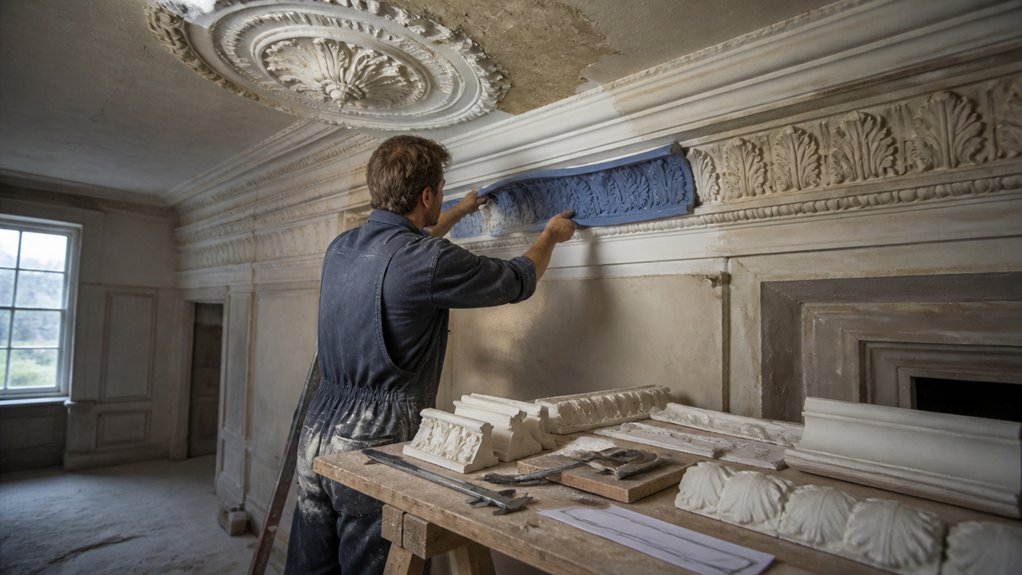
Before you so much as mix plaster, you’ll need a mould that captures the original Georgian cornice profile with no guesswork. You start by taking a crisp running profile off the best surviving length, checking mitres and ovolo quirks for Historical accuracy. You clean back to sound arris, then pull a thin clay or plasticine bed so the template can read every bead and fillet.
For Material selection, you choose flexible silicone for deep undercuts, backed with a rigid plaster or fibreglass mother mould so it won’t distort. You key and register the halves, mark centre-lines, and label room and elevation to avoid costly mix-ups.
- Relief when the profile finally “clicks” true
- Respect for every hand-cut shadow line
- Confidence you’re honouring the house’s craft
Casting and Fitting New Cornice and Ceiling Rose Details
You’ll cast fresh lengths and rose enrichments from your matched moulds, gauging plaster to a tight cream and reinforcing where the run needs stiffness.
You’ll offer each piece up dry, scribe to out-of-true Georgian walls and ceilings, then bed it on neat stuff so the arrises land clean and the mitres close.
You’ll finish with fine stopping, feather the joints, and re-cut any lost quirks so the new work reads as original.
Mould Making And Casting
Once you’ve confirmed the surviving cornice and rose profiles are sound enough to copy, you can move straight into mould making and casting so the new runs read as true Georgian work rather than a modern patch.
For Historic restoration, you’ll take a clean squeeze from the best section, then build a robust case mould that holds crisp undercutting. Material selection matters: you’ll use fine casting plaster, gauged to a steady set, and hessian or scrim reinforcement where the original carried weight.
You’ll cast trial pulls first, checking the bead, fillet, and leaf tips don’t soften, then run production casts in matched lengths and petals.
- You feel relief as lost ornament reappears
- You sense the house’s dignity returning
- You trust each cast will honour its maker
Precise Fitting And Finishing
Trial casts approved, the work shifts from bench to ceiling, where accurate fitting keeps Georgian lines sharp and believable. You set out centre lines, strike a true level, and dry-offer each length to read the room’s quirks.
You scribe to wonky lime plaster, undercut where needed, then butter the back with casting plaster and a touch of adhesive for grab. You pin through the arris, chase joints tight, and wipe back squeeze-out before it sets.
For ceiling roses, you locate joists, fix a plywood pattress, and run screws through the eye into solid timber. You fill nail holes, run fine mitres, and tool crisp enrichments with Decorative techniques, guarding historical accuracy.
Finally, you sponge, stop, and lightly sand, ready for distemper or breathable paint.
Blending Repairs for an Invisible Georgian Finish
Although the fresh patch may look sound on the hawk, it won’t pass in a Georgian room until it disappears under raking light. You feather edges with a damp brush, then knife in fine stuff to chase every hairline.
For Historical accuracy, you keep profiles crisp: no over-sanding that rounds the ogee or softens the egg-and-dart.
For Material compatibility, you match lime, gauging, and suction so the repair cures at the same pace as the original, not proud, not crazed.
You mist, set, and scrape back, then run a small mould to re-cut shadow lines.
- You watch the cornice line settle, and the room exhales.
- You feel relief when the join vanishes at dusk.
- You know pride when the rose reads whole again.
Conclusion
You’ve taken what was cracked and overpainted and returned it to crisp Georgian order. By stripping failed filler, pinning and stabilising loose runs, then pulling accurate silicone moulds from surviving profiles, you’ve let the original geometry lead. New casts bed in tight, with shadows aligned and mitres true. Where modern repairs shout, yours whisper—sanded, feathered, and lime-finished to disappear. The room reads old, yet stands sound.
About the Author



