

By coincidence, you’ve just noticed the skirting in the front room matches the architrave in the hall, yet neither quite fits the period. You start by studying local Victorian profiles and their usual proportions, then you take careful measurements and make a template you can test in more than one spot. You choose sensible timber, mill it dead square, and set up jigs so every run repeats cleanly—but the real test comes when you cut the first shadow line…
Key Takeaways
- Identify your Victorian period and hierarchy (skirting, architrave, rails) to match authentic proportions, ornamentation complexity, and shadow depth.
- Measure and trace existing mouldings precisely, capturing quirks, fillets, ovolos, and cavettos, then document dimensions with photos and labeled sketches.
- Make reusable MDF or birch-ply templates with datum faces and fences, then test-fit at corners and uneven plaster to verify accuracy.
- Select stable, well-seasoned timber matching original use, mill it square, acclimatize indoors, and maintain crisp edges through careful machine setup.
- Cut profiles in staged router-table passes using jigs, dry-fit mitres, scribe to walls, pin and glue neatly, then prime and topcoat for period sheen.
Study Victorian Trim Styles, Sizes, and Rules
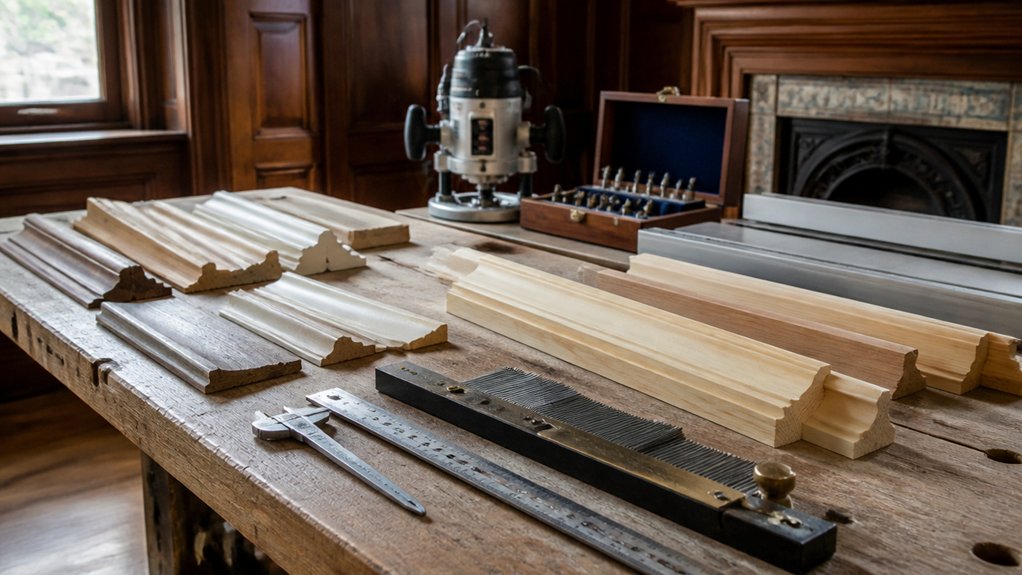
Before you switch on a router or set a spindle moulder, you need to read Victorian trim the way a joiner would’ve: by style, proportion, and rule-of-thumb. Place the house in its Historical context—early, mid, or late Victorian—and you’ll predict the language of the mouldings.
You’ll see early work favour flatter ovolos and restrained fillets; mid‑period rooms deepen the cornice and enrich the architrave; late terraces chase bolder shadows and busier Victorian ornamentation. Check the hierarchy: skirtings stand tallest, architraves sit lighter, picture rails align to sightlines, and dados belong where chairs once scuffed.
Mind the “parts” logic—quirks, beads, and hollows must read cleanly at a glance.
Measure and Trace Existing Trim Profiles
You’ll start by recording the trim’s full profile dimensions—overall height, projection, quirks, fillets, and any ovolo or cavetto—using calipers and a rule, noting paint build-up and wear.
Then you’ll trace the section onto stiff card or thin ply to make an accurate template you can carry from room to room.
Finally, you’ll offer it up along the run—at mitres, returns, and uneven plaster—to verify the fit before you cut fresh stock.
Document Profile Dimensions
Although Victorian trim often looks like a single sweep of moulding, it’s really a precise stack of radii, fillets, and quirks that you’ll need to capture accurately if you want a faithful match. Record every dimension before you touch a plane or router: overall projection from wall, overall drop, and each step’s width and depth.
Use digital calipers for small fillets, a steel rule for runs, and radius gauges (or drill bits as references) for coves and rounds. Note quirk widths and bead diameters, and mark any asymmetry caused by settling or paint build-up.
Write it all in a measured sketch with datum lines and units in millimetres. This supports historical accuracy and guides material sourcing when you’re matching slow-grown pine, sapele, or tulipwood stocks.
Create Accurate Templates
Once you’ve captured the key dimensions, make a physical template of the profile so every quirk, bead, and cove transfers to your new work without guesswork. Use 1–2mm MDF or stout card, as it cuts cleanly and won’t fuzz.
Hold the template stock tight to the existing architrave or skirting, then knife the outline rather than relying on a pencil line. Work in short, controlled passes around ogees and fillets, keeping the blade square to avoid undercutting.
Mark datum faces and the “room side” so you don’t flip the pattern. For deeper Victorian ornamentation, take a rubbing with tracing paper first, then refine with the knife.
Label the template with location, width, and date for Historical accuracy.
Verify Fit Along Runs
With your template cut and labelled, offer it up along the full run of the architrave or skirting, not just at the neatest section. Victorian joinery often wanders: plaster bellies, settlement, and generations of overpainting can soften quirks and fillets. Check at corners, mid‑span, and by the hearth where heat and knocks distort profiles.
Mark any daylight gaps with a sharp pencil, then note whether you’ll plane the stock, adjust the cutter height, or tweak the fence.
If the profile repeats as furniture framing elsewhere—mantel surrounds, cupboard facings—verify it matches there too. Photograph each test position with a rule in shot, and pencil reference lines for decorative accents so your finished run reads continuous and true.
Pick Period-Correct Wood (and Smart Substitutes)
Because Victorian joiners chose timber for how it planed, held a crisp moulding, and took polish, you’ll get the most convincing results by matching the wood to the job rather than defaulting to whatever’s cheapest at the merchant.
For painted skirting, architraves, and dados, pick slow‑grown deal (often Scots pine) or straight‑grained spruce; it behaves like the original softwoods and keeps costs sensible without sacrificing Historical accuracy.
For stained or varnished features—newel caps, handrails, doors—use sapele or utile as smart substitutes for mahogany, or European oak where it suits the house.
Keep an eye on medullary rays and colour so repairs don’t shout.
Prioritise local, FSC stockists and reputable reclamation yards for Material sourcing, and reject twisted, resin‑pocketed boards.
Mill Square, Crisp Stock for Victorian Trim
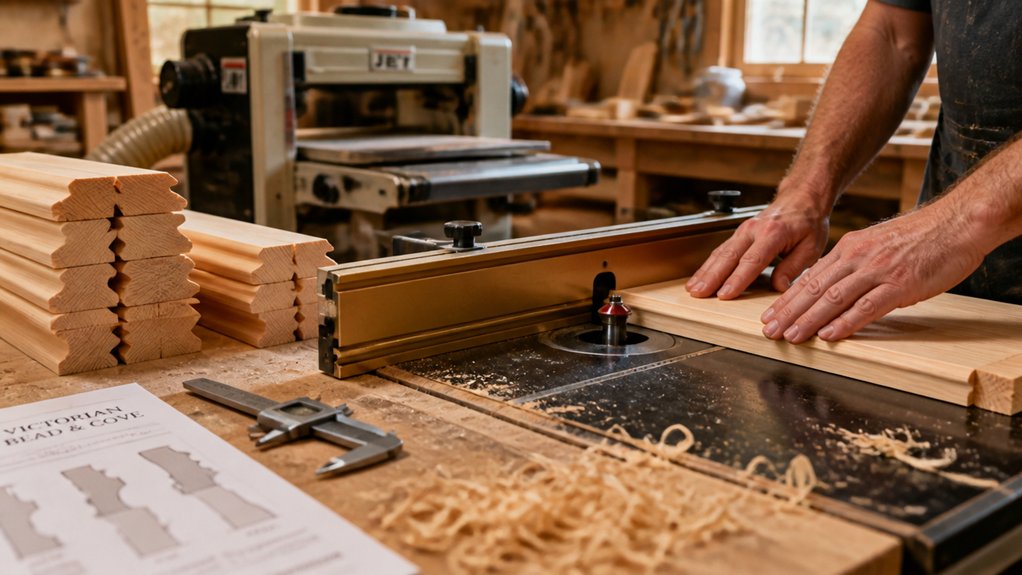
You can’t get convincing Victorian trim unless you start with clear, stable stock—straight-grained, well-seasoned, and free of shakes and knots where the moulding will read.
Square your boards dead true with jointer, thicknesser, and a reliable engineer’s square, because any wind or taper will telegraph through long skirtings and architraves.
Then keep your profile edges crisp by taking light passes, backing up exits to prevent spelch, and breaking only the tiniest arris where the originals would’ve been eased by wear.
Selecting Clear, Stable Stock
Although Victorian profiles look forgiving once painted, they’ll only read crisp and true if you start with clear, stable stock milled dead square.
Choose kiln‑dried softwood for most skirtings and architraves, but pick straight‑grained European oak or sapele where knocks are likely.
Sight down every board for wind, bow, and twist, then reject anything with pith, resin pockets, or loose knots near the arris where beads and quirks will run.
Aim for consistent moisture content and buy from a proper timber merchant, not wet DIY PAR.
Let boards acclimatise indoors for a week, stickered and weighted, before you cut to length.
That discipline keeps your moulded decorative motifs sharp under vintage paint, with tight mitres and no shadowy steps.
Squaring Lumber Accurately
Once the timber’s acclimatised, mill it dead square before any beads, quirks, or ovolos go anywhere near it, or the finished moulding will telegraph every slight belly and out-of-true edge.
Face-joint one reference side on the planer, then edge-joint a true 90°. Mark both with a cabinetmaker’s triangle.
Thickness from the reference face, taking light passes to avoid springing.
Rip to width on the saw with the jointed edge against the fence, then shoot the sawn edge if you need dead accuracy.
Crosscut ends square and identical, using a stop for repeat lengths.
Check twist with winding sticks and a straightedge.
Square stock makes joints and fasteners sit tight, and it pays off later in wood finishing.
Maintaining Crisp Profile Edges
Because Victorian mouldings live or die by the sharpness of their arrises, keep the stock dead square and the edges uncompromised from the moment it leaves the planer. Check with a mill square at every change of machine: planer, thicknesser, then spindle moulder. If you see light under the blade, correct it before you cut any profile.
Set sacrificial fences and backer blocks so the last fibres don’t spelch at the exit. Take light passes, climb-cut only where safe, and keep cutters honed; a dull knife rounds quirk lines and ruins shadow.
For small runs, use a shooting board to true ends before mitres. Store lengths flat and wrapped to stop bruising. Crisp edges make ornamental motifs read cleanly and keep decorative carvings from looking soft after paint.
Make Jigs for Repeatable Victorian Profiles
When you need a run of moulding to look as if it’s come straight from a late‑Victorian joiner’s shop, you can’t rely on freehand router work and hope for the best. You build jigs that force repeatability, just as the old pattern shops did.
Start by tracing your chosen profile from an original length or measured drawing, then transfer it to 9–12mm birch ply or MDF for template consistency. Fair the curve with files and cabinet scrapers, not sandpaper that rounds arrises.
Add a straight reference fence and clearly marked centreline so every blank registers the same way. Use brass screws and glued blocks for jig durability, and seal the template edges with shellac to resist wear. Label each jig with room, date, and profile name.
Cut Moldings With Router Bits and Table Saw Setups
Although the Victorians cut much of this work with hollows, rounds, and a moulding plane, you can still produce the same crisp shadow lines by combining a few well-chosen router bits with disciplined table‑saw set‑ups, taking the profile in staged passes rather than trying to “one‑hit” it.
Start by ripping accurate blanks from straight-grained pine or sapele, then true one face and edge. On the table saw, cut rebates and steps first using a zero‑clearance insert and featherboards, so the router bit references clean shoulders.
At the router table, use an ovolo, cove, or beading bit, raising the cutter a millimetre at a time and keeping the same feed direction. Ease burn marks with light handheld sanding.
Dry‑check the profile under raking light before any finish staining.
Assemble, Install, and Finish for a Period Look
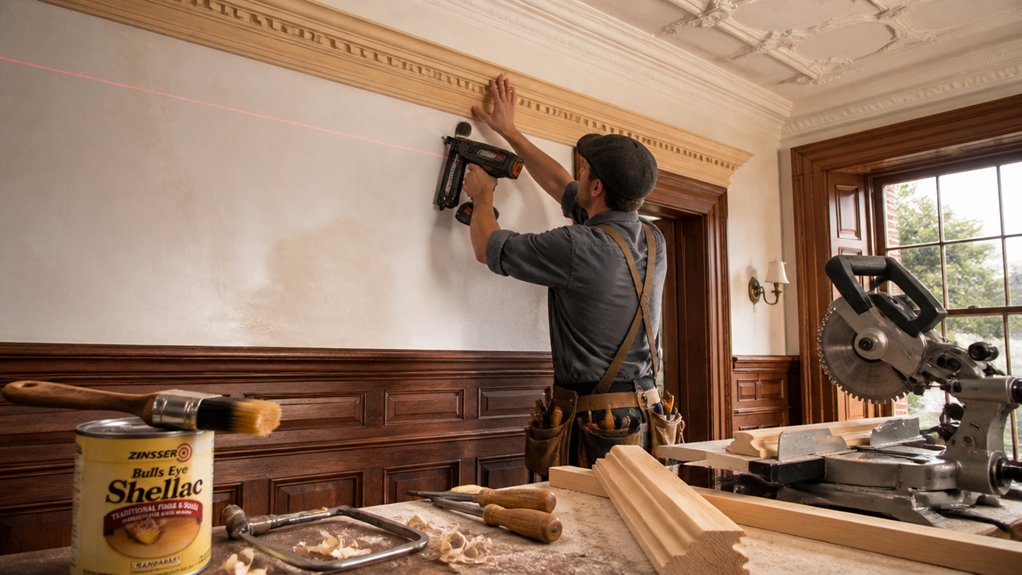
Once your mouldings match and the mitres close up dry, you can move on to assembly and installation in a way that still reads “Victorian” even with modern adhesives and fixings. Glue joints with a thin bead of aliphatic resin, then pin with fine brads or lost-head nails; set them just below the surface. Scribe to uneven plaster, and pack gaps with tapered shims so shadows stay crisp in Historical context.
- Tight mitres like a picture frame in a Bayswater parlour
- A centred rosette hinting at Victorian symbolism
- Skirting snug to hearth bricks, no daylight showing
- A satin oil finish catching gaslight-like warmth
Fill nail holes with tinted wax, then sand lightly. Prime, undercoat, and topcoat with an eggshell for a calm, period sheen.
Conclusion
If you’ve measured twice, templated once, and cut in steady stages, you’ll end with trim that reads unmistakably Victorian in a UK terrace. Mind your shadow lines and keep profiles consistent from skirting to architrave. One telling figure: Historic England notes around 400,000 listed buildings in England—proof that getting details right isn’t fussy, it’s standard practice. Finish with period-sensible paint, crisp mitres, and you’ll make modern tooling disappear.
About the Author



