
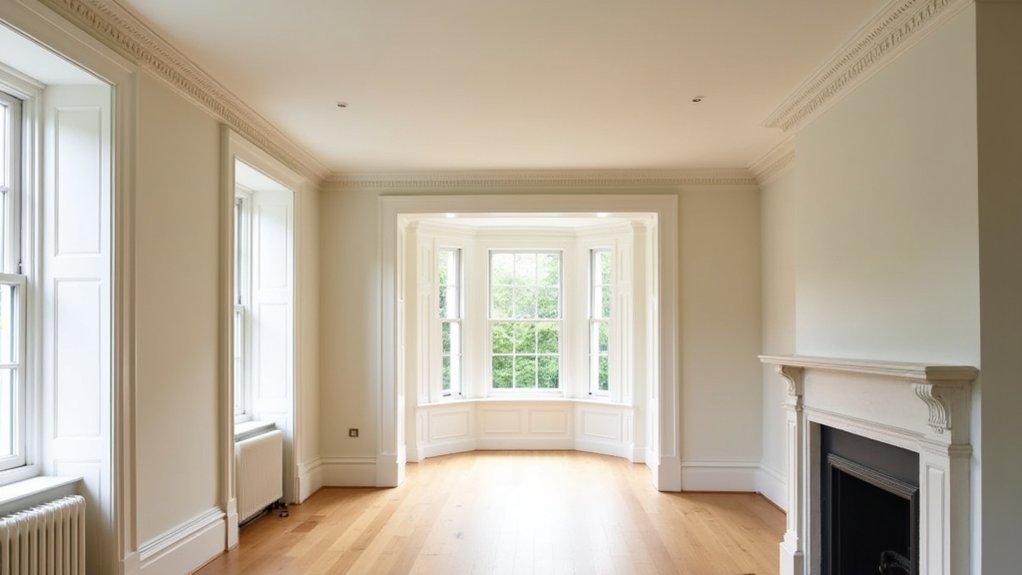
You start by treating the mouldings like evidence, not decoration, measuring each run, photographing profiles, and marking what’s original versus later patchwork. Then you choose a lead-safe stripping method—heat, gel, or steam—based on timber species and detail depth, so the crisp beads and quirks survive. You pin and fill cracks with lime-based repairs, splice missing sections with matched timber, and prime and caulk for clean shadow lines—but the real turning point comes when you find what the paint was hiding…
Key Takeaways
- We surveyed every surviving moulding, recording profiles, timber details, and losses to guide accurate conservation and replacement.
- We tested for lead and used gentle, profile-appropriate paint stripping—infrared heat, solvent-free gels, and cautious steam with HEPA extraction.
- We repaired cornices like decorative plaster, stitching cracks and joints with pins and plaster keys to keep crisp shadow lines.
- We matched missing profiles using templates and rubbings, splicing new timber with long scarf joints and aligned grain for seamless movement.
- We primed and painted in thin, disciplined coats, using minimal caulk only at hairline junctions to preserve quirks and arrises.
Survey Georgian Mouldings: What’s Original and What’s Lost
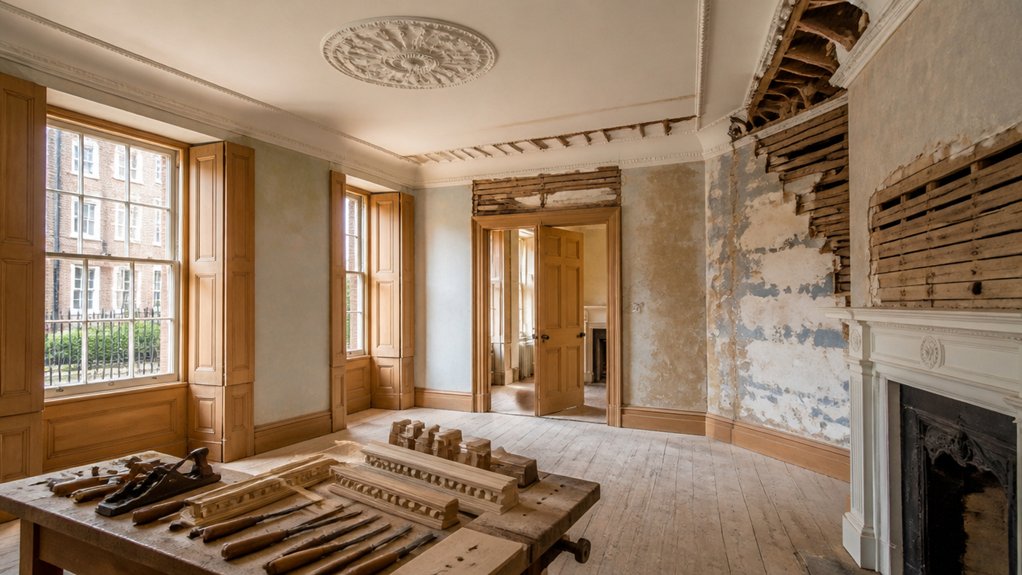
Before you lift a chisel or order new profile knives, you should walk the room and catalogue every Georgian moulding that survives—cornices, dado rails, architraves, skirtings, panel moulds, and any chimney-piece surrounds—because the smallest quirks in their run, scale, and mitres often tell you what’s original and what’s later repair.
Measure profiles with callipers, take rubbings, and photograph junctions in raking light so you can read tool marks, shrinkage gaps, and crispness.
Check timber species, nail types, and scarf joints; machine-planed faces and uniform beads usually signal later work.
Map losses: corners softened by damp, sections cut for wiring, or over-thick “repairs” that crowd reveals.
You’ll protect Historical accuracy and prioritise Material conservation by salvaging sound lengths for splicing, not wholesale replacement.
Choose a Safe Paint-Stripping Method (Heat, Gel, Steam)
Although Georgian joinery often wears a century’s worth of oil paint, distemper, and later gloss, you’ll strip it more safely—and keep edges crisp—when you match the method to the timber, profile depth, and likely lead content. Start with a lead test and plan for lead paint removal: sealed room, HEPA extraction, and damp wiping.
Use gentle heat (infrared or low-temp gun) on flat architraves and doors, keeping the nozzle moving to avoid scorching resinous pine and lifting veneers.
Choose a solvent-free gel for carved brackets and tight ovolos; it clings, softens layered coatings, and supports environmentally friendly stripping when paired with reusable scrapers and minimal rinse.
Reserve steam for robust sections only; it swells fibres and can open joints if overdone.
Repair Georgian Cornicing: Cracks, Joints, and Loose Runs
Once you’ve cleared back the paint build-up, the cornice tells you exactly what it needs: hairline shrinkage cracks along the run, open mitres at corners, and sections that sound hollow where the plaster’s let go of its timber grounds. Treat it like Decorative plaster, not filler-grade trim, and you’ll keep that crisp Georgian shadow line.
- Rake cracks to a shallow V, mist, then press in lime putty or fine setting plaster to match the original breathability.
- Close open joints with stainless pins and tight plaster keys, not blobs of caulk.
- Refix loose runs by injecting adhesive grout behind, then clamp with padded props until set.
- Finish with fine abrasive and a thin skim, using Modern restoration techniques, then spot-prime before repainting.
Match Missing Profiles and Splice in Like-for-Like Timber
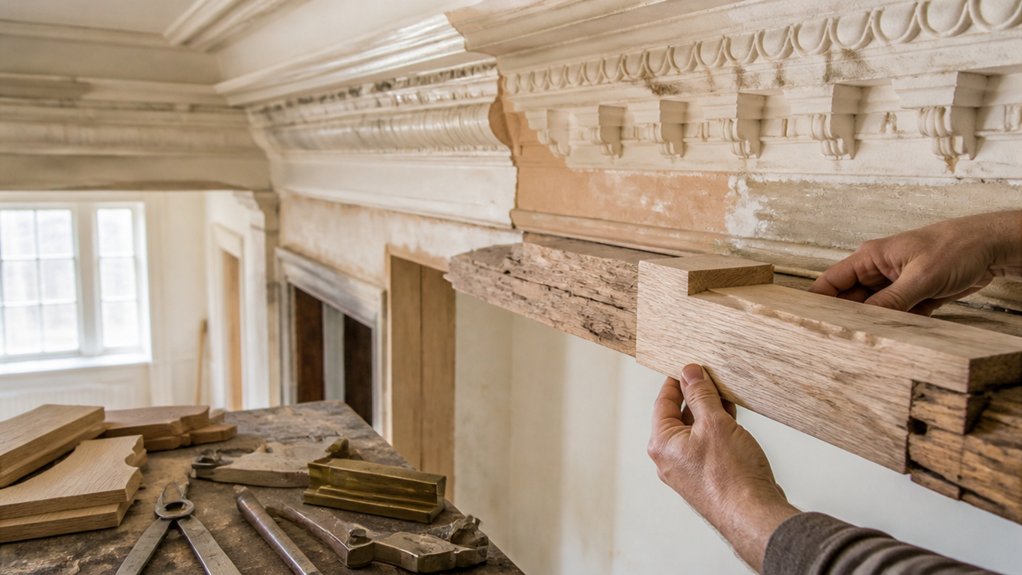
When a Georgian moulding run goes missing, you’ll get the best result by treating it like joinery archaeology—identify the exact profile, timber species, and grain orientation, then reproduce only what’s lost rather than “improving” the line.
Start by taking a rubbing or templating the surviving section, then mill a test piece until the quirks and fillets land perfectly in raking light.
For timber matching, choose the same softwood or hardwood, then orient growth rings to mirror the existing run so seasonal movement stays consistent.
Cut back to sound material and use long, scarfed joints instead of blunt butts.
With profile splicing, pare the new piece to a whisper-tight fit, pin discreetly, and glue sparingly so the moulding reads continuous.
Prime, Caulk, and Paint Mouldings for Sharp Shadow Lines
Before you reach for topcoat, lock the moulding into a crisp, Georgian-worthy read by building your finish in disciplined layers—prime to unify porosity and expose tool marks, caulk only the hairline junctions that should disappear, then paint with restraint so the profile keeps its intended shadow lines.
Start with an alkyd or shellac primer on resinous timber; for Decorative plaster, use a breathable acrylic primer that won’t seal it dead. Sand lightly between coats to keep arrises sharp.
Run paintable caulk sparingly at wall junctions, never across carved beads or quirk lines; you’re preserving Historical accuracy, not erasing it.
Finish with two thin coats, brushing along the run and tipping off.
- Mask the ceiling line, not the profile
- Keep caulk off returns and mitres
- Use a sash brush for clean fillets
- Choose low-sheen for depth
Conclusion
You don’t “restore” Georgian mouldings by slapping on modern goo and calling it heritage. You survey what’s true, mourn what’s gone, then strip paint the lead-safe way—heat, gel, or steam, chosen like a tailor’s cut. You pin loose runs, fill cracks with lime, and splice missing profiles in matched timber so joints vanish. Then you prime, caulk with restraint, and paint for razor shadow lines—because elegance always was precision.
About the Author



