
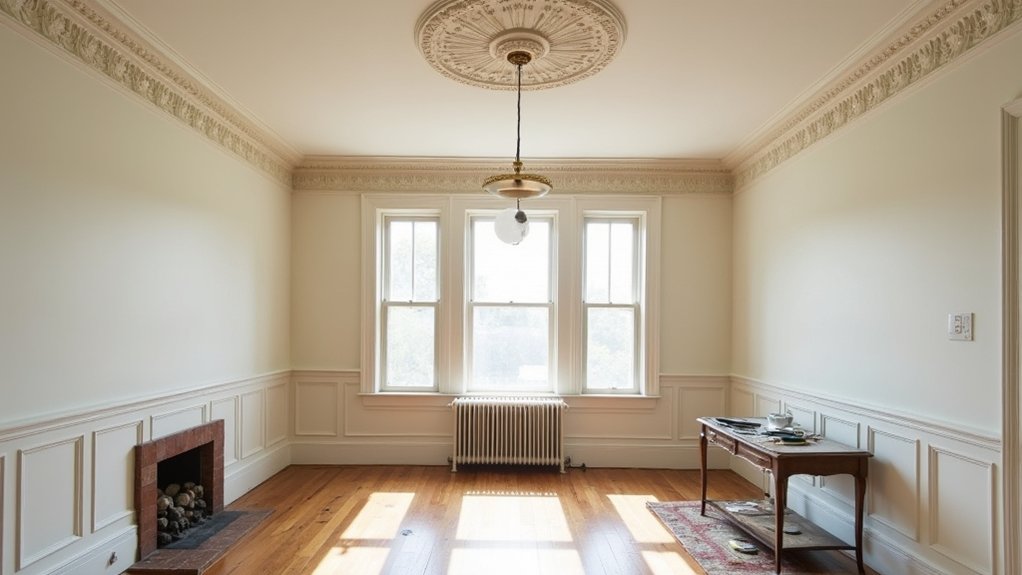
You’re updating a period home, so you’ve got to start with what you’re allowed to change, not what you’d like to. Check listing status, conservation area rules, and whether consent applies before you touch windows, fireplaces, or plasterwork. Then you can map what to repair, what to upgrade discreetly, and what must stay breathable and reversible. Get that order wrong and you risk damp, failed inspections, and lost detail—so what comes first?
Key Takeaways
- Confirm listing or conservation status, consult conservation officers, and secure planning and Listed Building Consent before changing historic features.
- Document existing details with photos and notes, then prioritise repairs to damp, rot, and movement before cosmetic updates.
- Use like-for-like, breathable materials—lime plaster, compatible mortar, and reclaimed mouldings—to patch and match original fabric.
- Upgrade windows, doors, and floors by repairing first, then adding reversible draught-proofing, secondary glazing, and appropriate finishes.
- Modernise safely and discreetly: meet Part J and electrical standards, use certified installers, and keep all tests, certificates, and sign-off records.
Know the Rules for Listed Period Homes
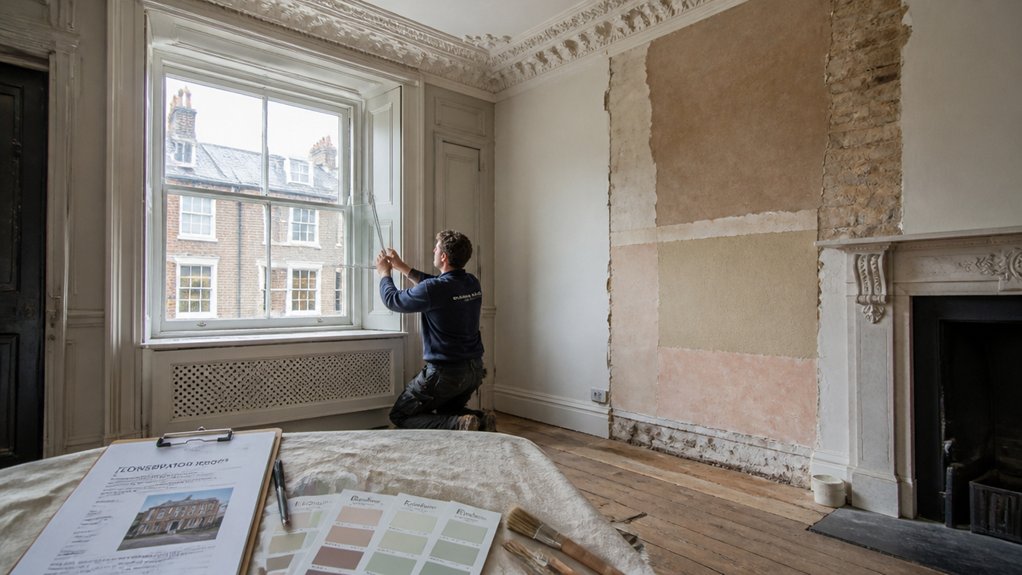
Although you might be keen to modernise, you’ll need to understand the legal framework first if your period home is listed: listing protects specific historic features and can restrict what you change, how you change it, and even what materials you use.
Check the listing entry on the National Heritage List for England (or the relevant register in Scotland, Wales, or Northern Ireland) to see what’s significant.
Speak early with your local council’s conservation officer; you’ll often need Listed Building Consent alongside Planning permissions, even for internal alterations.
Keep a clear record: photos, drawings, and a brief heritage statement showing how proposals support Historic preservation.
Use like-for-like materials and reversible methods where possible, and line up specialists familiar with traditional construction before you submit.
Decide What to Restore vs Replace First
Before you order new windows or strip back plaster, take stock of what you’ve actually got and decide—room by room—what you can restore and what genuinely needs replacing. Photograph details, note materials, and flag later alterations that dilute Historic authenticity. In UK period homes, you’ll often save more character (and money) by repairing first, then replacing only what’s beyond safe, practical use. Set clear Preservation priorities with your joiner, plasterer, or conservation builder so everyone works to the same brief.
- Check structural soundness: rot, damp, movement, loose laths
- Identify original fabric: skirtings, cornices, floorboards, fireplaces
- Test repairability: splice, patch, consolidate, re-fix, re-finish
- Replace only when necessary: missing sections, hazardous wiring, failed services
Upgrade Period Windows Without Replacing Them
Once you’ve checked what’s original and repairable, you can make your sash or casement windows warmer, quieter, and more secure without swapping them for modern units that flatten the façade. Start by easing, splicing, and re-cording sashes, then overhaul pulleys and parting beads so everything runs true.
Strip paint carefully, retain ovolo profiles, and match putty lines to protect Historic preservation details.
For performance, fit discreet brush-pile draught seals to staff and meeting rails, and add slimline double glazing only where your council and conservation officer allow. Otherwise, choose magnetic secondary glazing that’s reversible and nearly invisible.
Upgrade ironmongery with period-appropriate fasteners and frame-to-frame bolts, then repair glazing bars and renew cracked panes with cylinder or restoration glass for sensitive Modern integration.
Draught-Proof Period Doors and Improve Locks
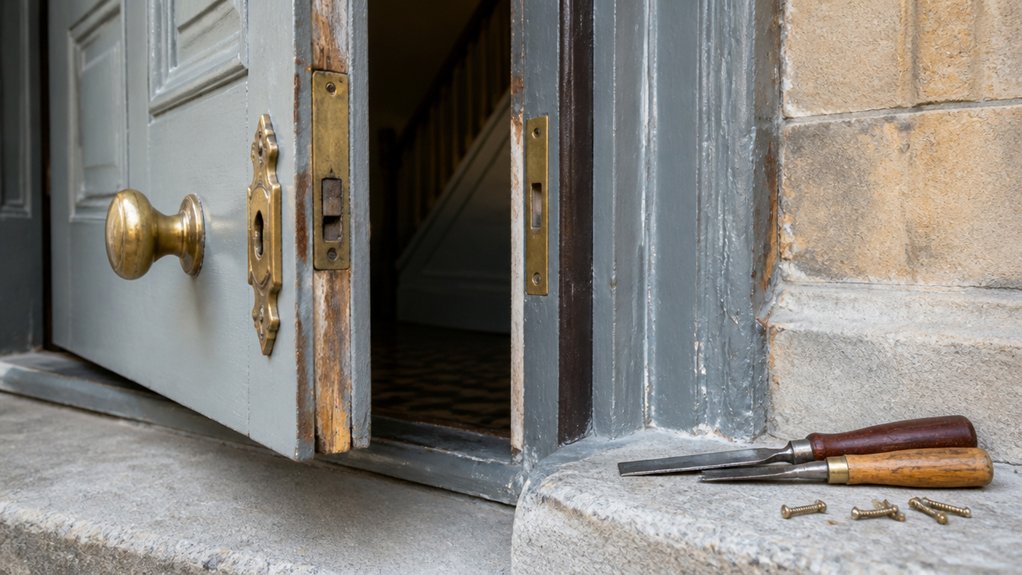
When cold air sneaks in around a Victorian or Edwardian door, you can usually fix the gaps and the security without swapping the whole leaf for a modern slab that jars with the joinery. Start by checking the fit: many doors have dropped on tired hinges or warped slightly, so easing, rehanging, or adding hinge shims can restore crisp closing lines.
- Fit brush or compression strips for discreet draught exclusion at the jambs and head
- Add a rebated threshold seal or letterbox brush to stop skirting-level whistling
- Upgrade to a BS 3621 nightlatch/deadlock, keeping existing rim furniture where possible
- Reinforce the strike plate and fit longer screws into the frame for better lock security
Finish by touching in paint and keeping original knobs and escutcheons.
Insulate a Period Home Without Trapping Damp
Although you might want to “seal everything up” to keep heat in, a period home relies on controlled ventilation and vapour-permeable materials to manage moisture, so insulation has to work with the building rather than against it.
Start with a damp survey and fix gutters, pointing, and ground levels first.
Use breathable solutions: sheep’s wool or woodfibre between joists, and lime-based, vapour-open internal wall systems where appropriate.
Keep suspended timber floors ventilated; insulate from below and maintain air bricks.
At loft level, lay modern insulation between and across joists, but don’t block eaves ventilation.
Choose vapour control layers only when the build-up is designed for them.
Aim for historic preservation by keeping original fabric dry, repairable, and future-proof.
Patch Plaster and Match Original Trim Details
Before you reach for a full re-skim, patch plaster in a period room so you keep sound original work and avoid forcing modern materials onto older walls. Start by sounding the surface, cutting back to firm edges, and keeping the laths intact.
Use compatible Plaster techniques: lime putty for older Victorian and Georgian work, or a like-for-like gypsum repair where that’s original. Dampen, apply in thin coats, and rule off to existing levels so cornices and reveals stay crisp.
For Trim matching, copy profiles rather than “close enough” replacements:
- Photograph and take rubbings of mouldings
- Measure projection, height, and mitre angles
- Source reclaimed architraves or have knives made
- Prime, fill pin holes, then repaint to blend seamlessly
Refresh Period Fireplaces and Meet Local Codes
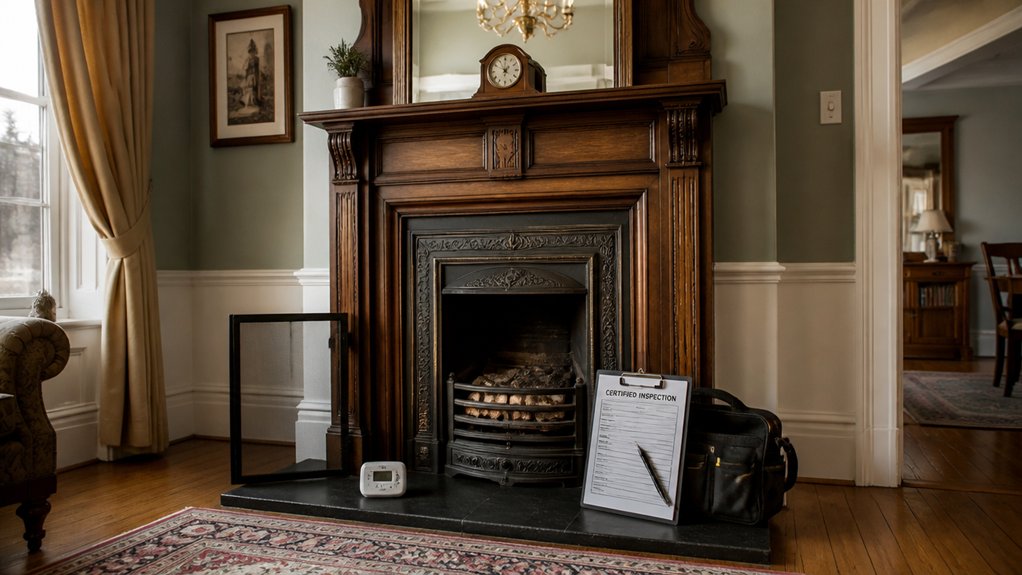
Start by evaluating your period fireplace’s condition: check the hearth, surround, fireback, and chimney breast for cracks, loose masonry, or staining that suggests a failed flue.
You can then upgrade discreetly with a suitable flue liner and a properly sized, controllable damper, keeping the original grate or insert where possible.
Finally, you’ll need to make sure the work meets local requirements—think Building Regulations Part J and any conservation area or listed building constraints—before you light it again.
Assess Fireplace Condition
When you’re revitalizing a period fireplace, a careful condition check lets you keep its original character while ensuring it meets current UK safety and Building Regulations. Start by identifying the fireplace material—brick, stone, cast iron, or timber—so you choose compatible repairs and avoid damaging historic fabric.
Inspect decorative mantels for loose fixings, split joints, or previous cement-based patching that can trap moisture. Look for soot staining, efflorescence, and hairline cracks that hint at movement or water ingress.
If your home’s listed or in a conservation area, record details before you touch anything and consult your LPA if changes might be needed.
Focus on:
- hearth level and projection
- firebox soundness and spalling
- surround stability and heat damage
- ventilation provision and blockage
Upgrade Liners And Dampers
Although your period surround may look the part, an upgraded flue liner and damper usually make the biggest difference to safety, draw, and compliance under UK Building Regulations (Approved Document J).
For older stacks, start with flue cleaning to remove soot, tar, and rubble that can hide voids or leaks. Then focus on upgrading liners: a correctly sized stainless-steel flexible liner often suits existing masonry without disturbing historic brickwork, while pumice or clay systems may suit major rebuilds.
Next, renew dampers. A new throat damper or top-sealing damper tightens an inefficient chimney, cuts draughts, and reduces rain ingress, yet stays visually discreet.
Build chimney maintenance into your routine: inspect annually, sweep as needed, and keep the register plate sealed and accessible.
Ensure Code Compliance
Because local rules can differ even between neighbouring councils, you’ll get the best outcome by treating code compliance as part of the fireplace refresh rather than an afterthought. Start by checking whether your home is listed or in a conservation area, as Historic preservation duties can affect hearth dimensions, surrounds, and even mortar choice.
Then line up Building regulations requirements (notably Part J) for ventilation, flue sizing, distances to combustibles, and carbon monoxide alarms. Use a HETAS-registered installer where possible, and keep paperwork for future sales.
- Confirm planning/Listed Building Consent with your local authority
- Specify non-combustible hearth and clearances to Part J
- Commission smoke draw and flue integrity tests after works
- Record sign-off certificates, photos, and material specs for the file
Refinish Period Floors With Era-Right Finishes
Before you sand a single board, take stock of what you’ve actually got underfoot: original pine, oak, parquet, or quarry tiles all call for different, era-appropriate treatments.
If your Victorian boards show cupping, you’ll want gentle sanding and a breathable, hardwax oil rather than a thick plastic varnish that can trap moisture.
For Georgian oak, consider shellac or a traditional wax for a warm, low-sheen finish that suits historic color palettes elsewhere in the room.
Keep parquet crisp by replacing missing blocks with reclaimed timber and matching the grain direction.
With quarry tiles, avoid sealing too glossy; use lime-friendly cleaners and a matt impregnator.
Finish with period appropriate accessories—coir runners, brass threshold strips, and felt pads—so you protect patina, not erase it.
Modernize Period-Home Lighting and Wiring Discreetly
When you update lighting and wiring in a period home, you can meet modern safety standards without turning your cornices, ceiling roses, and lath-and-plaster walls into a building site. Start with an EICR and use a NICEIC or NAPIT electrician who understands listed buildings and conservation areas.
Choose fittings that echo the era—opal glass, brass, or bakelite-style—and upgrade performance behind the scenes with LED lamps and Smart lighting controls.
- Run concealed wiring via floor voids, skirting rebates, or chimney breasts, not hacked plaster.
- Reuse existing switch positions; fit shallow back boxes where possible.
- Add discreet earth bonding and RCD/RCBO protection at the consumer unit.
- Use wireless dimmers and scene setting to avoid extra chases.
Finish by repairing lime plaster neatly and matching paint sheen.
Conclusion
You’ve proved you can modernise without erasing history: follow listed‑building rules, restore before you replace, and keep every upgrade breathable, reversible, and well documented. You draught‑proof sash windows, secure doors, insulate without trapping damp, and patch plaster to match original mouldings. You refresh fireplaces to current codes, refinish floors with era‑right finishes, and hide new wiring with care. Like stitching in old cloth, each careful repair strengthens the whole.
About the Author



