
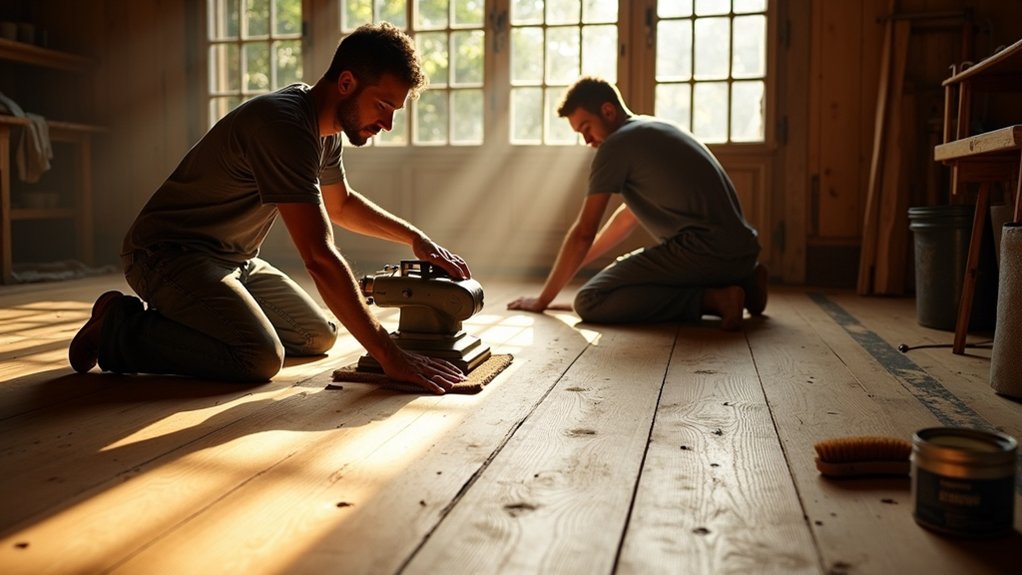
You don’t have to strip a heritage floor back to raw, pale timber to make it look right. You start by checking the boards will take a light sand, then identify old shellac, wax, or bitumen so you can strip it safely without burning through the patina. You stabilise loose boards, choose orbital sanding and hand scraping where needed, and keep dust extraction tight before thin oil coats go on. The key decision comes next…
Key Takeaways
- Assessed timber soundness, mapped patterns, and documented rot, insect damage, cupping, and springy zones before any sanding or repairs.
- Identified existing finishes by scraping and solvent tests, distinguishing shellac, wax, polyurethane, and bitumen adhesives to choose compatible stripping.
- Stabilised boards by pinning loose sections, replacing failed fixings with pilot-drilled period-appropriate nails, and correcting gaps and movement at thresholds.
- Stripped to sound timber, then sanded minimally using belt sanders for uneven boards, orbitals for control, and hand-scraping edges to preserve detail.
- Extracted dust thoroughly with HEPA vacuuming and tack cloths, then applied two thin oil coats with wipe-back, proper drying, and pH-neutral maintenance.
Check If Your Heritage Floor Can Be Sanded
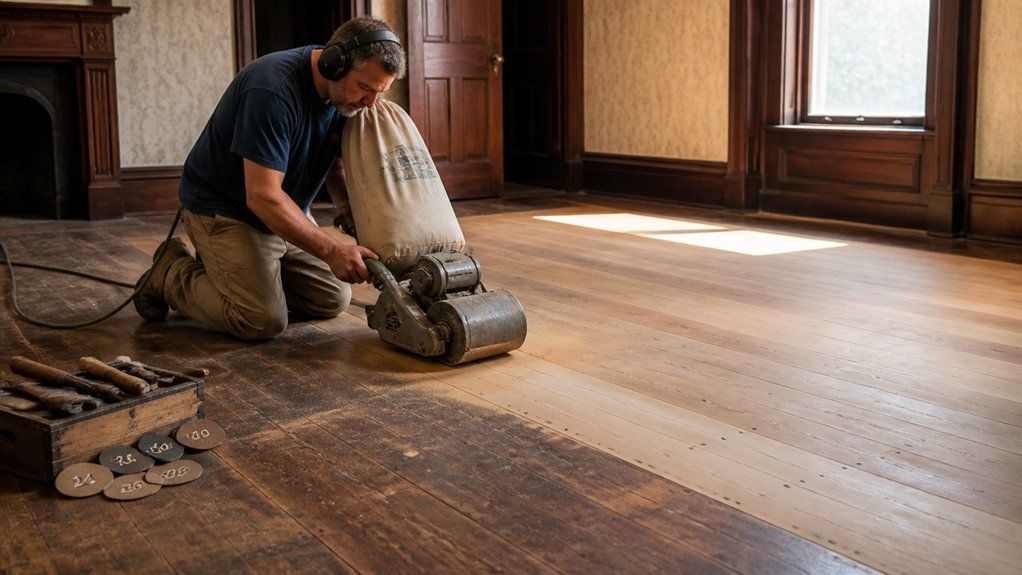
Before you hire a sander, confirm your heritage floor has enough sound timber left to take another cut. Measure board thickness at door thresholds, vents, and along the skirting line; you’re checking how much wear layer remains above tongues, nails, or fixing pegs.
Lift one discrete board if you can, and inspect the underside for rot, insect damage, or excessive cupping. Look for springy zones that suggest failed joists or loose fixings; sanding won’t cure movement.
Map your flooring patterns—herringbone, straight boards, or parquet—so you don’t erase crisp edges or setts with an over-aggressive pass. For historic preservation, keep original margins, slips, and inlays intact by choosing minimal, controlled cuts and sharp abrasives.
Document everything before work starts.
Identify Old Coatings on Heritage Floors First
Because heritage boards often carry decades of finish layers, you need to identify what’s on the surface before you touch a sander or solvent. Start with a careful scrape in an unobtrusive corner and inspect the shavings: shellac tends to come off as brittle amber flakes, while modern polyurethane peels in tougher, plastic-like ribbons.
Dab methylated spirits on a cotton bud; if it softens quickly, you’re likely dealing with shellac or French polish. Try white spirit next; wax will smear and lift, leaving a greasy sheen.
Check edges and thresholds for bitumen-backed adhesive residues and old varnish overlaps that can clog abrasives. Note Vintage patterns in sheen and wear—they often map traffic routes and add historical significance.
Photograph findings for consistent treatment decisions.
Fix Loose Heritage Boards Before Sanding
Before you sand, you’ll need to spot any board movement and note gaps along joints and around thresholds.
Pin the loose boards down with the right nails—typically lost-head or cut flooring nails—set them just below the surface, and avoid splitting the old timber.
If the looseness comes from failed secret fixings or broken tongues, replace those hidden fixings first so the floor stays tight once the abrasive hits it.
Identify Movement And Gaps
Once you’ve exposed the boards, you’ll need to pinpoint any movement and gaps, as even slight flex will telegraph through sanding and leave you with ripples, split edges, or freshly opened seams. Work across the room in good raking light and listen for creaks as you heel-toe over each run. Mark suspect boards with chalk, then test by pressing near board ends and over joist lines; true floor movement feels springy, not just a surface squeak.
Check edges for daylight, failed old putty, or crushed tongues. Measure wider gaps with a feeler gauge or rule, noting where seasonal shrinkage is normal versus where boards have shifted. This mapping tells you what needs stabilising and what needs careful gap filling before abrasives touch timber.
Secure Boards With Nails
When your chalk marks show a board that springs underfoot, lock it down with nails now so the sander doesn’t chatter and tear the arrises. Choose lost-head nails or cut clasp nails that suit old pine or oak, and pilot-drill to prevent splitting. Keep Nail placement tight to joist centres, set nails just off the tongue line, and drive them home with a punch so you won’t catch abrasive later.
Work methodically along the run, listening for the dull thud that means Board reinforcement has taken.
- You’ll feel the floor firm up under your boots.
- The room goes quiet as squeaks fade.
- You protect crisp edges you can’t replace.
- You stop vibration from rippling through boards.
- You get a calmer, cleaner sand.
Replace Damaged Hidden Fixings
Where hidden fixings have snapped, corroded, or pulled out of the joist, you’ll still get that nagging lift at the board edge no matter how many nails you add, so swap them out now.
Lift the board carefully with a wide bolster and wedges, then inspect the tongue, groove, and joist top for rust staining or elongated holes.
Remove old Hidden fastenings with end-cutters or a punch, and vacuum out debris so the new fixing seats tight.
Choose a Traditional fixing that suits the timber: brass screws for dry Victorian pine, stainless for damp-prone ground floors, and cut clasp nails where you need period-accurate bite.
Pre-drill to avoid splitting, and bed the board back down flush to stop chatter under the sander.
Strip Finishes Without Sanding Away Patina
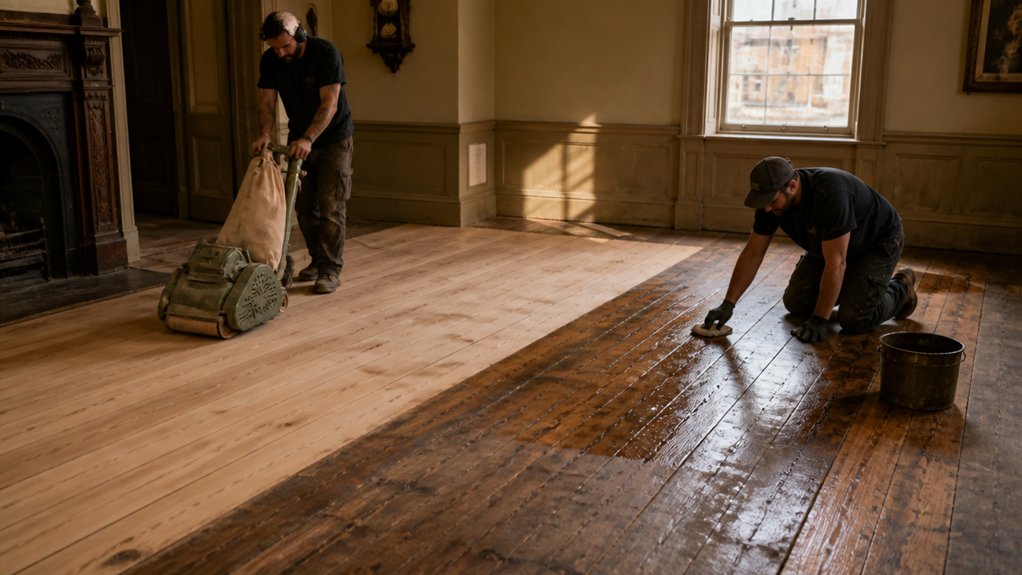
Although it’s tempting to reach for a belt sander, you’ll keep far more of a period floor’s character by stripping tired waxes, varnishes, or old sealers back to sound timber and leaving the patina intact.
Work room-by-room, mask skirtings, and test a small patch first. Use a low-odour, heritage-appropriate stripper, then lift residues with stainless scrapers and fine wire wool, wiping with white spirit rags until the grain feels clean, not bleached.
You’re aiming for Patina preservation while improving Finish durability, so stop as soon as you’ve reached a stable, dull surface.
- You’ll smell the honest oak again.
- You’ll see footworn boards tell their story.
- You’ll keep warm honey tones, not raw pine.
- You’ll avoid gouges and churned edges.
- You’ll feel history under your socks.
Choose Heritage-Safe Sanding Tools and Method
If you must sand, choose tools and a method that take off the least timber possible and keep the boards flat. For Heritage preservation, start with a pro-grade, well-balanced belt sander only where boards are truly uneven, then switch to a trio/orbital for controlled, shallow cutting across wider areas.
Keep the machine moving, overlap passes, and let the weight do the work—don’t lean in, or you’ll dish softer earlywood in pine and pitch pine.
Use edge sanders sparingly; hand-scrape right up to skirtings, thresholds, and hearths to protect crisp arrises. Vacuum with a fine filter between stages, and check nails with a punch to avoid tearing.
Modern sanding techniques still need old-school discipline: light pressure, sharp abrasives, and constant inspection under raking light.
Sand Heritage Floors in the Right Grit Order
Once you’ve picked the least aggressive machine and kept the boards flat, the grit sequence does the real conservation work by removing scratches without chasing depth. Start coarse only where finish or cupping demands it, then step steadily: 40/60 to cut, 80 to refine, 100–120 to close the grain for oil. Don’t skip grits; you’ll trap deep lines that later telegraph through Osmo or hardwax oils, ruining Color matching and historical accuracy under raking light.
Vacuum between passes and wipe with a tack cloth so dust doesn’t re-score the surface.
- You’ll see oak medullary rays reappear, not disappear.
- You’ll smell clean timber, not burnt resin.
- You’ll feel the grain calm under your palm.
- You’ll watch patch repairs blend, quietly.
- You’ll know you’ve protected a British room’s story.
Flatten Uneven Boards and Sand Edges Cleanly
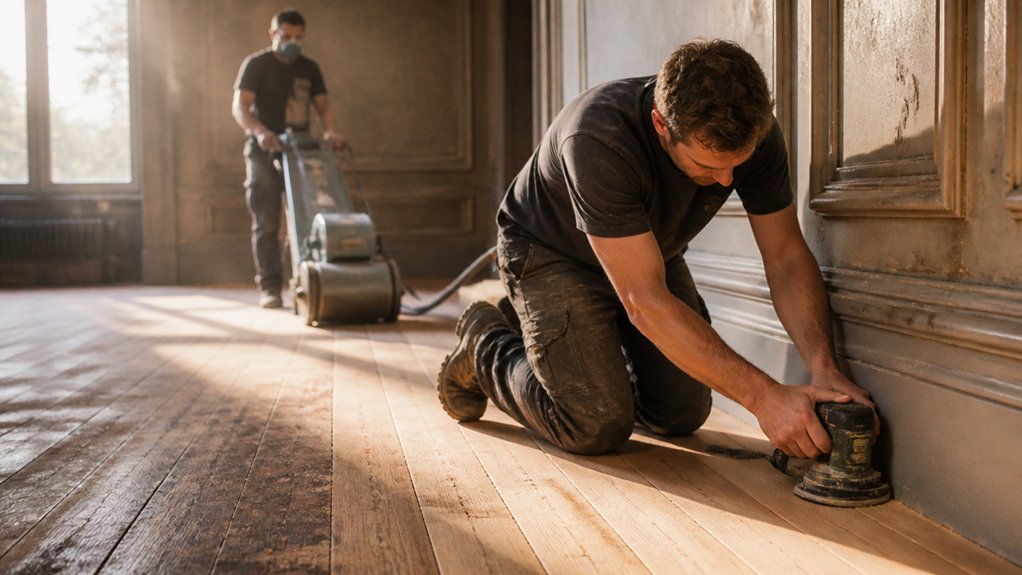
Before you reach for another grit, get the floor flat and the perimeter crisp, because uneven boards force the sander to bite high spots and leave low valleys untouched.
Start by checking board alignment with a straightedge across the grain; mark proud edges with pencil. Use the big belt sander diagonally in light passes to knock down crowns, then switch back with the grain to level.
If boards have cupped, don’t chase the hollow—aim for a consistent plane and keep moving to avoid heat checks in old pitch pine.
Along skirtings, swap to an edging sander and scrape tight corners by hand for clean edge detailing.
Feather your overlap so the field and perimeter blend without a tell-tale ridge line.
Remove All Dust Before Oiling Heritage Floors
Before you oil a heritage floor, you’ve got to extract every trace of sanding dust, especially from board joints, nail holes, and skirting edges.
Run a proper dust extractor with a brush head across the boards, then vacuum again along the grain so fine powder doesn’t clog the timber’s pores and spoil the finish.
Finish with a tack cloth wipe to lift what the vacuum leaves behind, and don’t oil until the cloth comes up clean.
Complete Dust Extraction
Where does a heritage floor’s finish usually fail first? Along the boards’ edges and in open grain, where sanding dust clings and then drinks your oil, turning it gritty and blotchy. You’ve done the Heritage cleaning; now you commit to Dust prevention with complete extraction.
Use a HEPA-rated vac on the sander, then follow with a separate extractor: work with the grain, slow passes, skirting to centre, and don’t forget thresholds and radiator pipes. Check raking light; if you can see a haze, you’ll feel it forever.
- You protect century-old oak from a dull, grey cast.
- You keep warm oil tones honest, not muddied.
- You stop “sand pepper” underfoot.
- You avoid raised fibres from trapped fines.
- You earn that quiet, cathedral-like sheen.
Tack Cloth Final Wipe
A tack cloth final wipe is your last, fussiest checkpoint before oil touches timber. After complete extraction, you’ll still have fine sanding bloom sitting in pores and along board edges, ready to telegraph through the finish.
Work in raking light from a site lamp, starting at the far wall and backing out towards the door, so you don’t re-contaminate.
Fold the tack cloth into a flat pad and wipe with the grain using light pressure; you’re lifting, not polishing. Change faces often and bin once it drags or feels loaded.
Pay extra attention to perimeter gaps, thresholds, and beneath radiators where dust hides. Your goal is total dust removal, leaving a clean, dry, polished surface before oiling begins.
Oil Heritage Floors: Coats, Dry Time, Upkeep
Oil finishes suit heritage timber because they soak into the fibres rather than sitting on top like a thick lacquer, so you keep the floor’s grain, patina, and repairability.
For historical preservation, you’ll apply two thin coats, working with the boards’ run, then wipe back excess so it cures in the wood, not on it. Choose eco-friendly finishes with low VOCs, common across UK suppliers, and ventilate well.
- You’ll see medullary rays glow under raking light.
- You’ll feel the oak’s warmth, not a plastic film.
- You’ll smell clean oil, not harsh solvent.
- You’ll relax knowing scuffs spot-repair easily.
- You’ll keep history underfoot, honestly.
Let coat one dry 12–24 hours; coat two 24–48. Maintain with pH-neutral soap, re-oil traffic lanes yearly.
Conclusion
When you restore heritage boards properly, you don’t just “refinish” them—you keep their story intact. You’ll check they’re sandable, pin down the old coating, secure loose boards, then strip carefully so the patina stays put. You’ll sand in a sensible grit sequence, clean edges by hand, and extract every trace of dust before oiling. With thin, cured coats, the timber glows. In the UK, around 20% of homes were built before 1919.
About the Author



