
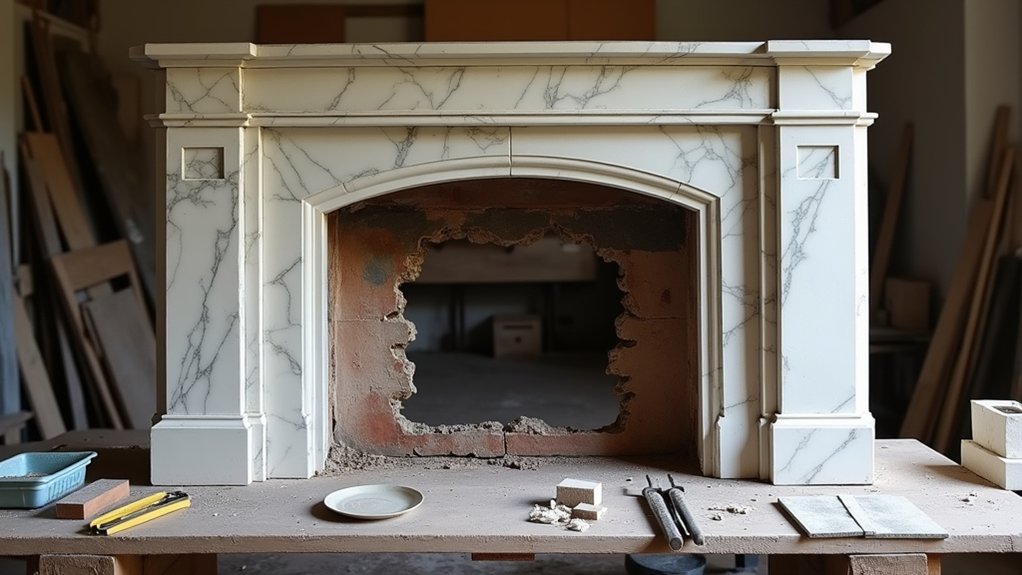
If you’re rebuilding a damaged antique fireplace surround, you’ll start by checking whether the structure’s actually salvageable, then you’ll photograph, measure, and label every piece before you disturb it. You’ll choose heat‑tolerant, conservation‑grade adhesives and matching timber or stone, then you’ll pull joints tight and square the frame with shims and a level. Once you’ve patched losses and handled old paint safely, you’re ready for the part that can make or break the finish…
Key Takeaways
- Inspect stability, cracks, rot, and past cement repairs; prioritize repairing original material to preserve antique value.
- Photograph and measure every component, label pieces, and sketch elevations/sections to guide accurate reassembly and sourcing.
- Map heat zones, then choose compatible reversible glues, heat-safe adhesives, and lime-based fillers; avoid hard cement near timber or ornament.
- Square and re-glue joints on a flat surface, clamp to cure, and verify plumb/level with diagonals, spirit level, and winding sticks.
- Dry-fit, shim, and fix into sound masonry using stainless screws and discreet brackets; align reveals and finish with heritage-appropriate prep and paint.
Assess If the Antique Fireplace Surround Is Repairable
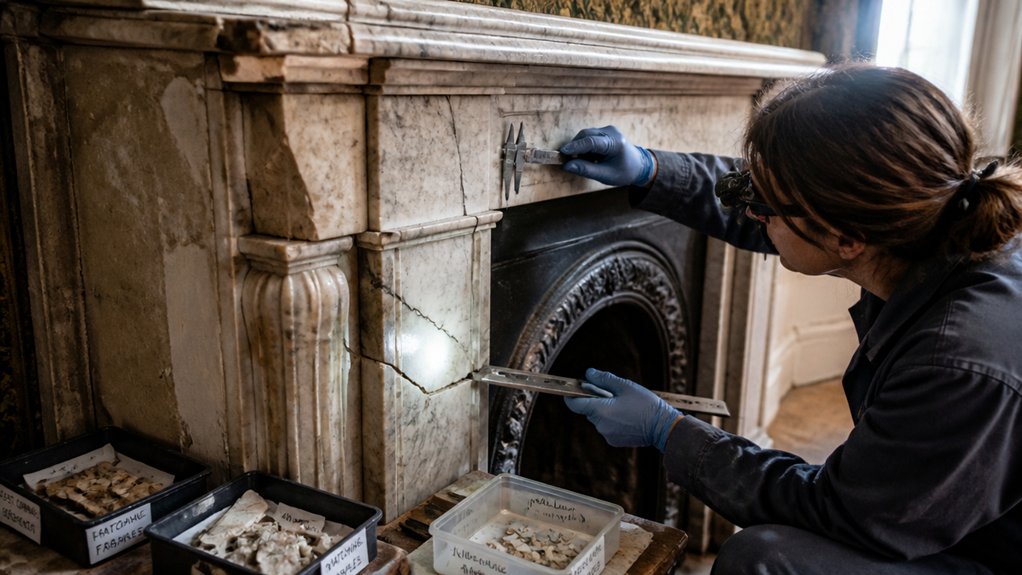
Before you commit to rebuilding, inspect the surround in situ and decide whether it’s structurally sound enough to repair rather than replace. Check the jambs, lintel, and hearth edge for movement, spalling, and open joints.
Probe timber backs and fixing points for rot or beetle damage, and look for previous cement pointing that’s trapping moisture in soft brick or stone.
Identify the material (marble, slate, cast iron, timber) and assess cracks: hairline fractures may take epoxy or lime-compatible repairs, but through-cracks, delamination, or missing load-bearing sections often demand specialist replacement pieces.
Test stability at the shelf and returns, and confirm the chimney breast isn’t bulging.
Preserving antique value and historical significance favours repair where feasible.
Photograph, Measure, and Label the Surround First
Once you’ve decided the surround’s worth saving, record it as-built with photos and measured notes so you can rebuild it accurately and evidence any original features. Shoot straight-on elevations, 45° corners, and tight details of mouldings, joints, fixes, and soot patterns; include a tape and colour card for scale.
Capture the chimney breast, hearth line, and any skirting intersections to preserve Historical context and later compliance checks.
Measure every component: shelf length, jamb widths, leg plumb, rebates, and any out-of-square openings common in UK period rooms. Sketch a keyed plan and section, then label each piece with low-tack tape and a unique ID. Bag fixings separately. Log provenance, prior repairs, and missing elements to guide Material sourcing and accurate reinstatement later.
Choose Heat-Safe Repair Materials That Match the Original
Your photos, measurements, and piece IDs now let you specify repair materials to suit each component and its heat exposure, rather than guessing on site.
Start by mapping zones: hottest at the fire opening and slips, moderate on the jambs, coolest on the outer legs and shelf.
For timber returns, use a reversible animal-hide glue where heat won’t exceed normal room temperatures; near the fire opening, switch to Heat resistant adhesives rated for solid-fuel appliances.
For plaster or composition ornament, choose lime-based fillers rather than hard cement that can crack with thermal cycling.
Match substrates: consolidate friable gesso with compatible acrylic resin.
Prime with stain blockers where soot bled through, then order matching paint colors in a matt, heritage-appropriate finish from a UK specialist supplier.
Tighten Loose Joints and Square the Surround Frame
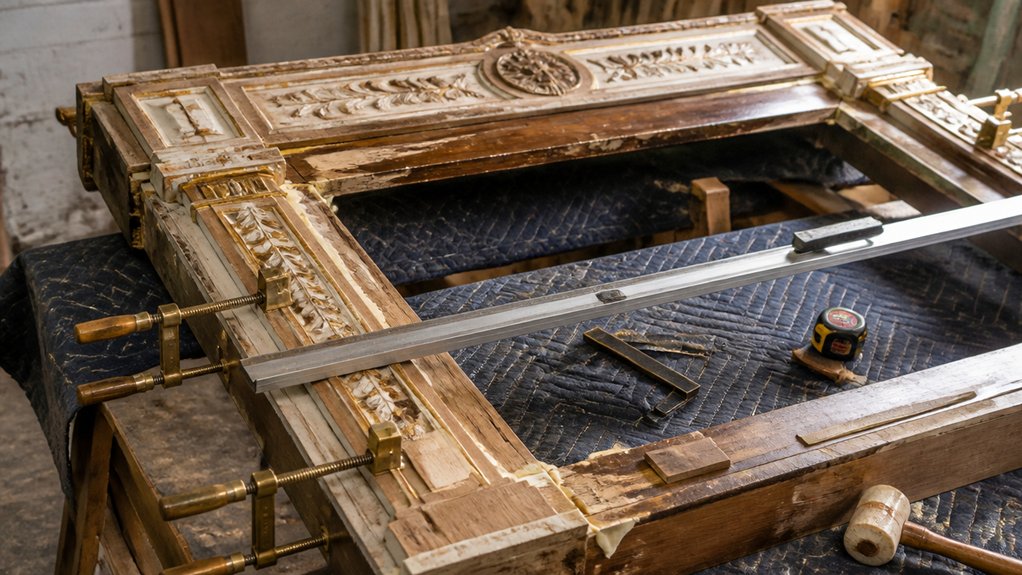
Because even a millimetre of racking will telegraph through mitres, mouldings, and the shelf line, tackle the structure next by tightening every loose joint and bringing the surround back to square on a flat, level surface.
Lay the surround face-down on a padded bench, then dry-clamp it so you can read movement before committing to joint stabilization.
Check diagonals with a tape; equal measurements confirm frame squaring.
Nudge corners with a mallet and block, then re-clamp.
- Clean old glue and dust from mortices and tenons.
- Re-glue with a heat-safe adhesive, then clamp to squeeze-out.
- Add discreet screws or corner blocks where original fixings allow.
- Verify plumb and level with a UK spirit level and winding sticks.
Recheck diagonals after cure and before refitting.
Patch, Splice, or Replace Cracked and Missing Sections
With the frame now pulled back to square and the joints locked tight, turn to the damage you can see: split rails, blown-out mitres, and missing moulding runs that won’t close up with clamping alone.
Decide repair scope: patch shallow checks; splice when fibres are fractured; replace when sections are lost or powdery.
For cracks, open them slightly, inject warm hide glue or liquid fish glue, then clamp with cauls.
For missing corners, cut back to sound timber with a sharp chisel and create a scarf or half-lap splice that follows the grain.
Use matching species (often pine, oak, or mahogany) and match density and growth ring orientation—Material matching is critical for Vintage restoration.
Re-run mouldings using a scratch stock or router and custom cutters.
Dry-fit everything before gluing.
Strip Old Paint Safely (Lead-Aware) and Protect Details
Assume the surround’s old coatings may contain lead, so you’ll test first and then strip using lead-safe methods: wet working, HEPA extraction, and controlled containment to UK HSE guidance.
You’ll avoid dry sanding and aggressive heat, choosing a low-temperature chemical stripper and nylon brushes so you don’t soften sharp arrises or blur carved mouldings.
As you expose clean timber, you’ll protect ornate details by working in small sections, neutralising residues, and keeping profiles crisp with careful scraping along the grain.
Lead-Safe Paint Removal
Before you strip a single layer of paint from an antique fireplace surround, treat it as lead-coated until testing proves otherwise and set up a controlled, UK-compliant work area. Use HSE guidance: isolate the room, keep surfaces damp, and prevent dust migration. Choose chemical or low-heat methods; avoid sanding, abrasive wheels, or uncontrolled scraping. Build Lead mitigation into every step and prioritise paint stabilization where removal risks spreading debris.
- Seal doorways with taped polythene and maintain negative pressure if possible.
- Wear FFP3 RPE, disposable coveralls, and nitrile gloves; fit-test where required.
- Collect waste as hazardous: double-bag, label, and follow local council disposal rules.
- HEPA-vacuum and wet-wipe frequently; finish with a clearance clean and re-test.
Preserve Ornate Surround Details
Once you’ve controlled lead risk and contained dust, focus on preserving the surround’s mouldings, incised lines, and sharp arrises while you strip paint.
Use a low-temperature infrared stripper or steam plate rather than a hot-air gun; keep the head moving to avoid scorching timber or spalling stone.
Lift softened paint with plastic or sharpened wooden scrapers, working with the grain and stopping at profiles.
For ornate detailing and decorative carvings, switch to nylon brushes, dental picks, and wet cotton swabs so you don’t round edges.
Neutralise chemical strippers per the manufacturer, then rinse with clean water and dry fully.
Mask vulnerable corners with aluminium tape and card.
Finally, consolidate friable detail using a compatible consolidant before sanding; don’t abrade crisp lines.
Reinstall and Anchor the Antique Surround Plumb and Flush
You’ll start by dry-fitting the surround to confirm the jambs, header, and reveal lines align with the fire opening and the finished wall plane.
You’ll shim behind the uprights and across the lintel to bring everything plumb, level, and flush, checking with a long spirit level and straightedge.
Once it’s true, you’ll anchor the timber into the masonry using suitable fixings and pre-drilled holes, tightening gradually so you don’t rack or crush the original sections.
Dry-Fit For Alignment
How do you know the antique surround will sit plumb, flush, and centred once it’s fixed for good? You dry-fit every component and verify the geometry before any final anchoring. In UK vintage restoration, this step protects historical accuracy and avoids forcing brittle stone, slate, or timber.
- Offer up legs, lintel, and shelf; confirm bearing faces mate without rocking.
- Use a 1.2m spirit level and a straightedge to check face planes against the wall.
- Measure diagonals and opening width at top/mid/bottom; confirm squareness and symmetry.
- Mark reference lines with pencil and masking tape; label each piece’s orientation and fix points.
Adjust by re-seating, cleaning grit, or easing high spots only. Photograph the set-up for repeatability.
Shim To Plumb
With your dry-fit reference marks and measurements confirmed, set the surround back in place and bring it dead plumb and flush using shims before any permanent fixings go in. Use a 1.2 m spirit level on each jamb, then check the frieze for level and twist. Pack low points with hardwood or composite shims; avoid softwood that’ll compress.
Work from the hearth up: hold the jamb tight to the wall line, shim behind, then recheck plumb, reveal widths, and sightlines across mouldings. Use a straightedge to confirm the face sits flush to the plaster line without forcing the antique.
Trim shims with a sharp chisel so they don’t telegraph. These Restoration techniques preserve Vintage charm while setting a stable, true geometry. Let it settle five minutes, then recheck again.
Anchor Into Masonry
Once the surround sits plumb and flush on its shims, lock that geometry into the masonry before anything can creep. Mark fixing points at solid brick, not perished mortar, and keep clear of the flue line. Drill with an SDS on low hammer, then vacuum dust so resin or plugs bond properly.
- Use stainless screws and non-ferrous packers for Rust prevention.
- Set discreet L-brackets behind returns to maintain historical accuracy.
- If substrate’s friable, inject epoxy resin and use threaded studs.
- Bed contact faces with lime putty, not cement, to allow movement.
Tighten fixings progressively, checking plumb after each pull-in. Leave shims until the bedding has grabbed, then trim them flush. Finally, cap fixings with matching plugs so the repair disappears.
Conclusion
You’ve now stabilised, repaired, and refitted the surround so it sits plumb, level, and properly revealed against the masonry. When you label parts, use heat‑rated adhesives, and splice like‑for‑like timber or stone, you preserve both safety and provenance. For example, on a late‑Victorian pine surround in a Leeds terrace, tightening loose mitres, inserting a dutchman patch, then anchoring with stainless fixings stopped seasonal racking and kept the original mouldings crisp for decades.
About the Author



