
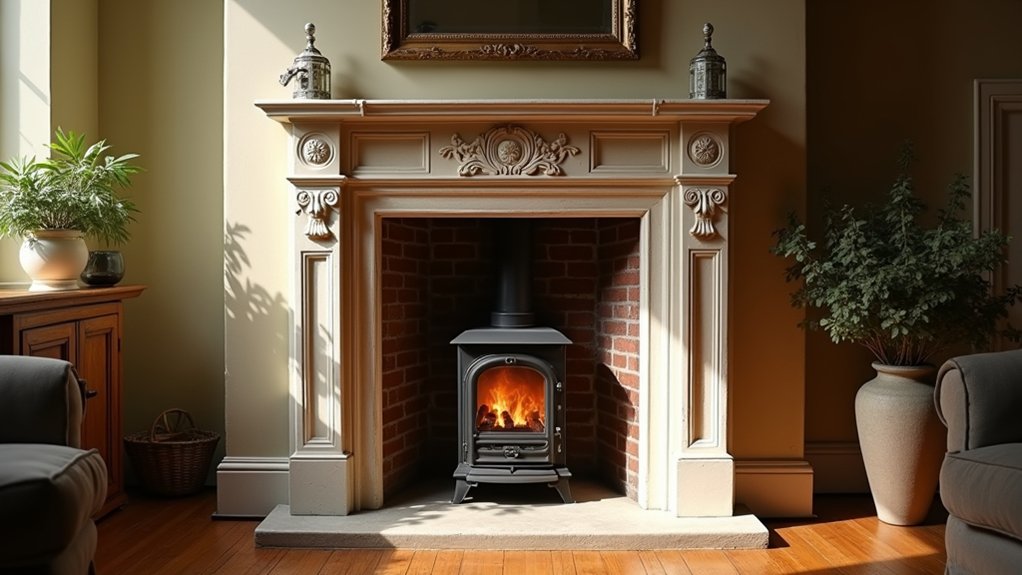
You’re standing in front of a tired period fireplace, and you’ve got one decision to get right: restore what’s authentic, replace only what’s beyond saving. You start by checking the flue, damp, and chimney stability, because heritage work can’t ignore safety. Then you document every tile, joint, and profile before lifting later paint and cement patches. What you uncover changes the scope—and the budget—in ways you won’t expect…
Key Takeaways
- We began with a full survey, photographing joints and fixing points, mapping cracks, and measuring opening, jamb depths, and hearth projection.
- We preserved sound original features—stone, marble, cast iron, and crisp tiles—only replacing elements that threatened stability or authenticity.
- We restored period accuracy by reinstating correct opening size, hearth depth, and mantel height, matching profiles and tool marks to references.
- We made it safe with a CCTV flue check, smoke test, sweeping, flue lining where needed, and chimney repairs like lime repointing and new cowl.
- We finished with durable heritage techniques: neutral tile cleaning, lime-compatible re-bedding and grout, plus a maintenance plan with annual sweeps and quarterly checks.
Restore or Replace a Period Fireplace? Our Decision Rules
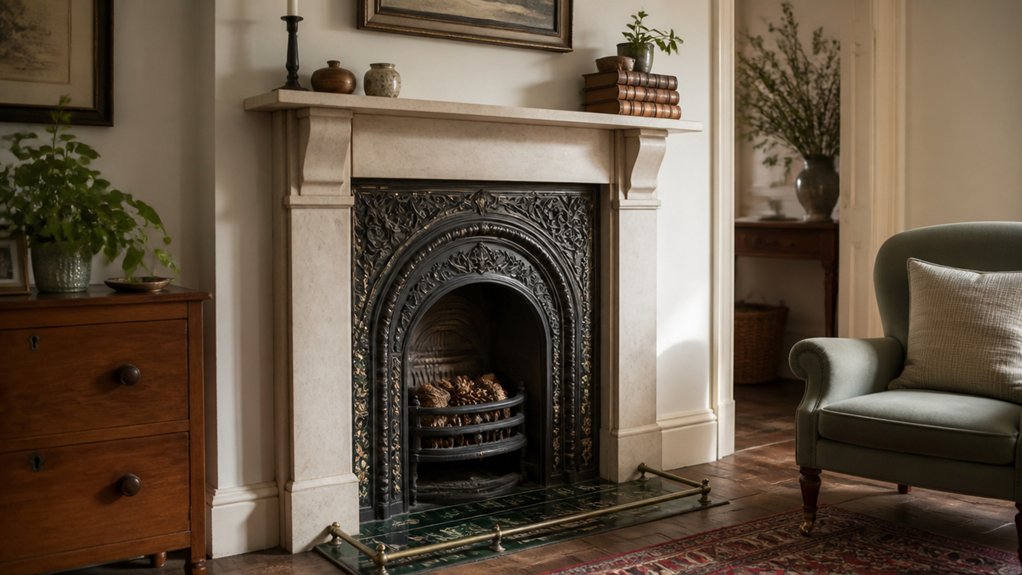
Before you pick up a chisel or order a replica surround, you’ll want a clear set of decision rules that respect the house’s age, fabric, and future use.
Start by evaluating what’s original: keep any sound stone, marble, cast iron insert, or tiled slips with crisp profiles and intact fixing points. If previous alterations have erased proportions, you can restore by reinstating the correct opening size, hearth depth, and mantel height to match the room’s date.
Choose replacement only when cracks, spalls, or missing elements prevent a stable, authentic reading, and you can source a period-accurate piece with documented dimensions.
Run a Cost comparison that includes specialist cleaning, lime repairs, and sourcing versus repro manufacture.
Plan for Modern heating by integrating discreet vents or an efficient insert without losing the surround’s line.
Safety First: Flue Checks, Damp, and Chimney Integrity
Once you’ve decided what to keep, reinstate, or replace, treat the chimney and flue as the first job on site, because a beautiful surround can’t compensate for a failing route for heat and fumes. You’ll book a CCTV flue check and smoke test, then clear nests, soot, and fallen masonry before any lighting-up.
If the flue’s porous, you’ll line it discreetly to protect original brickwork while meeting modern safety expectations. You’ll tackle damp at source: repair flashings, renew failed flaunching, and add an appropriate cowl that sheds rain without changing the roofline.
You’ll also verify chimney stack stability, repoint in lime, and replace spalled pots. Finally, you’ll plan ventilation improvements—air bricks or underfloor vents—so the fire draws cleanly and safely.
How We Assessed the Fireplace and Set the Scope
Although the chimney work dictates what’s safe to run, you still need a clear, room-level audit of the fireplace to set the right scope and avoid stripping out salvageable fabric. You start by photographing every face, joint, and fixing point, then map cracks, deflection, and past interventions like cement fillets or modern fireboard.
You test what’s loose with gentle hand pressure, not prying, and you log soot staining, salt bloom, and heat-scarring to judge whether surfaces need consolidation or simple cleaning. Next, you measure the opening, jamb depths, and hearth projection against current clearances so you can plan discreet upgrades.
For Historical accuracy, you compare profiles and tool marks to period references. Material sourcing follows: shortlist compatible lime, stone, and replacement components.
What We Uncovered: Original Tiles, Surround, and Hearth
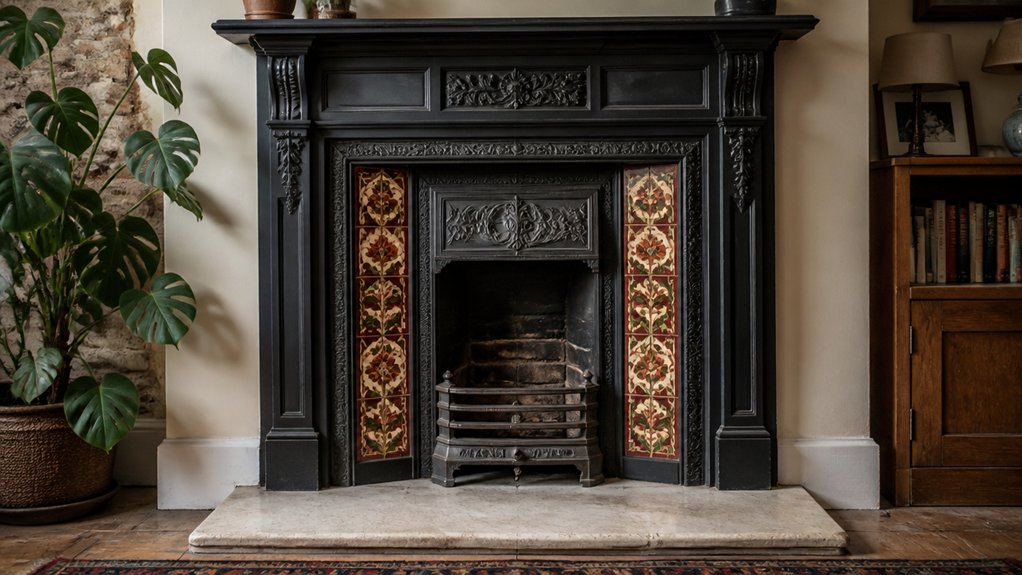
As you lift away later additions, you’ll uncover original fireplace tiles with period glazes and edges that deserve careful cleaning, not aggressive stripping.
You can stabilise what’s sound, replace only what’s missing with sympathetic matches, and repoint with an appropriate lime mortar to protect the fabric.
Then you’ll reset the surround and hearth true and level, repairing cracks and worn arrises so the fireplace reads as authentic—and works safely.
Revealing Original Fireplace Tiles
Behind the layers of paint and later “updates,” we uncovered a set of original fireplace tiles that immediately anchored the room back in its period. You can spot their hand-pressed edges and slightly irregular glaze, clues that they’re genuine rather than reproduction.
You don’t rush this stage. You soften paint with controlled heat and pH-neutral poultices, then lift it with plastic scrapers so you don’t score the surface.
As colour emerges, you document the layout, measure module sizes, and note any historic border pattern before a single tile shifts.
You stabilise loose corners with reversible conservation adhesive and wick out salts to prevent future flaking.
Once revealed, the tiles guide your choices for fireplace accessories and decorative mantels, so every later decision stays historically coherent.
Restoring Surround And Hearth
Once you strip the later trims and lift the carpet line, the full story of the fireplace assembly comes into view: the original tile set still sits tight to the opening, a surviving surround profile reappears at the edges, and the hearth shows its true footprint under patch repairs.
You document every reveal, then clean and consolidate what’s sound before replacing only what’s missing, so the age reads as authentic, not new.
- Re-bed loose tiles with lime-compatible adhesive, then grout to match period joints
- Splice the surround with reclaimed timber or stone, keeping moulding lines continuous
- Reset the hearth on a level bed, correcting past cracks and uneven thresholds
- Size the opening for gas alternatives or modern inserts without erasing original proportions
The Critical Fireplace Repairs: Flue, Firebox, Hearth
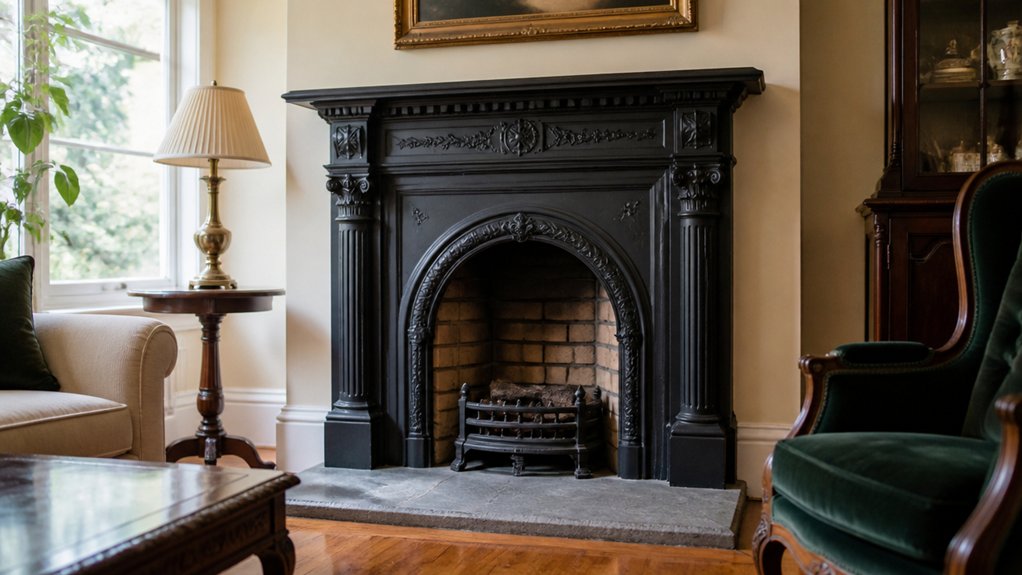
Before you think about tiles, mantels, or decorative surrounds, you’ll need to put the fireplace’s working core back into safe, code-compliant order—starting with the flue, the firebox, and the hearth.
You begin with a camera flue survey, then sweep and line where cracks, tar glaze, or failed parging threaten draw and safety.
You’ll add ventilation improvements—air vents or discreet external air feeds—so the chimney breathes without backdrafting into heritage rooms.
Next, you rebuild the firebox: replace spalled firebricks, repoint with heat-rated mortar, and reset the throat and damper for clean closure.
Finally, you check hearth structure and clearances, repairing loose bedding, sagging supports, and edge fractures so it carries heat safely.
Only then does a decorative mantel make sense.
Choosing Period-True Materials (and Where We Sourced Them)
With the flue drawing properly, the firebox rebuilt, and the hearth carrying heat safely, you can turn to the materials that will read “right” for the house’s age and region. You’ll get Historical accuracy by matching original dimensions, porosity, and colour, not just the look.
Start by lifting a loose brick or sampling mortar for lime content, then specify like-for-like replacements.
Your Material sourcing should favour salvage first, then specialist makers who can replicate profiles and fire ratings.
- Reclaimed imperial bricks from local architectural salvage yards
- Hot-mixed lime mortar from a heritage lime supplier
- Hand-cut stone slips from a nearby quarry with matching strata
- Period-appropriate cast-iron insert parts from fireplace reclamation dealers
Ask for provenance, batch consistency, and test data before buying.
Finishes That Make a Restored Fireplace Look Original
Although the structure may now be sound, your fireplace won’t read as original until the finishes match the way the period materials were meant to age.
Start by stripping glossy paints and sealing soot-stained masonry with a breathable mineral primer, then rebuild depth with limewash or matte distemper tones that sit “in” the surface, not on it.
If you’ve restored timber, choose shellac or hardwax oil for a low-sheen patina, and gently rub edges to mimic hand wear.
For cast iron, use graphite paste or heat-resistant blacking, then buff for that soft, worked sheen.
Keep grout and pointing slightly recessed and brushed, never sharp.
Finally, let fireplace decor stay quiet—simple fenders, aged brass, or ceramic tiles—and integrate modern adaptations discreetly.
Fireplace Restoration Costs, Timeline, and Upkeep Plan
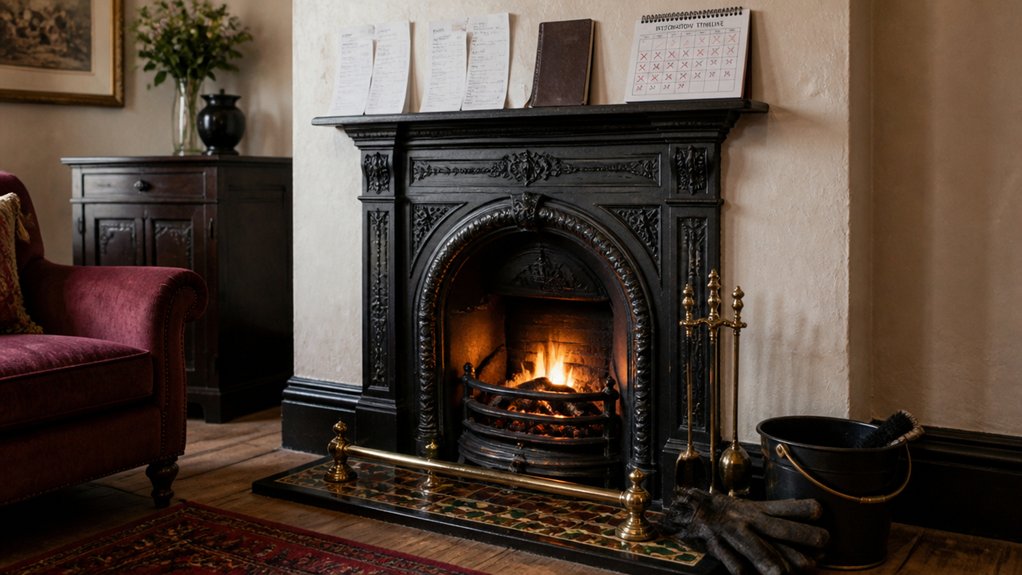
Once the finishes read as period-correct, you’ll want a clear plan for what the restoration actually costs, how long each stage takes, and how you’ll keep it looking right without undoing the work. Budget for survey, materials, and specialist labour; allow contingencies for hidden lintels, cracked flues, or damp salts.
Most projects run 2–10 days, with drying and curing adding a week, especially after repointing or lime plaster. If you’re pairing the hearth with modern heating, set aside time for HETAS/Gas Safe sign-off and any liner or vent upgrades that improve energy efficiency.
Protect heritage details by following a simple upkeep rhythm:
- Annual chimney sweep and flue test
- Quarterly check for soot staining or salts
- Gentle dusting; avoid acidic cleaners
- Reseal stone/limewash as specified annually
Conclusion
You now know when to restore and when to replace, because you’ve weighed heritage value against risk. You’ve checked the flue, traced damp paths, and confirmed chimney integrity before you touch a single tile. You’ve documented what’s original, repaired with lime mortars, and matched period-true materials and finishes so nothing looks “new.” When you light it again, the room settles like a well-told story, and you’ve got a clear upkeep plan.
About the Author



