
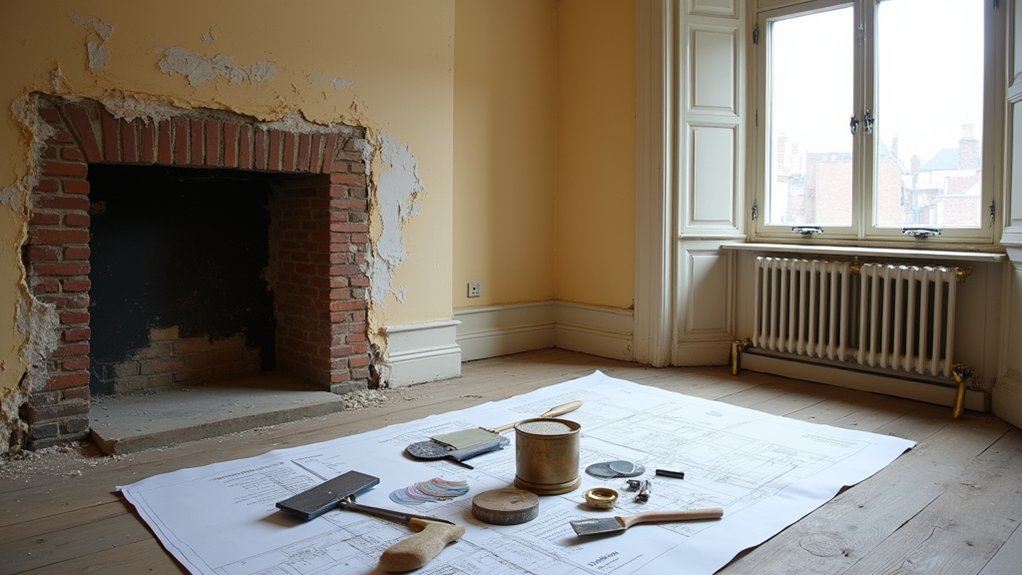
You probably don’t know that a quick “like‑for‑like” swap—especially to sash windows or a fireplace—can still trigger listed building consent or freeholder sign‑off in London. Start by documenting everything you can see, then test what’s beneath with non‑invasive checks before you lift a tool. You’ll plan repairs first, match original materials, and keep a paper trail for Building Control and conservation officers—because the most valuable features are often the ones you haven’t uncovered yet.
Key Takeaways
- Survey and photograph every original feature, mapping cracks, damp, repairs, and hidden layers using non‑invasive checks before any removal.
- Confirm listing, conservation area, Article 4, lease permissions, and obtain Listed Building Consent or planning approval before altering character-defining elements.
- Open up carefully with small inspection windows, label layers, and stop for lead, asbestos, or wiring surveys if hazardous materials are suspected.
- Restore first: splice timber, patch lime plaster, and match moulding profiles; replace only like‑for‑like and discreetly date‑stamp replicas.
- Upgrade sensitively: draught‑proof sashes, repair cords and pulleys, and use reversible secondary or slimline glazing while meeting Building Regulations.
Audit Period Features in Your London Flat
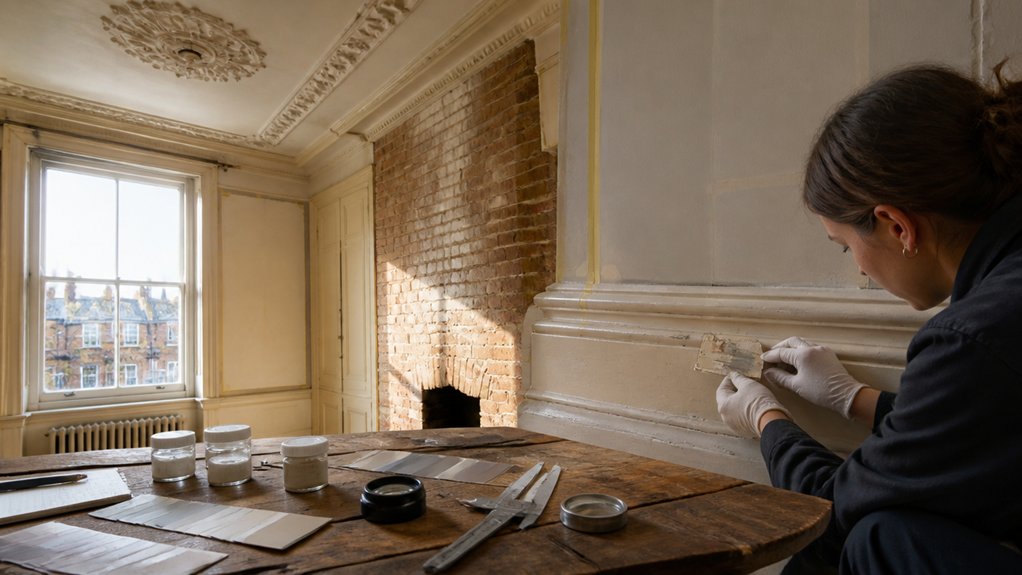
Where do you start when you want to revive original character in a London flat conversion? You begin with a room-by-room audit and a camera. Photograph skirting profiles, cornices, ceiling roses, sash boxes, stair details, chimney breasts, and original doors. Note materials, joinery, and any later overlays like uPVC, gypsum skim, or boxed-in pipework.
Measure moulding depths, record timber species where visible, and map cracks, damp staining, and past repairs.
You then cross-check what you find against typical period patterns for your building’s date, so your Heritage preservation choices stay evidence-led. Mark elements that can be repaired versus replicated, and flag modern services routes that threaten fabric.
This audit sets the brief for Modern renovation without accidental loss.
Do You Need Consent? Listed, Conservation, Freeholder
Once you’ve audited what’s original and what’s been altered, you can match each proposed repair or reinstatement to the permissions you’ll need before work starts.
If the building is listed, you’ll often need Listed Building Consent for changes affecting character, even for internal joinery, fireplaces, or stair parts. You may still need planning permissions for external works.
If you’re in a conservation area, check whether Article 4 Directions remove permitted development rights; your borough’s guidance will set stricter legal requirements for windows, rooflights, and boundary treatments.
Confirm whether your flat sits within a converted house that shares structural elements, as “minor” heritage works can affect the whole.
Finally, read the lease and get freeholder and managing agent approval in writing, including method statements and access arrangements.
Restore or Replace? Cost, Value, and Compliance
Even if you’d prefer to keep everything original, you should decide early which elements you can realistically restore and which you’ll need to replace to meet budget, performance, and legal requirements. Start with a condition survey and price both routes, including specialist labour and lead times.
For compliance, check Building Regulations implications: fire resistance to doors and linings, Part L upgrades, and safe glazing where required—then verify what your consent allows.
Aim for Historical accuracy where it’s visible and significant, and use Modern renovation where it’s reversible and improves comfort without harming character. Document decisions for your contractor and, if needed, your conservation officer.
- Repair first: splice timber, patch plaster, consolidate stone
- Replace like-for-like when beyond repair
- Upgrade discreetly: seals, secondary glazing, draught proofing
- Keep evidence: photos, invoices, specifications
Open Up Carefully: Find Details Without Damage
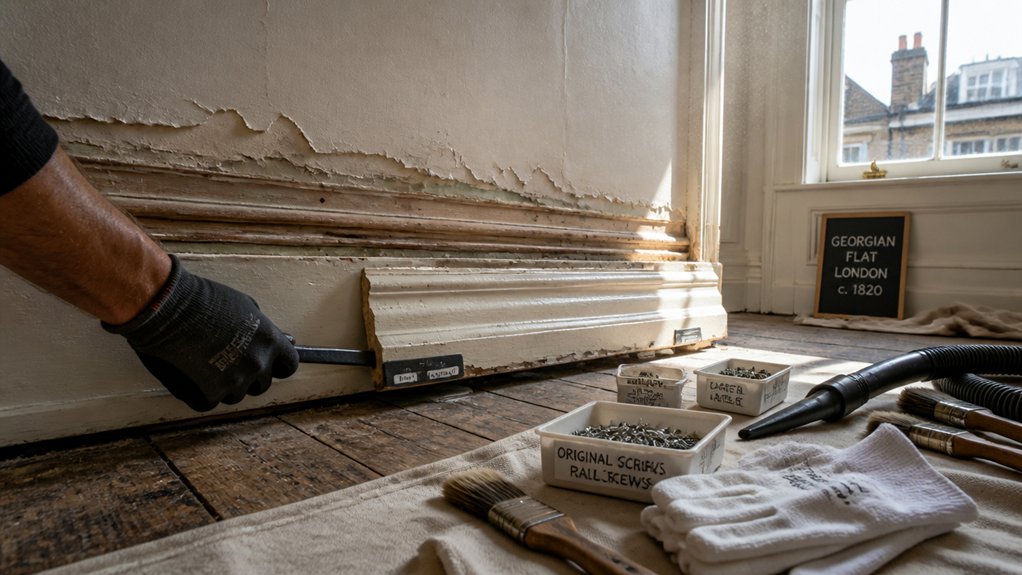
After you’ve decided what you’ll restore and what you’ll replace, you need to verify what’s actually hiding behind later finishes—without turning your flat into unnecessary demolition. Start with non-invasive checks: strong torchlight, a magnet for fixings, moisture readings, and a borescope through existing service holes.
Photograph and label every layer so you can justify decisions to Building Control and, where applicable, conservation officers.
When you do open up, cut small inspection “windows” with a multi-tool, protect adjacent mouldings, and bag debris for later identification. Watch for lath-and-plaster, lead paint, asbestos, and historic wiring; stop and get surveys if you’re unsure.
You can still achieve Modern design and energy efficiency, but you’ll plan insulation, ventilation, and detailing around what you uncover.
Revive Fireplaces and Chimney Breasts (Safely)
Before you reinstate a fireplace, you’ll check the chimney breast for cracking, loose masonry, past alterations, and any signs it’s no longer properly supported.
You’ll bring in the right professional where needed and make sure any works align with Building Regulations (especially Part J), safe ventilation, and a suitable flue or liner.
With the structure confirmed, you can restore the surround and hearth in a way that preserves original fabric while meeting current fire and carbon-monoxide safety expectations.
Assess Chimney Breast Integrity
Because chimney breasts in London flat conversions often carry structural loads and hide decades of alterations, you should assess integrity methodically before you expose brickwork or reinstate a fireplace.
Start with a Chimney inspection from hearth to terminal, noting staining, sulphate attack, loose parging, or blocked flues.
Then commission a Structural assessment if you see cracking, bulging, or past removals at lower floors; London stock brick and lime mortar behave differently from modern infill.
Check whether the breast is party‑wall related and align your approach with Building Regulations and any conservation constraints before disturbing original fabric.
- Map cracks, spalls, and damp patterns; photograph and date them
- Locate lintels, gallows brackets, and prior steelwork with a borescope
- Verify support paths floor‑to‑roof; don’t assume continuity behind plaster
- Record materials and mortar type to guide like‑for‑like repairs
Restore Fireplaces To Code
Although a reinstated fireplace can look period-perfect in a London flat conversion, you still need to rebuild it to current safety standards and document the work as if Building Control will scrutinise every junction.
Confirm whether it’ll be decorative, gas, or solid-fuel, then follow Approved Document J: correct flue sizing, suitable liners, and clearances to combustibles.
Set out fireplace hearths to the required thickness and projection, and raise them above finished floor level where mandated.
You’ll also protect heritage fabric: retain original surrounds, but rebuild any fireback, gather, and lintel in non-combustible, load-rated materials.
Get a HETAS or Gas Safe installer to commission the appliance, issue certificates, and provide CO alarm locations.
Finish with a chimney sweep report and a chimney maintenance plan to prevent tar, damp, and nesting.
Fix Sash Windows and Improve Heat and Noise
Start by evaluating each sash window’s condition—check cords, weights, pulleys, rot, and racked frames. Then record what’s original so you can justify like‑for‑like repairs under any conservation or listed‑building constraints.
You’ll cut heat loss and rattles by draught‑proofing and sealing gaps with discreet brush piles and staff/bead seals that don’t alter the profiles.
Where comfort still falls short, you can upgrade glazing carefully—often with slimline double glazing or secondary glazing—so you improve warmth and noise control while keeping the historic sightlines.
Assess Sash Window Condition
Before you budget for repairs or upgrades, assess each sash window’s condition carefully so you preserve original fabric and stay on the right side of any lease, conservation-area guidance, or listed-building controls. Photograph every elevation, then number windows so your schedule matches any consent application.
Check for Historic paint layers and avoid aggressive sanding until you’ve confirmed lead risks and heritage value. Test operation: sashes should travel smoothly without racking or binding, and meeting rails should align.
Probe timber at cills, lower rails, and glazing bars; soft spots often signal trapped moisture, not “age.” Inspect glass type, putty lines, and previous Window restoration for incompatible hard fillers.
- Distortion, gaps, or sticking during lift
- Rot, fungal staining, or moisture readings
- Loose panes, cracked putty, failing beads
- Broken cords, missing weights, worn pulleys
Draught‑Proof And Seal Gaps
Once you’ve logged how each sash performs, you can tackle draughts by sealing the small, high‑impact gaps that leak heat and pull in noise, without planing away original timber or altering sightlines.
Fit brush pile carriers into parting and staff beads, and add a slim meeting‑rail seal so the sashes close tight but still slide freely.
Rake out failed putty lines around the frame junctions and repoint with compatible lime or flexible sealant only where movement demands it.
Use compressible foam or perimeter gaskets at the box frame-to-wall interface, behind architraves, to stop hidden air paths.
Keep everything reversible for conservation areas and listed constraints, and document materials for Building Control.
These window insulation, draft proofing strategies lift comfort fast without changing glass or profiles.
Upgrade Glazing For Comfort
Sealing the gaps stops the worst draughts, but glazing upgrades tackle the bigger comfort swings by cutting radiant heat loss and damping street noise while you keep original sashes and sightlines.
In a London conversion, you’ll often get best results by repairing cords, parting beads, and pulleys first, then choosing compliant glazing that respects window aesthetics and avoids chunky profiles.
- Fit slimline double glazing where permitted; confirm U-values, sightlines, and listed-building consent.
- Add magnetic or hinged secondary glazing for reversible performance without altering glazing bars.
- Specify acoustic laminate on the street elevation; combine with tight staff beads to cut rattle.
- Match glazing materials to putty lines and spacer colours; keep timber repairs breathable and paintable.
Ask your installer to document fixes for Building Control and conservation records.
Repair Cornices, Ceiling Roses, and Plaster Details
Although cornices, ceiling roses, and other plaster enrich a London conversion’s character, you’ll need to repair them with a light touch and a clear plan that respects the original fabric. Start by mapping cracks, hollow spots, and moisture staining, then fix the cause (leaks, movement, condensation) before you touch finishes.
If the building is listed or in a conservation area, check consents and keep photographic records of every intervention.
Retain sound Decorative moldings and splice repairs with lime-based plaster or compatible fillers, matching aggregate, profile, and tool marks. Use silicone moulds only where sections are missing, and date-stamp replicas discreetly.
When you reinstate Period lighting, isolate power, protect the rose, and add a proper pattress so fixings don’t fracture fragile plaster.
Save Original Floors, Tiles, and Stair Parts
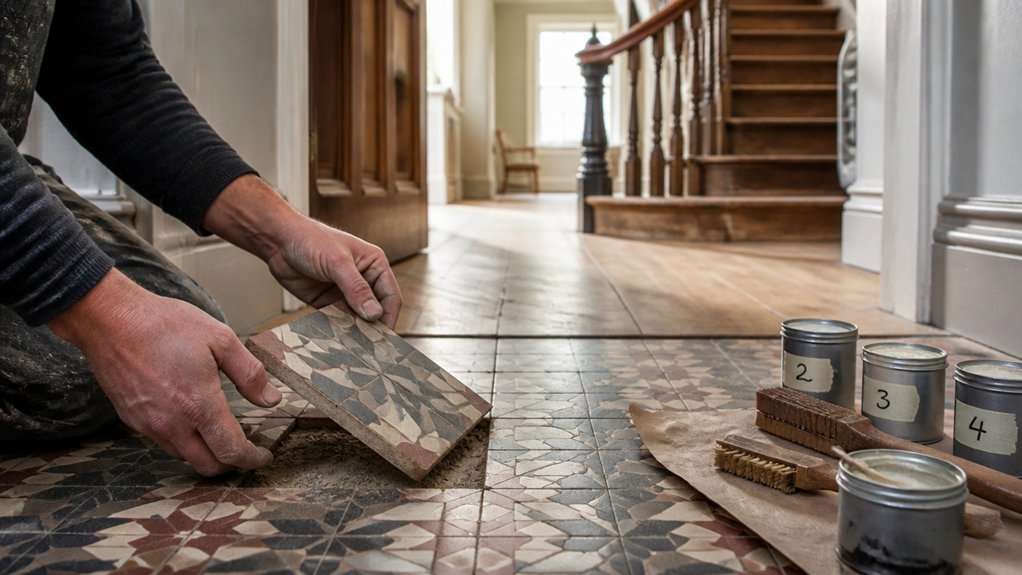
After you’ve stabilised ceiling plasterwork and stopped the underlying moisture or movement, turn your attention underfoot and on the stair: original boards, encaustic or quarry tiles, and handrails often survive a conversion but get lifted, over-sanded, or replaced without checks. Treat Historic flooring as a finite resource: record what’s there, lift only where essential, and keep any removed pieces labelled for reinstatement.
For Tile preservation, avoid aggressive acids or grinders; use pH‑neutral cleaners and breathable grouts so salts don’t spall the surface.
On stairs, retain balusters, newels, and worn nosings; patch with matching species and profiles rather than wholesale replacement.
If you’re in a listed building or conservation area, check whether consent is required before altering finishes, even internally.
- Photograph and measure every bay and tread
- Test for lead paint before sanding
- Keep ventilation gaps; don’t trap damp under impermeable layers
- Use reversible fixings and compatible repairs
Hire London Heritage Trades and Set a Realistic Budget
Before you price anything, line up heritage‑competent trades in London—plaster conservators, joiners who can run like‑for‑like mouldings, and tilers used to lime and breathable grouts—and ask for method statements that explain what they’ll retain, repair, and only replace as a last resort.
Match each scope to your flat’s constraints: access, working hours, neighbours, and waste routes.
Get at least two itemised quotes with day rates, materials, and protection allowances, then build a cost estimation that includes surveys, sample panels, and contingency for hidden lath, damp salts, or asbestos.
If you’re in a listed building or conservation area, plan for heritage approval lead times and request photos, drawings, and product datasheets the council will accept.
Don’t value-engineer breathability away.
Conclusion
After all that “simple” London flat conversion work, you’ll find the heritage bits were the easiest to love and the hardest to rush. You’ve documented every cornice, checked behind finishes, and chased listed building consent, conservation constraints, and your freeholder’s sign-off—so your repairs stay compliant and defensible. You’ve opened up carefully, treated hazards, and upgraded warmth and noise quietly. In the end, you haven’t just modernised a flat—you’ve preserved its argument with time.
About the Author



