
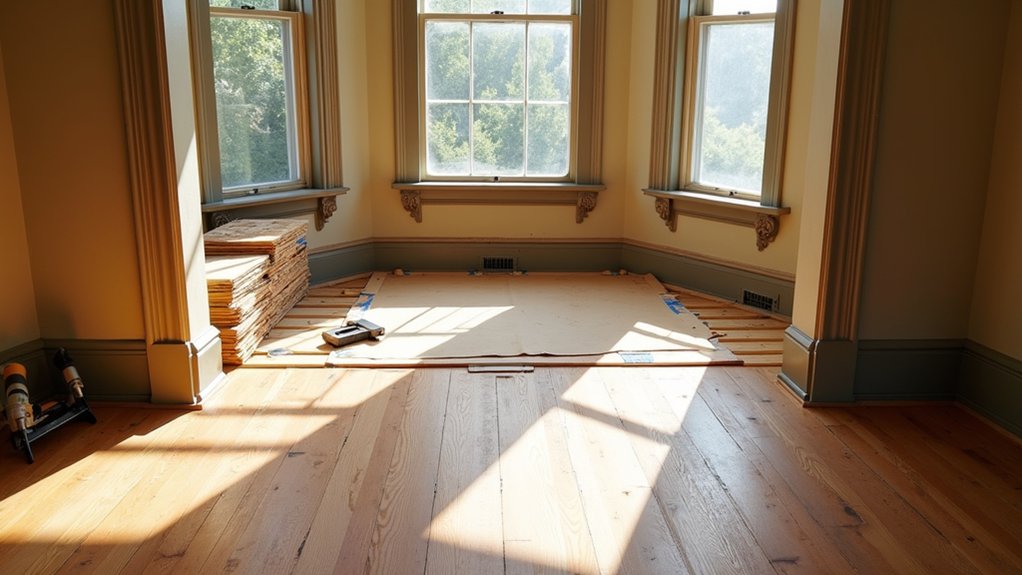
Nearly 60% of UK period-home refurbishments lose value because modern flooring choices jar with original detail. If you’re fitting new hardwood in a Victorian terrace or Georgian townhouse, you’ve got to start with species, board width, and a finish that suits the era, then deal with creaking joists and uneven subfloors without harming lath-and-plaster. Get the layout wrong and every doorway will show it, so you’ll want to see what comes next…
Key Takeaways
- Identify your home’s era and copy existing board widths, lay direction, edge profile, and sheen from hidden areas like thresholds or cupboards.
- Select period-appropriate timber species and grades, favouring local historical choices and avoiding overly rustic boards in formal rooms.
- Specify board dimensions and cut to suit the period: narrow rift/quarter-sawn for Georgian formality, slightly wider plain-sawn for later Victorian/Edwardian.
- Prepare the subfloor by refixing loose planks, correcting moisture with ventilation, and leveling with planing, shims, or feathered compounds.
- Plan the layout, choose a suitable fixing method, sand progressively, and finish with low-sheen oil or hardwax before refitting trims and flush thresholds.
Match Hardwood Flooring to Your Home’s Era
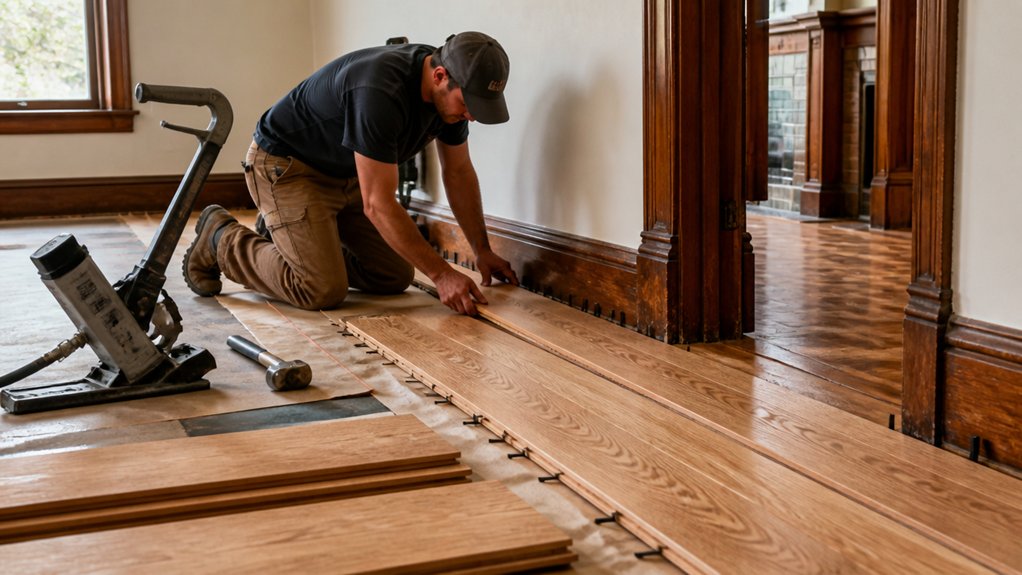
If you want the finished floor to look like it’s always belonged, start by matching your hardwood to the age of your home rather than whatever’s trending. Date the building: Georgian and Regency rooms often suit narrow boards and restrained detailing; Victorian terraces tolerate busier strip patterns; Edwardian halls commonly welcome parquet and bolder borders.
Check what survives under carpets, at thresholds, and in cupboards, then mirror those widths and lay directions.
You’ll keep Historical accuracy by aligning board size, edge profile, and sheen with the period’s joinery and skirting heights.
Put Material sourcing first: ask for reclaimed boards with provenance, or new timber milled to period dimensions, responsibly certified and properly acclimatised for Britain’s damp swings.
Choose Hardwood Species Used in Period Homes
Although fashions have shifted, period houses across Britain tend to repeat the same dependable timbers, so choose a species that matches what your rooms would plausibly have had from new. Your wood species selection should follow local supply and status:
oak suits Tudor through Georgian halls and parlours;
elm and ash appear in workaday rooms;
deal and pitch pine often served Victorian and Edwardian bedrooms, landings, and servants’ areas.
In late‑19th‑century terraces you’ll also meet maple or beech in smarter refurbishments, while walnut and mahogany tended to be reserved for inlaid borders and furniture, not whole floors.
Check surviving boards at thresholds, under grates, or beneath cupboards, then copy their tone and grain. That’s the simplest route to historical accuracy without pastiche.
Pick Board Width, Grade, and Cut (Rift/Quarter)
Once you’ve settled on a species that suits the age and status of the house, you need boards that look as though a local joiner could’ve ordered them at the time—meaning the right width, a sensible grade, and an appropriate cut.
For Georgian and early Victorian rooms, favour narrower boards (about 90–125mm) to keep the rhythm refined; later Victorian and Edwardian halls tolerate 125–175mm without looking suburban.
In your Board selection, dodge “rustic” extremes unless the house is truly modest; a select or character grade with tight knots reads honest, not contrived.
Specify rift- or quarter-sawn stock for straight, calm grain in formal rooms, and plain-sawn where a little cathedral figure suits.
Ask the mill about Cutting techniques and consistent end-matching.
Fix and Level Old Subfloors (No Damage)
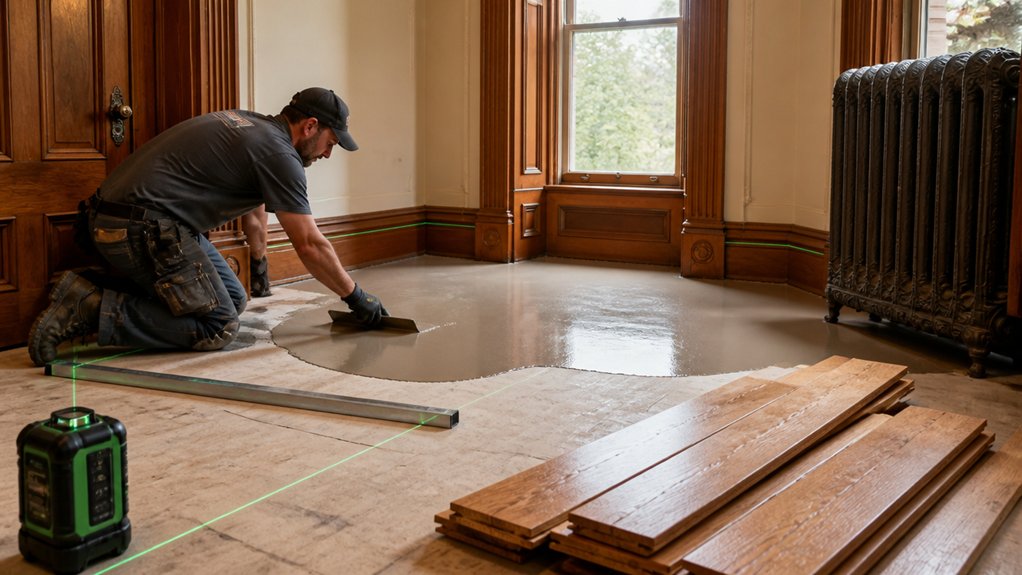
Before you lay a single board, get the old subfloor sound and true without hacking it about. Lift grilles and a few boards to inspect joists, then refix loose planks with lost‑head nails or screws into joists, keeping fixings neat for a period finish.
Check subfloor moisture with a meter; if it’s high, improve ventilation, clear airbricks, and let it dry rather than sealing it in.
For an uneven subfloor, work gently: plane proud board edges, pack low spots with thin plywood shims or feathered levelling compound only where needed, and bridge gaps with tight‑fitted noggins.
Replace rotten sections like‑for‑like in matching thickness. Finally, vacuum, remove old bitumen lumps, and recheck flatness with a long straightedge.
Plan Hardwood Floor Layout, Seams, and Borders
With the subfloor now firm, dry, and flat, set out your hardwood floor on paper and on the boards themselves so the room looks balanced and the joints land where they’ll stay tight. Snap a centreline from the principal doorway or hearth, then dry‑lay a few rows to confirm Pattern symmetry and pleasing margins at skirtings and architraves.
Stagger end joints by at least 200mm, and keep seams away from door thresholds where traffic bites. If you’re matching a Georgian or Victorian scheme, align boards with the main sightline and avoid skinny rips; adjust your start line to finish with a generous last board.
Mark border widths with a gauge, keeping them parallel to walls that are truly square. Use feature strips sparingly for colour contrast.
Install Hardwood Flooring: Nail, Glue, or Float?
Although your layout lines are now fixed, you still need to choose the fixing method that suits the boards, the subfloor, and the way the room will be used. Traditional nail‑down suits solid oak over sound joists or quality ply: secret‑nail through the tongue, keep fixings clear of pipes, and add felt or building paper to hush squeaks in draughty terraces.
Where you’ve got a flat screed, glue‑down gives a low profile for Georgian thresholds. Pick appropriate adhesive types—silane (MS polymer) for flexibility, PU for strong grab, or a pressure‑sensitive acrylic for some engineered boards—and mind damp readings.
Floating floors work over underlay on uneven bases or flats with noise rules, but you’ll need expansion gaps at skirtings and around hearths. These floor installation methods decide feel and longevity.
Sand and Finish Hardwood for Aged Patina
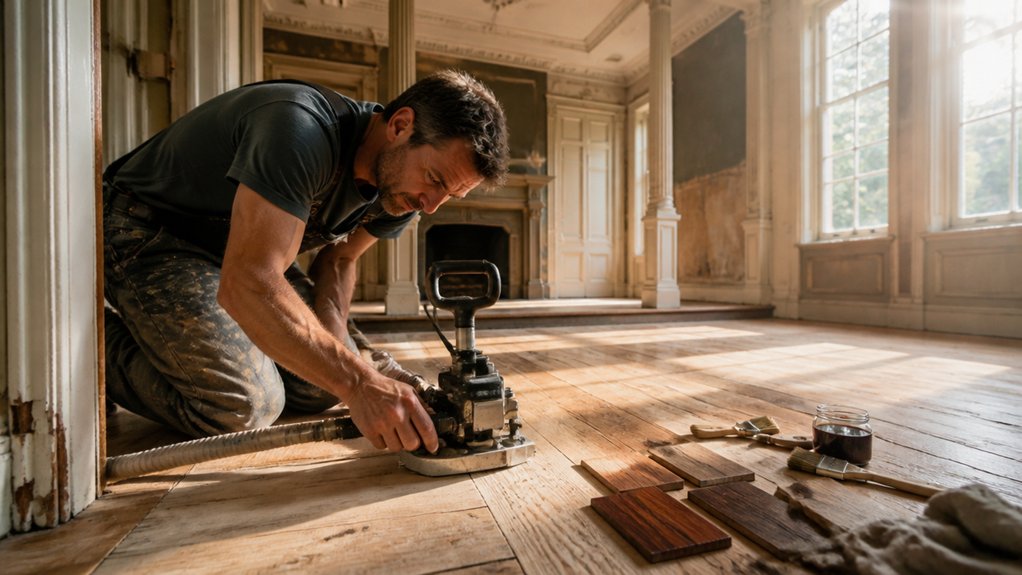
Once you’ve fixed the last board and pulled your wedges, you can bring the floor to life by sanding it flat and building a finish that reads like honest age rather than showroom gloss.
Start with 40–60 grit to level, then step through 80 and 120, keeping the machine moving with the grain to avoid chatter marks. Hand-scrape edges and corners where boards meet old hearth stones or thresholds, so the work doesn’t look factory-new.
Vacuum meticulously and wipe with white spirit to reveal scratches before you seal.
For Vintage finishes, choose a hardwax oil or a low-sheen oil-based varnish, tinted lightly with oak/amber. Apply thin coats, de-nib between, and keep Patina preservation by skipping heavy stain and letting figure and knots speak.
Reinstall Trim, Transitions, and Gap Fixes
After the finish has cured to the maker’s times, you can refit the room’s edges so the new boards sit neatly against the house. You’ll rehang skirting and architraves in their original order, marking stud lines, pre-drilling, and fixing with lost-head nails so you don’t split old timber.
For trim restoration, scrape back paint nibs, patch dents with shellac-based filler, then ease profiles with a fine shave to keep crisp Victorian lines.
Leave the expansion gap clear; if it shows, fit a colour-matched scotia or quadrant, pinned to the skirting, never the floor.
At thresholds, set transition strips flush: brass, oak, or rebated timber to suit uneven halls and fireplaces. Plug nail holes, touch in stain, then wax lightly.
Conclusion
When you’ve matched species, width, and cut to your home’s age, you’ll find the new boards sit as though they’ve always been there. You’ve steadied the old subfloor, set out seams and borders with care, and fixed the floor by nail or glue to suit the room. After a light sand and an oil or wax finish, you’ll have an aged patina. Refit trims and thresholds, mind the gaps, and you’re home and dry.
About the Author



