
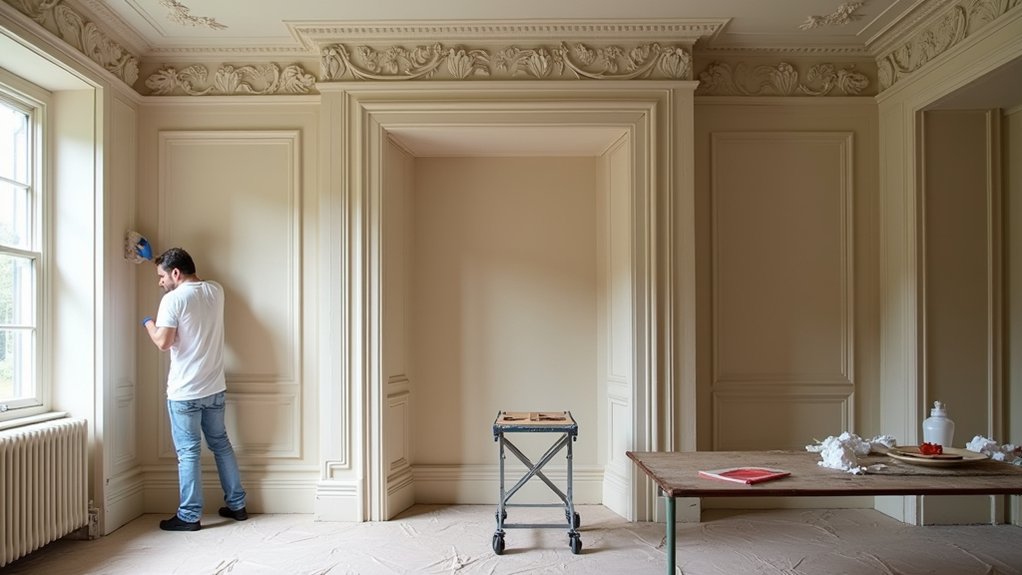
Like a timeworn map, your Victorian cornicing shows you where Leeds’ damp, movement, and old repairs have left hairline cracks, delamination, and loose runs. You start by inspecting every profile under raking light, then soften stubborn paint with gentle heat and eco‑friendly solvent before lifting it with plastic tools to protect the plaster. You stabilise what’s shifting, fill cracks with lime-based filler, and take moulds for missing sections—then the tricky part begins.
Key Takeaways
- We inspected cornice profiles under raking light, tapping for hollow “drummy” areas and checking joints for movement and hidden failures.
- We traced root causes like roof leaks, failed gutters, and chimney flashings, then mapped damp to prevent recurring damage after repairs.
- We removed paint carefully using gentle heat and small solvent tests, avoiding abrasive methods that would erode Victorian detail.
- We stabilised loose sections by refixing laths and consolidating fragile plaster, then cleaned soot and chalking with soft brushes and vacuuming.
- We repaired hairline cracks with plaster-based filler and recast missing sections from moulds taken off intact profiles to match original shadow lines.
Assess Victorian Cornicing Damage and Causes
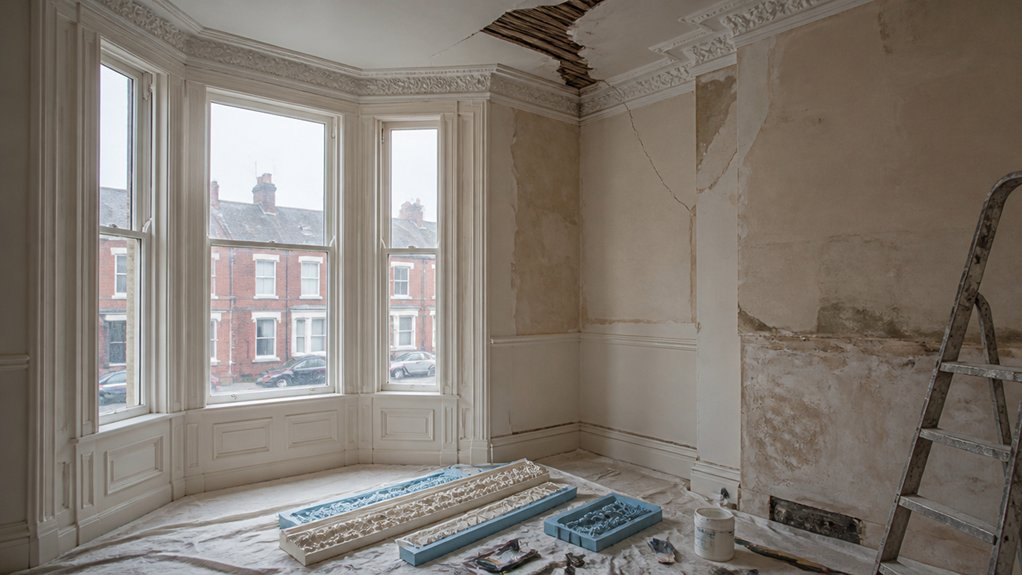
Where do you start when your Victorian cornice in Leeds looks tired or cracked? You inspect it like a surveyor: run a light along the profile to spot hairline fissures, missing leaf-and-dart detail, or sagging runs. Press gently; hollow sounds suggest delamination from laths or masonry. Check joints at corners and ceiling lines for movement, and note any recent redecoration that may have masked failures.
Next, you trace causes rooted in Victorian architecture and Leeds’ climate. Look for staining that points to roof leaks, failed gutters, or chimney flashings. Map damp with a meter, then check for salts, mould, or softened plaster. Identify vibration from traffic or nearby works, and rule out thermal movement from loft conversions.
You document findings for historical preservation and plan repairs accordingly.
Choose a Safe Paint-Removal Method for Plaster Cornices
Before you reach for a scraper, choose a paint-removal method that respects fragile Victorian lime-and-gypsum plaster and the fine undercut detail typical of Leeds terraces.
Start by identifying what you’re lifting: distemper, oil gloss, or modern acrylic, because each releases differently and can drag moulded edges.
Use gentle heat with constant movement to soften later layers, then lift with a profiled plastic tool rather than a metal blade.
Where heat risks cracking, apply Eco friendly solvents in small test patches, keeping dwell times short and wiping residue away so it doesn’t soak into porous plaster.
Avoid Sandblasting techniques: even “soft” media erodes crisp egg-and-dart and opens the surface to future flaking.
Work in short sections, under raking light.
Prep and Stabilise Cornicing Before Repairs
Once you’ve lifted the paint without tearing the undercut detail, treat the cornice like a fragile piece of Victorian fabric rather than a modern skim. You’re aiming to keep Decorative ornamentation intact while ensuring Historical accuracy in every step.
- Vacuum and brush: Use a soft brush and low-suction vacuum to clear soot, chalking, and loose size from coves and beads without rounding edges.
- Test for movement: Tap lightly, then press along joints to find drummy areas; mark them so you don’t stress them during handling.
- Stabilise the substrate: Tighten loose laths where accessible, refix displaced sections with temporary props, and apply a breathable consolidant to friable plaster.
Finish by masking adjacent wallpaper and timber so you keep crisp sightlines.
Repair Hairline Cracks in Cornicing and Mouldings
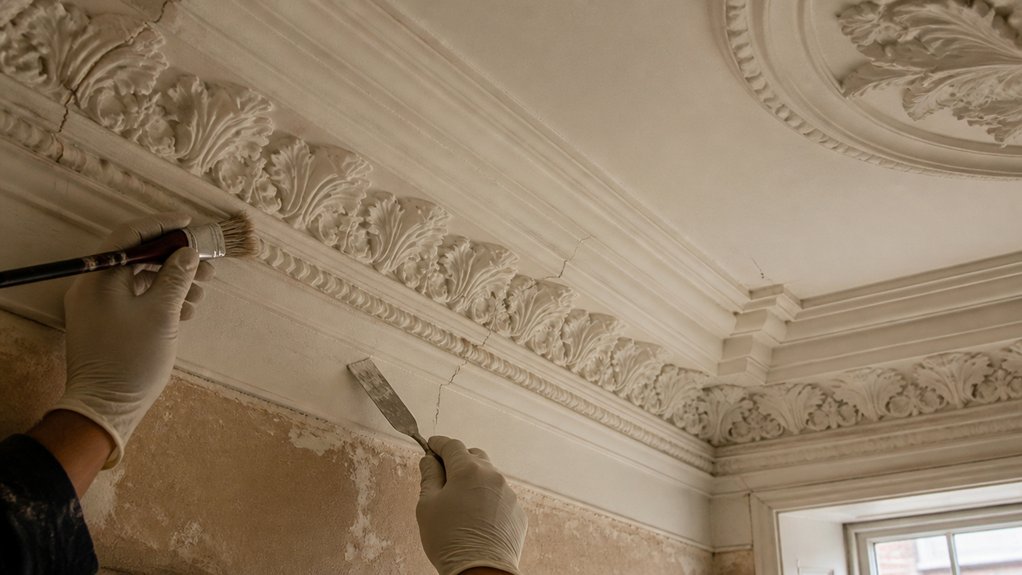
Although hairline cracks can look minor on Victorian cornicing, they usually signal seasonal movement or old shrinkage that will reopen if you just skim over them.
You’ll get longer-lasting results by cutting the crack into a fine V with a sharp knife, then brushing out dust so the repair bonds to sound plaster.
Mist the area lightly, then work in a compatible plaster-based filler rather than modern caulk, keeping Historical accuracy and vapour-permeability in mind.
Push the mix deep with a small filling knife, wipe the edges clean, and let it firm up before a second tight coat.
Once dry, sand minimally to protect crisp arrises and any decorative techniques in the leaf-and-dart or egg-and-dart detail.
Finally, seal patched areas so paint doesn’t flash.
Recast Missing Cornice Sections to Match the Profile
When a chunk of Victorian cornice has snapped away or been hacked back around old electrics, you’ll get the most invisible repair by recasting a new section to the exact profile rather than trying to sculpt it in place.
You start by taking a clean run of surviving moulding as your reference, then record its projection, drop, and any quirks from decades of settling.
- Capture the profile from an intact length, noting bead edges and undercuts so the shadow lines read correctly.
- Recast the missing piece to the same dimensions, aiming for Historical accuracy rather than a “near enough” curve.
- Dry-offer it, then adjust the arrises and joints until the mitres close and the pattern repeats seamlessly.
Prioritise Material matching so the repaired section ages and breathes like the original.
Tools and Materials for Victorian Cornice Restoration
How do you avoid a crisp Victorian profile turning soft and “new-build” during repair? You start with the right kit and keep mixes tight. Use fine casting plaster for Decorative plaster work, plus lime putty or gauged lime where the original needs breathability.
Keep a hawk and stainless trowels, small modelling tools, and a sharp scraper for running edges. Make rigid profile gauges in zinc or acrylic, and take rubbings before you touch anything for Historical accuracy.
For fixing, choose hessian scrim, sisal fibres, and stainless screws or plugs, then set with casting plaster or lime, not modern fillers. Use a mist coat of diluted size or PVA sparingly to control suction.
Sand lightly with fine abrasive and stop before you blur details.
When a Leeds Cornice Specialist Is Worth It
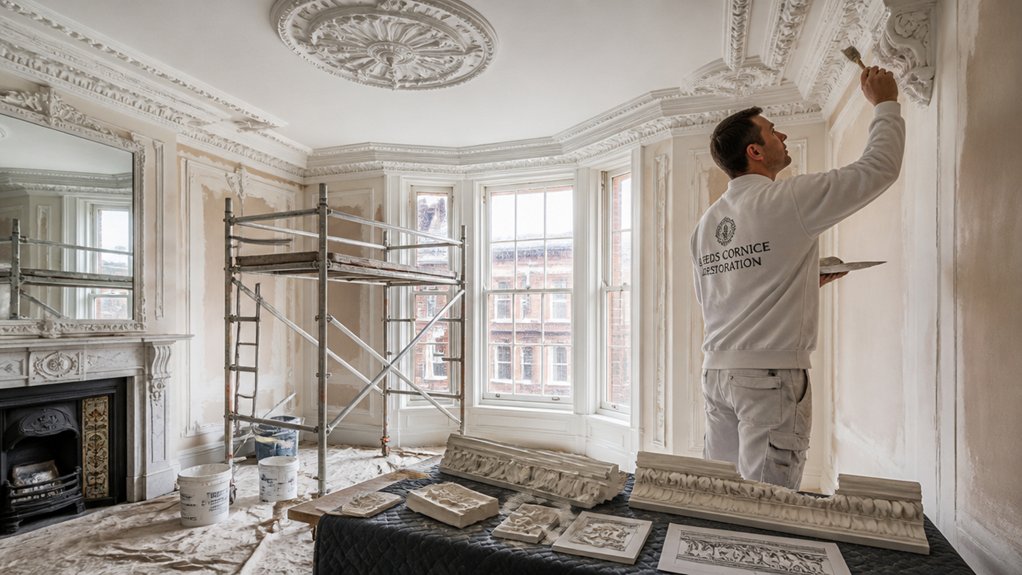
Because Victorian cornices in Leeds often hide layers of settlement cracks, soot staining, and earlier “repairs” in gypsum and filler, you’ll get a better result by calling a cornice specialist as soon as the damage affects the profile line, the run length, or the bond to the lath.
They’ll match period sections, use lime-appropriate casts where needed, and avoid sanding off crisp Victorian arrises, supporting Historical preservation.
You’ll also save time when you face:
- Missing leaf-and-dart or egg-and-dart repeats that need moulds taken from sound runs.
- Failed keys to lath, where re-fixing and backing coats must be rebuilt in sequence.
- Room updates requiring Modern design integration, like concealed LED washes, without flattening the cornice’s shadow line.
Conclusion
You might worry restoring Victorian cornicing in Leeds costs more than replacing it, but careful repair usually saves original detail and avoids mismatched modern profiles. You’ve assessed cracks, damp, and movement, stripped paint with gentle heat and eco-solvents, and stabilised loose runs before filling with lime-based repair plaster. Where sections were missing, you’ve taken moulds from intact lengths and recast to the exact profile. If the work feels risky, bring in a cornice specialist.
About the Author



