
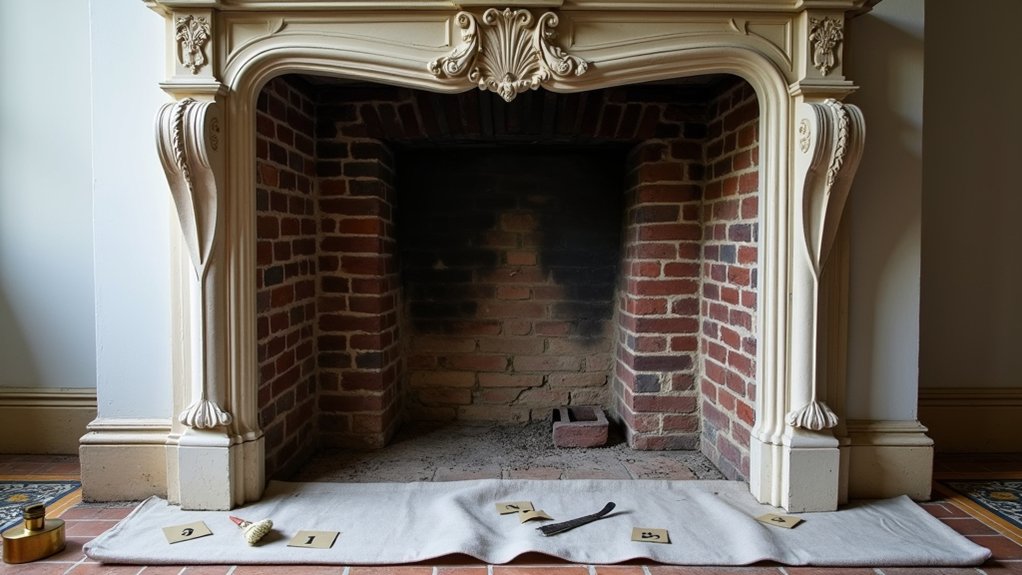
You probably don’t know that a “good‑looking” antique fireplace can hide code failures in the throat, flue, and clearances. You start by inspecting structure and documenting every brick, tile, and mortar profile, then verify liner condition, draft path, and permit requirements before you lift a single piece. You dismantle and label the surround, match period materials, and rebuild to modern safety without erasing tool marks or patina—but the real test comes when you set the mantel back in place…
Key Takeaways
- Photograph, measure, and sketch every course and joint; label each brick and surround piece with a reversible grid system before dismantling.
- Inspect chimney structure, footing, flashing, and firebox; smoke-test draft and verify liner continuity, clearances, and permit requirements before rebuilding.
- Dismantle in reverse order using hand tools; protect fragile edges and document each removal so original bond patterns and profiles can be recreated.
- Rebuild with period-matched brick, tile, and lime-forward mortar; replace spalled firebrick and use listed refractory mortar only where heat-rated.
- Reassemble, plumb, and shim the surround; tool joints to original profiles, match finishes and patina with gentle cleaning, then complete final code checks.
Inspect the Antique Fireplace and Set a Restore Plan
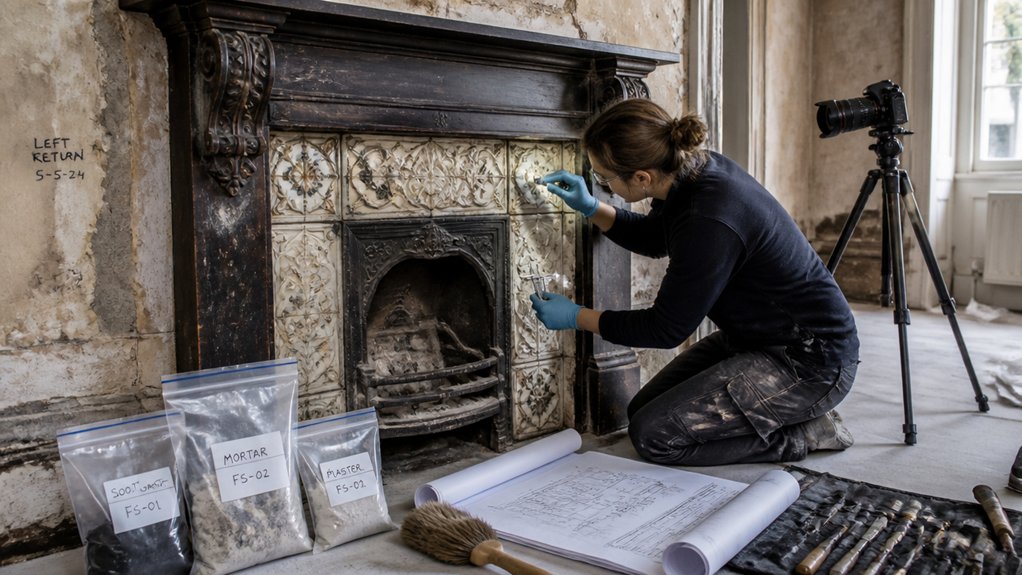
Before you lift a single brick or scrape away soot, give the antique fireplace a disciplined inspection and map out a restoration plan. Photograph every course, joint profile, and edge detail; sketch dimensions, firebox depth, hearth projection, and mantel returns. Note brick bonds, tool marks, lime-mortar color, and any later Portland-cement patches that trap moisture.
Check for settlement: stepped cracking, bowed jambs, spalled faces, and loose voussoirs at the opening. Label salvageable units and set aside exemplars for Historical accuracy.
For Material selection, match brick size, density, and firing tone; specify compatible lime mortar and historically correct sand grading. Document finishes—whitewash, paint layers, or soot glazing—and plan gentle cleaning tests.
Keep a written scope, sequence, and acceptance criteria.
Confirm Safety Needs (Chimney, Liner, Clearances, Permits)
Before you lay a single new brick, you’ll have the chimney structurally inspected for sound masonry, settled joints, and hidden breaches that can spill smoke or sparks.
You’ll confirm the liner and flue meet current code for size, continuity, and listing, even if the hearth’s proportions remain faithfully period.
You’ll also measure required clearances to combustibles and secure any permits and sign-offs your local authority requires before the rebuild begins.
Chimney Structural Inspection
Although the hearth may look sound at a glance, you’ll want a proper chimney structural inspection to confirm the stack, liner, and clearances meet modern safety requirements without compromising period fabric.
Start from the roofline and work down: check plumb, look for stepped cracking at the shoulders, and note any open joints where lime mortar has washed out. Inside, examine the breast and gather for bulging, past patching, and heat-scorched framing that could violate required separations.
- Verify footing settlement, flashing integrity, and crown condition
- Map cracks, spalls, and moisture salts to protect chimney longevity
- Plan structural reinforcement that matches historic brick and mortar
Before you rebuild, consult local code officials about permits and required inspections, and document findings for your conservation record.
Liner And Flue Compliance
Once you’ve confirmed the stack’s soundness, you need to prove the liner, flue path, and required clearances satisfy today’s code without stripping the fireplace of its historic character.
Start by dating the chimney age and noting whether it was built for coal, wood, or mixed fuels, since draft and soot loads differ.
Run a camera scan to verify a continuous, unobstructed flue, sound parging, and no hidden offsets or breaches at thimbles and smoke chamber.
Measure the flue’s cross‑section against the firebox opening so it won’t undersize and backdraft.
Choose liner materials that meet listing and temperature ratings—stainless, cast‑in‑place, or refractory tile—while fitting the original throat geometry.
Document joints, terminations, and labels for inspection.
Clearances And Permit Requirements
Because an antique hearth often sits closer to timber than modern assemblies allow, you’ll need to verify clearances and secure the proper permits before you rebuild a single course of brick.
Measure from firebox, smoke chamber, and connector to joists, studs, and mantel; then compare those figures to current clearance regulations and any local amendments.
Don’t assume a century-old surround is “grandfathered”—inspectors rarely accept that without documentation.
Confirm the chimney’s condition, liner listing, and any required hearth-extension depth before you close walls.
- Photograph existing conditions and note dimensions for your permit set
- Ask the AHJ about historic-district review and building permit requirements
- Schedule rough and final inspections so masonry work stays accessible
Document, Label, and Dismantle the Surround Carefully
Before you lift a single tile or molding, you’ll photograph every joint and take keyed measurements so the surround can be reassembled to its original reveal and profile.
You’ll label each component systematically—top to bottom, left to right—so its position, fasteners, and any shims are recorded for inspection and for code-required clearances on reinstallation.
Then you’ll dismantle in reverse build order with hand tools and protection at all bearing points, keeping plaster, hearth edges, and fragile cast or carved details intact.
Photograph And Measure Details
While the surround still sits in its original position, you’ll want to record it like a conservator and measure it like a mason: photograph every elevation and joint in raking light, then capture close-ups of miters, rebates, dowel pins, and any hairline cracking or prior repairs. Include nearby Lighting fixtures and Decorative carvings so context and scale stay truthful to the period.
- Shoot a fixed sequence (wide, mid, close) with a tape, square, and level in frame.
- Note clearances to hearth, jamb returns, and trim lines; verify plumb, level, and reveal depths.
- Log material clues: soot tide marks, paint strata, fastener heads, and tool chatter.
Work to conservation guidance and local heritage consent requirements, and keep measurements to the nearest millimetre to avoid cumulative error during reassembly later.
Label Components Systematically
Once you’ve captured the surround in situ, start a systematic labelling scheme so every piece returns to its exact position and orientation under conservation scrutiny. Assign each stone, tile, or timber an ID that matches your drawing grid (e.g., A1–D4), and mark face, top, and room-side with reversible pencil or low‑tack tape only.
Note tooling marks, soot lines, and Decorative accents so you don’t invert profiles or lose edge returns.
Record mortar type, joint width, and any prior repairs in a log, and cross‑reference IDs to photo filenames for auditability. Bag fixings separately, label by location, and keep a chain‑of‑custody sheet for protected fabric.
If the fireplace has listed status, your documentation supports consent conditions and preserves its Historical significance throughout handling and storage.
Remove Surround Without Damage
After you’ve completed your drawings and labels, start dismantling the surround from the least‑loaded elements upward, and keep every move tied to your record set. Score paint lines with a sharp knife, then ease fasteners with hand tools to avoid splitting lath, plaster keys, or old-growth wood. Use shims and a thin pry bar, working in millimeters, so decorative trim doesn’t fracture at miters. Bag original screws, nails, and wedges separately, and note their locations for compliant reassembly.
- Photograph each lift-off piece beside its label card and a ruler
- Mark hidden faces in pencil only; never ink historic finishes
- Stop if you find cracked masonry or suspect heat damage; verify clearances per local fire codes
During surround removal, protect the hearth and floor with rosin paper and padded blocks.
Repair or Match Original Brick, Stone, Mortar, and Tile
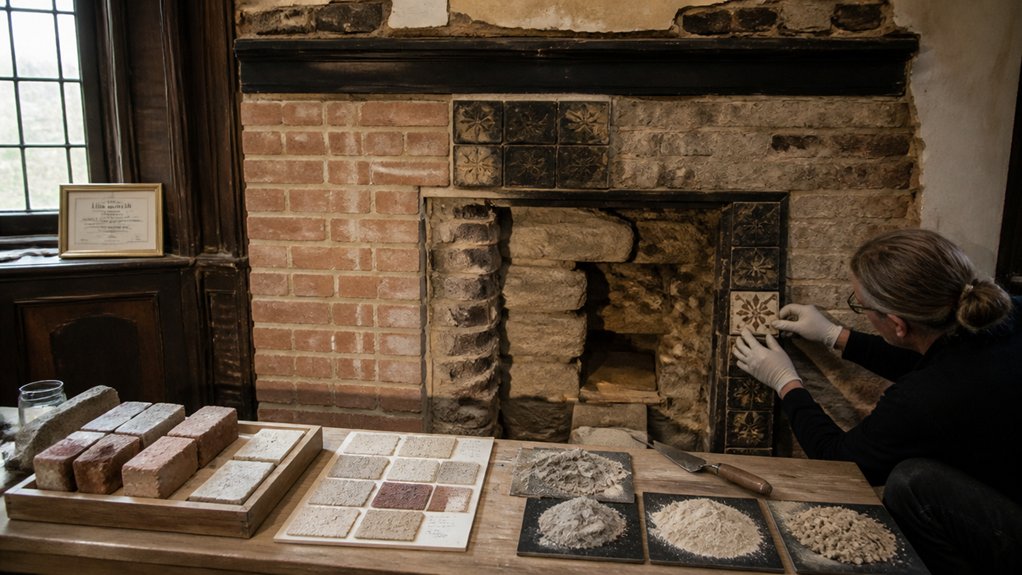
Because antique fireplaces were built as integrated masonry systems, you can’t treat a cracked firebrick, spalled hearth stone, or missing tile as a cosmetic patch and expect it to last.
Start by documenting bond patterns, joint width, and tooling so your repairs read period-correct.
When matching original brick, salvage from inconspicuous areas or source same-era clay units; match size, porosity, and burn marks, not just color.
For stone, pin and dutchman only where sound substrate remains, and keep cuts tight to minimize new joints.
Repoint with a lime-forward mortar that matches original sand gradation and softness; avoid hard Portland mixes that can trap moisture and violate preservation guidance.
For restoring historic tile, reset on compatible bedding, keep glaze edges aligned, and replace only irreparable pieces.
Rebuild the Firebox and Throat for Safe Drafting
Period-correct masonry repairs only hold up if the firebox and throat pull cleanly and contain heat the way the original builder intended, so you’ll want to rebuild this zone to current safety expectations without rewriting its proportions.
Start with firebox reconstruction: remove loose parging, replace spalled firebrick with like-sized units, and set them in a listed refractory mortar rated for the temperatures you’ll see. Keep joints tight and faces true so the fire lays evenly and the opening stays historic.
- Verify clearances and lining requirements per local code/NFPA 211 before you close anything up.
- Reform the smoke shelf and throat to shed soot, not trap it, using smooth, durable parging.
- During throat restoration, size the throat and damper area for steady draft, then check with a smoke test.
Reinstall the Antique Mantel and Surround Plumb and Tight
Once the firebox and throat draft cleanly, you can reinstall the antique mantel and surround so it reads true and stays that way through heat cycles. Dry-fit every piece, label it, and confirm reveals match your reference photos for historical accuracy.
Set the legs on a sound, level bearing surface, then plumb both jambs and the frieze with a long level and winding sticks. Shim with slate or hardwood where concealed; don’t crush soft brick.
Tie the surround back with noncorroding screws into blocking or masonry anchors, keeping fasteners out of show faces. Recheck diagonal measurements, then pull joints tight with clamps and temporary cleats until the assembly locks.
Maintain required clearances to combustibles per local code and NFPA 211, and verify the lintel bears evenly without racking. Note craftsmanship details.
Match Period Finishes (Mortar Color, Patina, Sealing)
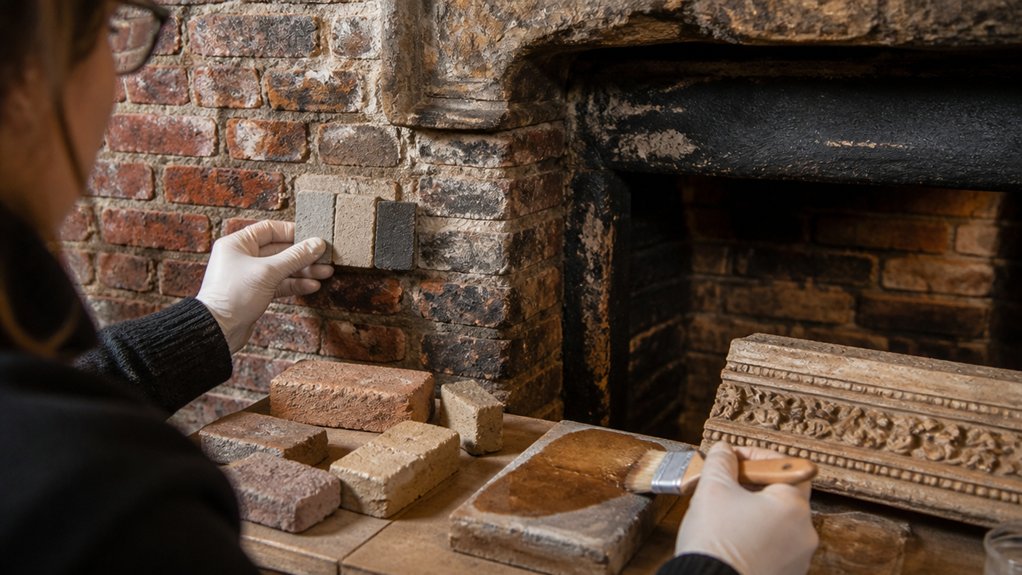
After you’ve set the surround true, match the finish work so the repair disappears under raking light and stays stable under heat. Start with mortar: tint lime-based mixes using mineral pigments, then trial on damp brick; it always dries lighter. Keep joints slightly recessed and tool to the original profile so you don’t create new “shadow lines” at the arrises.
- Wet-sample three mortar tints, label ratios, and cure 48 hours before you commit.
- For paint matching, feather edges and glaze in thin coats; avoid hard tape lines.
- For patina preservation, clean only with pH-neutral methods and stop when soot reads consistent.
Seal sparingly. Use vapor-permeable consolidants only where friable faces need it, and keep sealers off firebox liners per code and manufacturer listings.
Conclusion
When you rebuild an antique fireplace, you’re balancing craft and code, not choosing one. You’ve documented every course, confirmed liner and clearance requirements, then rebuilt the firebox and throat for reliable draft before you reset the labeled surround. In one 1890s rowhouse, you might reuse 80% of the original brick, tool a lime mortar to the same joint profile, and pull permits for a new stainless liner—so it looks period-correct and passes inspection.
About the Author



