
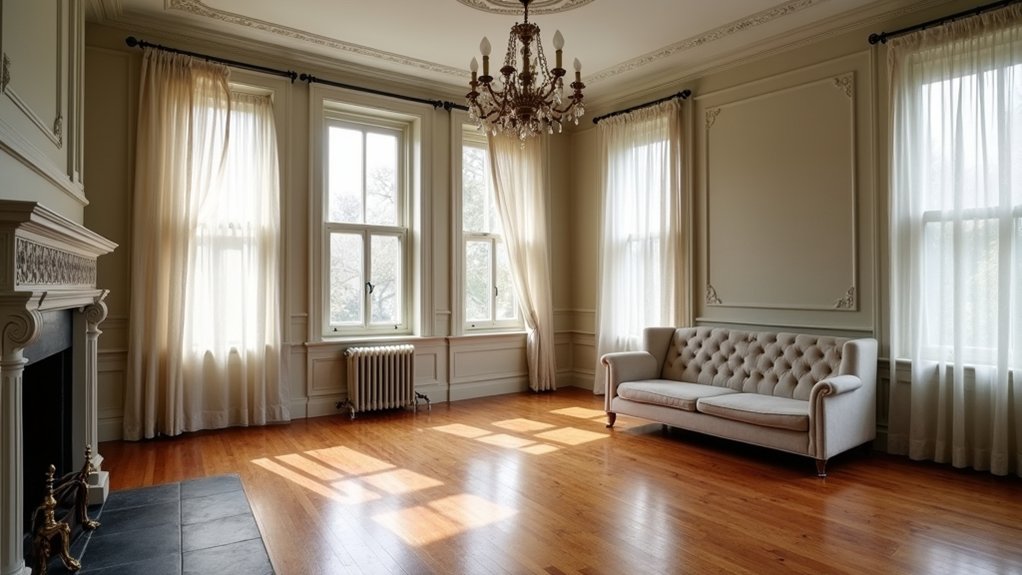
When you start lifting decades of gloss from a stair spindle and the timber grain reappears like a map, you realise you’re not renovating so much as restoring a record. You’ll walk each room with a notebook, logging cornices, ceiling roses, sash weights, tiles, and joinery before you touch anything. You’ll strip paint carefully, patch lime plaster, and repair timber rather than replace it. Then you’ll face the tricky part—modern services—without losing the Victorian line.
Key Takeaways
- We started with a room-by-room audit, photographing and labeling original cornices, doors, tiles, fireplaces, and sash windows to guide accurate reinstatement.
- We stripped paint safely in small test areas to reveal timber grain and mouldings, then repaired damage before applying breathable, period-appropriate finishes.
- We conserved plasterwork by consolidating lime plaster, filling cracks with lime putty, and casting missing cornice or ceiling-rose sections from original profiles.
- We repaired joinery and floors by splicing reclaimed timber, matching skirting profiles and board widths, and finishing with shellac, wax, or linseed-based paints.
- We restored fireplaces and sash windows to modern standards with sympathetic repairs, flue checks, draught-proofing, and discreet secondary glazing where needed.
Do a Room-by-Room Victorian Feature Audit
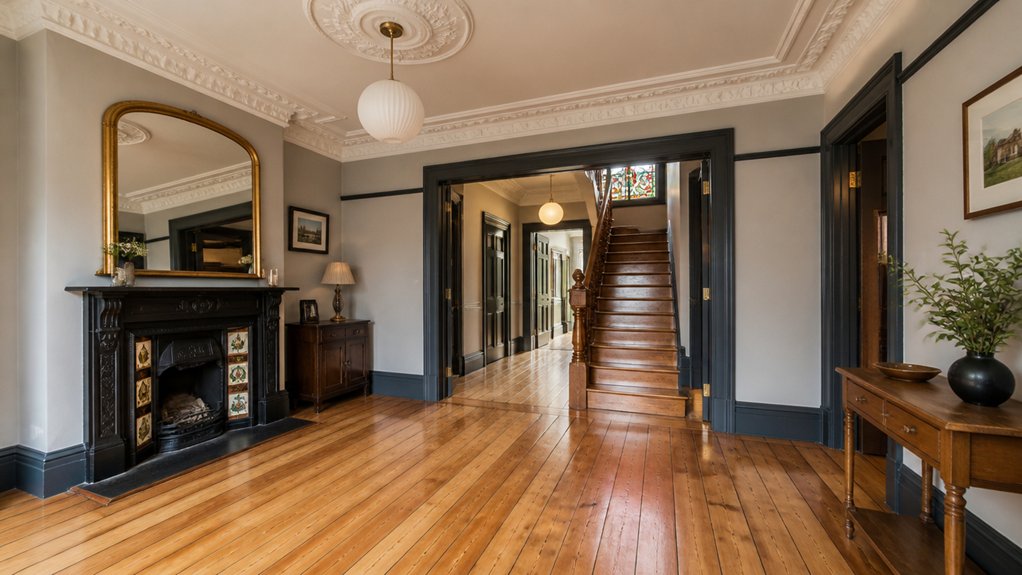
Before you lift a scraper or call in a tradesperson, walk the house room by room and record what’s genuinely Victorian and what’s later alteration. Photograph cornices, ceiling roses, picture rails, stair balusters, encaustic tiles, sash windows, fanlights, fireplaces, and original floorboards; note condition, gaps, and damp staining.
Check joinery profiles and screw types, and log where architraves or skirtings don’t match. In the front parlour, map any surviving built-in cupboards and chimneybreasts, then compare with old estate-agent photos or local conservation-area guides.
Upstairs, label doors and hardware so you can reinstate them correctly.
Outside, survey the Victorian garden: paths, edging, ironwork, and boundary walls.
List any Victorian furniture you’ll keep, and measure clearances for safe storage too.
Strip Paint to Reveal Victorian Details
Now you’ve noted what’s been painted over, you can strip back layers carefully to uncover the crisp mouldings, panel profiles, and timber grain that give a Victorian room its character.
You’ll need to choose a safe paint stripper—low-odour, suitable for older finishes, and used with proper ventilation—so you don’t scorch woodwork or damage fragile plaster.
As the paint lifts, you can reveal original architraves, skirtings, and doors, then decide what’s worth conserving and what needs gentle repair.
Choosing Safe Paint Strippers
Where do you start when you want to strip back layers of paint and uncover crisp Victorian mouldings and joinery without damaging the timber beneath? You start by picking a stripper that respects historic fabric and your lungs. Avoid old-school methylene chloride products; in the UK they’re heavily restricted for good reason. Read the SDS, check VOC levels, and plan for chemical safety: gloves rated for solvents, eye protection, and steady ventilation, even in winter.
For eco-friendly alternatives, try low-odour, water-based gels or benzyl-alcohol strippers, and test a small patch first. Match the product to the coating—oil gloss, modern acrylic, or stubborn lead paint—and choose slower, clingier pastes for profiles.
Keep scrapers sharp but non-gouging, and neutralise residues per manufacturer guidance.
Revealing Hidden Woodwork Details
Once you’ve chosen a safer stripper and kitted up properly, you can start uncovering the fine stuff Victorian joiners left behind—quirks in ovolo architraves, lamb’s tongue stops, tight mitres, and crisp beads that paint has softened for decades. Work methodically, because heritage timber rewards patience, not haste. You’ll soon spot Hidden carvings in corner blocks and plinths, and Woodgrain patterns reappearing where modern gloss once masked depth.
- Brush on, wait, then lift paint with a scraper held flat to avoid gouges.
- Use dental picks for beads and moulding quirks; keep edges sharp.
- Neutralise and rinse as directed, then dry thoroughly in British damp.
- Lightly abrade, vacuum dust, and assess repairs before finishing oils or shellac.
Repair Victorian Woodwork Before Replacing
Although it can be tempting to rip out worn skirtings, architraves, and panelled doors, you’ll nearly always get a better result by repairing original Victorian woodwork before you replace it. You preserve crisp moulding profiles, keep historic timber in situ, and avoid the thin, generic sections common in modern yards.
Start by labelling every piece, then lift it carefully to protect lath lines and fixing points. Strip paint with a low-heat gun and scraper, splice in matching reclaimed pine, and pin repairs with cut nails for an authentic grip.
Consolidate punky ends with epoxy, then re-cut beads and quirks with a scratch stock. Rehang doors on serviced butt hinges, and match skirting heights to surviving rooms. Restore Victorian furniture and Decorative ironwork so everything reads as one period scheme.
Fix Victorian Plaster, Cornices, and Ceiling Roses
You’ll often find Victorian lime plaster has hairline cracks and hollow patches, but you can stabilise it with careful consolidation and like-for-like repair rather than hard modern fillers.
When you restore cornices, run sharp profiles and reinstate missing sections with moulds so the rooms keep their period shadow lines. Treat ceiling roses the same way: secure loose laths, repair splits, and refix the rose true to centre before you redecorate.
Repairing Cracked Victorian Plaster
While hairline cracks in Victorian plaster might look alarming, they often signal age, movement, or past moisture rather than failure, so start by treating the fabric with the respect it deserves. You’re safeguarding Victorian artistry and the home’s historical significance, so avoid ripping back sound lime plaster.
Instead, work methodically: isolate the cause, stabilise the background, then mend with compatible materials that breathe in a UK climate.
For wider splits, you’ll need to consolidate edges before filling, and always keep dust down to protect adjacent joinery and papers.
- Check for active movement and fix leaks, failed gutters, or loose laths first.
- Rake out cracks, mist lightly, and apply lime putty filler in thin passes.
- Bed in scrim tape where needed, then feather edges with a fine skim.
- After curing, lightly sand and prime with a breathable mist coat.
Restoring Cornices And Ceiling Roses
Once you’ve stabilised the ceiling and dealt with any damp or movement, turn your attention to cornices and ceiling roses, because these decorative runs often hide the story of the room and the skill of Victorian plasterers.
Start by photographing profiles and measuring projections so you can match existing runs. Carefully strip paint build-up with steam or gentle scraping, keeping crisp arrises.
Where sections are missing, take a silicone mould from a sound length, then cast repairs in lime plaster or casting plaster to suit the original. Pin loose work with stainless screws and plaster washers, then fill hairline gaps with fine lime putty.
You’ll protect ornamental craftsmanship by using hand tools, not grinders, and you’ll maintain historical accuracy by copying details rather than “simplifying” them.
Finally, mist-coat before breathable paint.
Restore Victorian Fireplaces Safely and Legally
Before you strip back paint or relight a long-dormant hearth, treat a Victorian fireplace as both a historic fitting and a regulated heat source. Victorian fireplaces often hide cracked firebacks, failed flues, and bodged liners, so you’ve got to prioritise Restoration safety from day one. Work methodically, and keep any original tiles, surrounds, and cast-iron inserts where you can.
- Check listing status and speak to your local conservation officer before altering openings or removing surrounds.
- Book a HETAS-registered installer or Gas Safe engineer, depending on the appliance you’ll use.
- Arrange a professional chimney sweep and CCTV flue survey; fit a liner only if required.
- Confirm hearth, clearances, and ventilation meet Building Regulations Part J, then document everything for future sale.
Keep Victorian Windows, Stop Drafts, Add Glazing
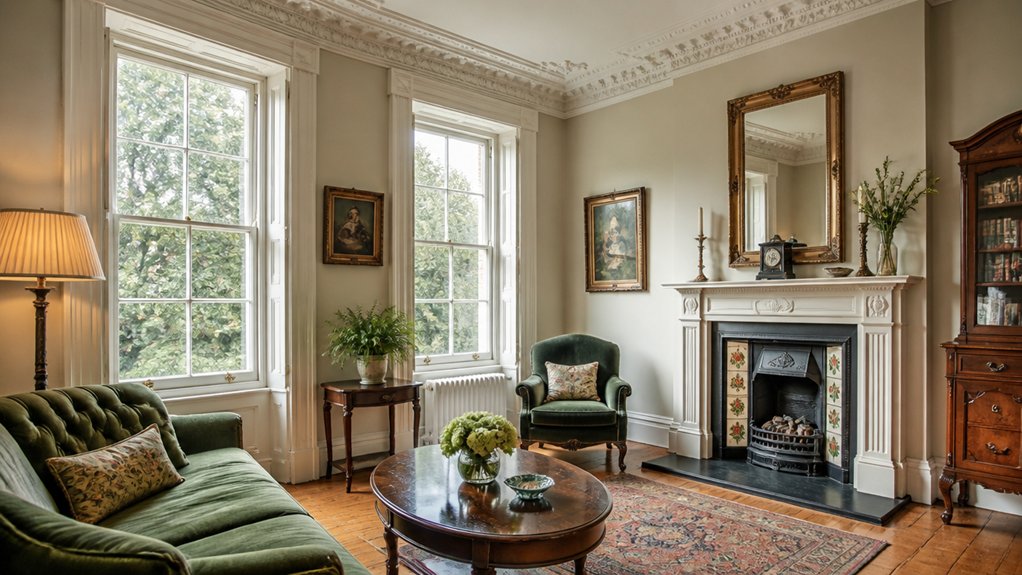
Victorian fireplaces teach the same lesson as Victorian windows: keep the original fabric, but make it safe and comfortable for modern use. You’ll often find wavy cylinder glass, slender glazing bars, and tired putty; don’t rip them out.
Start Victorian window restoration with careful sash removal, paint de-bonding, and splice repairs to rotten rails using matching timber, then re-cord and balance the weights so everything runs true.
Next, target comfort. Use discreet draft proofing techniques: brush pile in staff and parting beads, compression seals to meeting rails, and a well-fitted sash stop to cut rattles.
Retain single glazing where required, but add slimline secondary glazing internally for warmth and quiet. Finish with linseed putty and breathable paint, and you’ll keep character without the chill.
Match Victorian Tiles, Floors, and Joinery Accurately
Although it’s tempting to “make it like new” with off‑the‑shelf finishes, you’ll get a truer result by matching the house’s tiles, boards, and joinery to what was actually laid and fitted. Start by reading the evidence: soot lines, nail holes, ghost marks, and surviving thresholds tell you what belongs.
- Lift a corner carefully to map Victorian tile patterns; match colours, slips, and borders, not just the motif.
- Repair floors board‑for‑board, keeping widths, bevels, and face‑nailing where period flooring techniques demand it.
- Copy skirtings and architraves from an original room; replicate profiles, stop‑chamfers, and mitres.
- Use appropriate finishes: shellac, wax, and linseed-based paint tones that sit quietly in UK light.
You’ll preserve patina while making everything feel coherent.
Run Modern Services the Victorian-Friendly Way
When you need new electrics, plumbing, or data points, route them so the house’s original lines still read cleanly. You’ll keep chases to existing voids: under floorboards, behind skirtings, and through redundant chimney breasts, rather than hacking plaster cornices.
Choose cloth-braided cable where visible, and place sockets low and discreet, aligning with joinery rails. For Victorian lighting, reuse ceiling roses and pendants, but upgrade with LED filament lamps and modern earthing.
Run plumbing in boxed-in risers that echo service cupboards, and insulate pipes to prevent condensation on lath-and-plaster. If you must surface-mount, pick neatly painted conduit and fix it with Decorative ironwork clips, matching original escutcheons and screw heads.
Test everything, then photograph routes for future repairs.
Conclusion
You’ve brought this Victorian home back to life by auditing every room, then stripping paint to reveal crisp cornices, ceiling roses, and sound sash windows. You’ve repaired before replacing, using lime plaster, shellac, and careful carpentry to keep period integrity. You’ve restored fireplaces safely, matched tiles and timber, and stopped drafts without spoiling sightlines. With discreet wiring and plumbing, you’ve kept comfort current. It’s patient, precise preservation—heritage held, history honoured.
About the Author



