
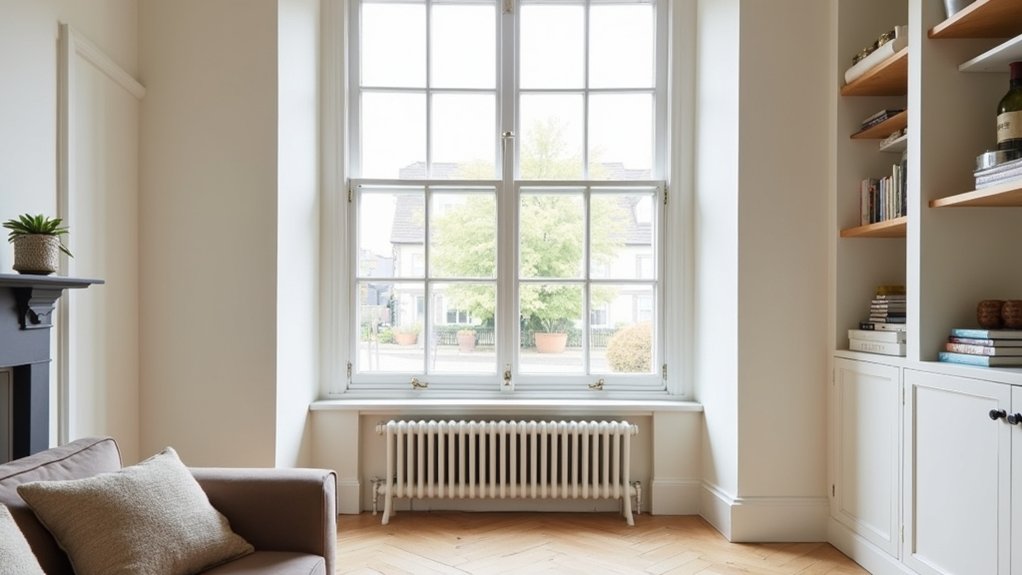
You’d think keeping original sash windows while modernising the rest of a period home is a financial black hole with no comfort payoff. You don’t replace them on impulse; you assess rot, paint buildup, rattles, and how well the weights still balance. You repair first, then add discreet draught seals, magnetic secondary glazing, and low-key locks and restrictors to tighten performance without losing sightlines. The key is choosing upgrades you’ll never notice until winter hits…
Key Takeaways
- We assessed each sash for heritage value, documenting mouldings, glazing bars, and ironmongery before deciding repair over replacement.
- We repaired rot in sills and lower rails with spliced timber, keeping original profiles and avoiding unnecessary like-for-like replacements.
- We restored smooth operation by stripping paint, easing sticking sashes, replacing cords, servicing pulleys, and rebalancing weights for proper closure.
- We improved comfort with reversible draughtproof brush piles and compression seals at beads and meeting rails, cutting rattles and heat loss.
- We reduced noise and condensation using acoustic caulk at frame junctions, lined curtains, and removable magnetic secondary glazing without altering sightlines.
Keep or Replace Original Sash Windows: Our Checklist
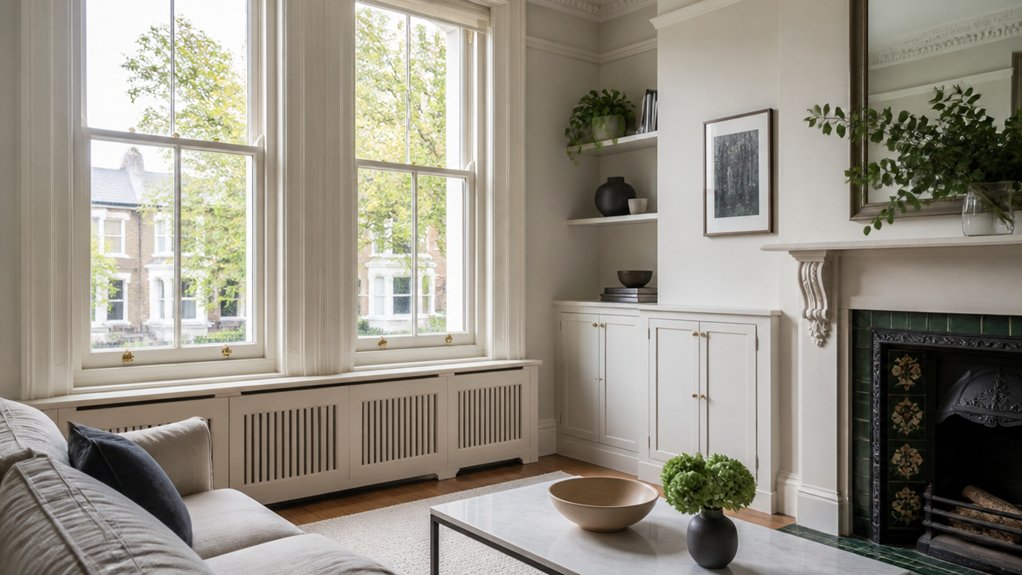
Before you rip out your original sash windows, run through a simple checklist that weighs heritage value against performance and cost.
First, check protections: are you in a conservation area, or do the windows contribute to the façade’s character? If yes, prioritise Historical authenticity and document mouldings, glazing bars, and ironmongery.
Next, test condition: open both sashes, feel for racking, note rot at sills and lower rails, and look for failed putty or paint buildup.
Then, measure comfort: draughts, rattles, condensation patterns, and outside noise.
Price options realistically: like-for-like timber replacements plus approvals can exceed upgrading.
Finally, compare Modern technology: slimline double glazing, secondary glazing, brush seals, and discreet locks.
Choose replacement only when profiles can match exactly.
Repair First: What We Fixed on Our Sash Windows
Although replacement quotes can look tempting on paper, we started with repairs because they kept the original profiles, satisfied heritage expectations, and cost a fraction of new joinery. You’ll likely find the same: most issues are mechanical, not structural.
You splice in new timber where rot sits in the lower rails, then consolidate sound sections to keep Historical accuracy. You strip back paint build-up, ease sticking sashes, and true the meeting rails so they close cleanly.
You replace snapped sash cords, overhaul pulleys, and recalibrate the weights so each sash holds position without slamming. You bed loose panes, renew glazing putty, and pin rattly beads rather than ripping them out.
Finally, you add discreet sash lifts and fit keyed restrictors for modern safety, all while keeping period joinery intact.
Sash Window Draughtproofing That Actually Works
If you want sash windows that feel tighter without losing their original character, draughtproofing gives you the biggest comfort upgrade per pound.
Start by checking gaps with a thin card around the meeting rails, staff bead, and parting bead, then tackle the worst offenders first.
Fit purpose-made brush piles into new staff and parting beads so you don’t rout the original box; it’s reversible and keeps Historical accuracy.
Add a discreet compression seal to the meeting rail and a slim seal to the bottom rail where it kisses the sill.
Replace missing sash cords so the sashes close fully, and adjust the fasteners to pull the rails together.
Finish with neat paint lines and matched beads for Modern aesthetics, without making the window look “refurbished”.
Reduce Sash Window Noise and Heat Loss (No Double Glazing)
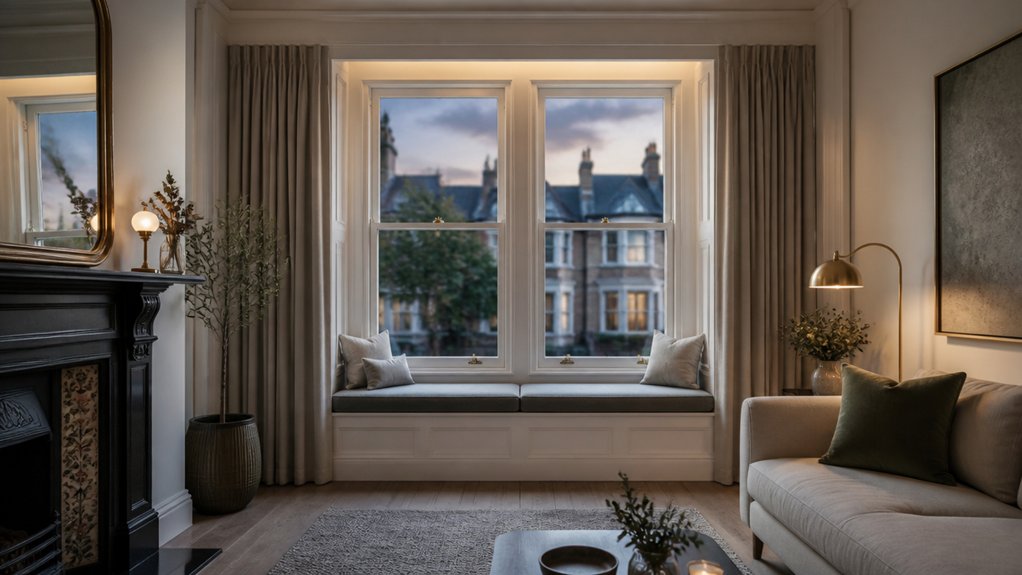
Because you can’t rely on double glazing in many period homes, you’ll get the best noise and heat-loss gains by tightening the sash-to-frame interface and improving the pane’s secondary performance without touching the historic glass.
Start with compressible brush or silicone seals at meeting rails and staff beads, then back it up with a thin acoustic caulk line where the frame meets plaster to stop flanking noise.
For Soundproofing techniques, add heavy, well-fitted lined curtains or discreet shutters, and seal trickle gaps you don’t need.
If budget allows, use removable magnetic secondary glazing: it preserves sightlines, avoids listed-building grief, and creates a still air layer that cuts traffic hiss.
For Thermal insulation solutions, fit low-profile thermal blinds and insulate the window reveals with breathable lime-based materials to prevent condensation and keep the timber healthy.
Make Sash Windows Easier to Use (Locks, Cords, Cleaning)
Once you’ve stopped the rattles and drafts, you’ll notice the next bottleneck is usability: sticky sashes, fussy locks, frayed cords, and awkward cleaning. Keep the joinery original, but tune the moving parts so you’ll use the windows daily without forcing them. Focus on small, reversible upgrades that respect heritage profiles and support aesthetic restoration.
- Locks + window safety: Fit a frame-to-sash lock or dual screw, aligned to existing holes where possible. Add threaded bolt restrictors for ventilation without risking security.
- Cords and weights: Replace cords with waxed cotton or pre-stretched sash cord. Check pulleys, rebalance weights, and ease staff beads so the sash glides.
- Cleaning access: Add discreet lift handles and use hinged or removable staff beads to tilt and clean safely.
Conclusion
You don’t have to choose between heritage beauty and modern comfort. You keep your original sash windows—wavy glass, slim meeting rails—while you strip back paint, splice in sound timber, and rebalance the weights so they glide, not stick. You add discreet draught seals and magnetic secondary glazing: warmer rooms, quieter nights, no clunky double-glazed look. With neat locks, restrictors, and fresh cords, you gain security and ease—without paying for replacements.
About the Author



