
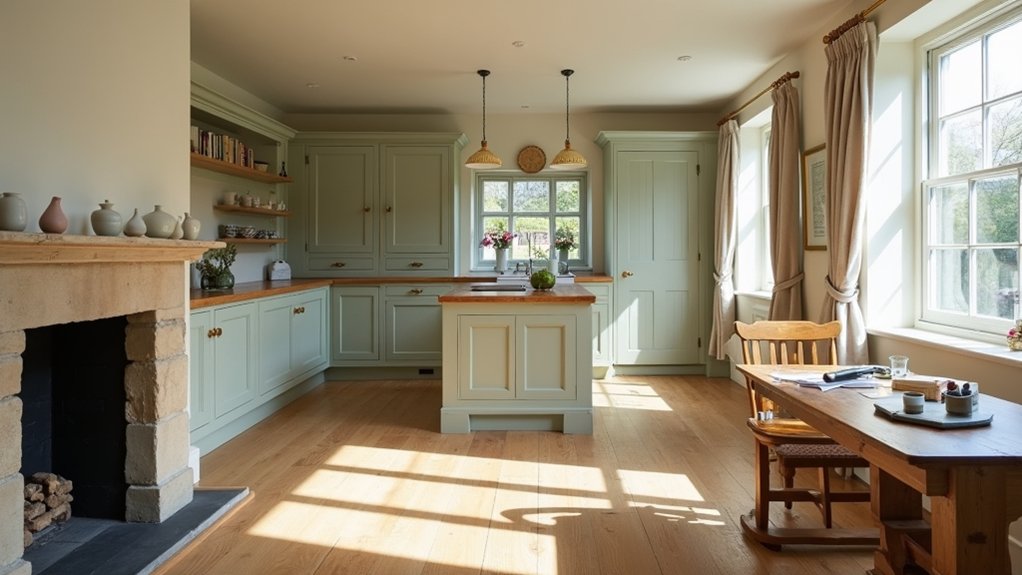
You’ll get the best result by treating your Georgian cottage like a sequence of careful decisions, not a single makeover. Start by recording what’s original—sash windows, lime plaster, fireplaces, floorboards—then check listing status and speak to conservation officers before you touch anything. Prioritise repairs over replacements, plan services and insulation as reversible upgrades, and manage moisture from day one. The tricky part is choosing what to change first…
Key Takeaways
- Confirm listing, conservation status, and Article 4 restrictions, then consult the planning authority early for required consents and pre-application advice.
- Survey original fabric, prioritising repair over replacement and using like-for-like materials, profiles, glass, and period-appropriate hardware.
- Restore key features—sash windows, panelled doors, fireplaces, lime plaster, and wide pine floors—retaining patina while improving draught-proofing and usability.
- Upgrade services discreetly: rewire, update plumbing, and add efficient heating, routing cables and pipes through existing voids to minimise disruption.
- Manage moisture with breathable insulation, steady ventilation, and maintained gutters and pointing, aiming for 50–60% RH to protect timber and plaster.
Identify Original Georgian Cottage Features Worth Keeping
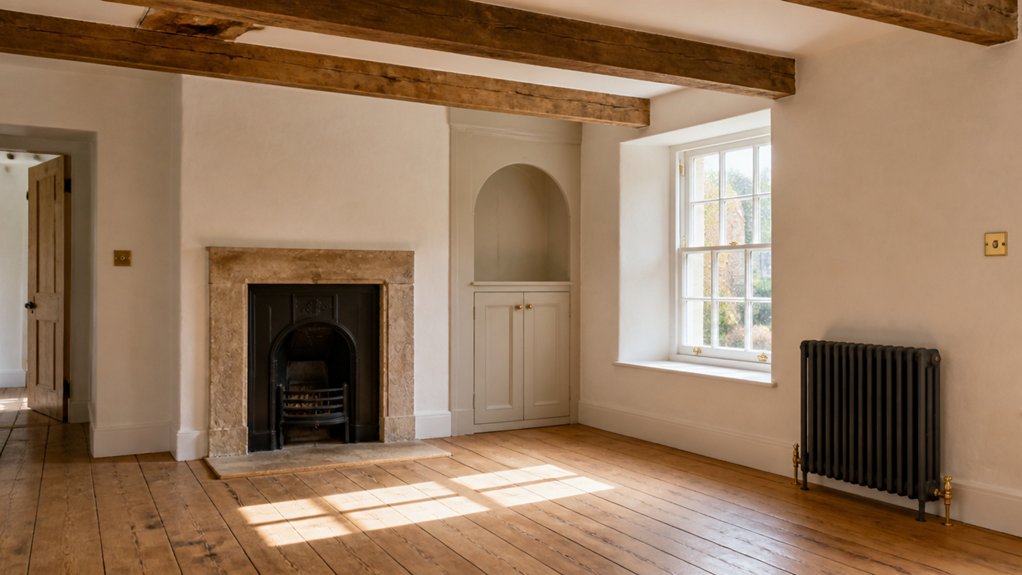
Before you plan any updates, walk through your Georgian cottage with a critical eye for original fabric that carries both heritage value and practical performance.
Start with joinery: keep panelled doors, box skirting, architraves, and built-in cupboards if profiles are crisp and timber’s sound. Inspect sash windows for wavy glass, slender glazing bars, and working weights; repair cords and draught-proof rather than replace.
Note fireplaces, surrounds, and hearth stones, plus any bread ovens or smoke-blackened lintels.
Check floorboards for wide pine, nail patterns, and gentle undulation; lift only where services demand it.
For interior decor, preserve lime plaster, cornices, and muted historic colour palettes.
Outside, retain boundary walls, gates, and path alignments; let garden landscaping echo original axes and kitchen-garden logic.
Check Georgian Cottage Permissions and Listings Early
Although it’s tempting to sketch layouts and order materials straight away, you’ll save time and protect the cottage’s character if you confirm its planning status at the outset. Start by checking whether the property is listed, within a conservation area, or subject to Article 4 directions, then read the listing description and any local design guidance.
Speak to the planning authority early and ask what consents you’ll need for Heritage conservation and sensitive Modern adaptations, including energy upgrades, new openings, and external finishes. Keep a paper trail so contractors price accurately and you avoid stop‑work notices.
- Search the local planning portal for past approvals and conditions
- Request pre‑application advice and clarify required drawings
- Confirm if you’ll need listed building consent, planning, or both
Decide What to Restore (and What to Replace)
Start by surveying your cottage’s historic fabric—sash windows, original joinery, lime plaster, and hearth details—and note what’s sound, what’s failing, and what’s been altered.
Restore elements that carry Georgian character and can be repaired with like-for-like materials, but replace unsafe, beyond-repair components with sympathetic, correctly detailed alternatives.
Then prioritize modern upgrades where they’ll have the biggest impact with the least disruption, such as discreet insulation, efficient heating, and updated wiring and plumbing routed to protect original features.
Assess Historic Elements
Once you’ve documented what’s actually there, assess each historic element on its own merits—condition, rarity, craftsmanship, and how central it’s to the cottage’s character—so you can restore what carries genuine heritage value and replace only what’s beyond sensible repair.
Start with fabric: lime plaster, sash windows, floorboards, joinery, and fireplaces. Look for reversible fixes first and match materials to maintain historical accuracy. Use preservation techniques like splicing timber, consolidating friable stone, and repairing putty rather than swapping whole units.
Ask what you’d lose if it vanished, then decide.
- Can you repair it without erasing tool marks or patina?
- Can you source like-for-like profiles, glass, and hardware?
- Will replacement improve safety without changing proportions?
Prioritize Modern Upgrades
Because a Georgian cottage has to work as a home as well as a heritage object, prioritize modern upgrades that protect the original fabric and deliver the biggest safety-and-comfort gains with the least visual and structural disruption.
Start with services: rewire to current code, add discreet smoke/CO alarms, and replace failing plumbing without chasing channels through historic masonry.
Improve thermal comfort by draught-proofing sash windows, repairing shutters, and adding breathable insulation where you won’t trap moisture.
Upgrade heating with efficient boilers or heat pumps, routing pipework through cupboards and voids, not cornices.
Restore what defines character—original joinery, floorboards, and fireplaces—yet replace unsafe units like rotten lintels or cement pointing with lime.
Outside, respect Historic landscaping by improving drainage and paths.
Finish with Traditional paint colors that highlight details, not modernize them.
Plan Your Order of Works and Budget Priorities
Although a Georgian cottage can look deceptively simple, you’ll save money and protect historic fabric by mapping the order of works before you spend a pound. Start with surveys and permissions, then tackle repairs that stop further decay: roof coverings, rainwater goods, chimneys, and breathable repointing.
Only once the shell is sound should you commit to services, joinery repairs, and finishes, so you don’t damage new work while fixing old.
Set budget priorities by ranking tasks as “must do” versus “nice to have,” and pricing in contingencies for hidden defects. Keep a separate pot for character-led upgrades like creative landscaping and interior decorating.
- Commission a measured survey and condition report
- Sequence trades to minimise rework and site traffic
- Track costs weekly against a simple spreadsheet and receipts
Warm a Georgian Cottage Without Causing Damp
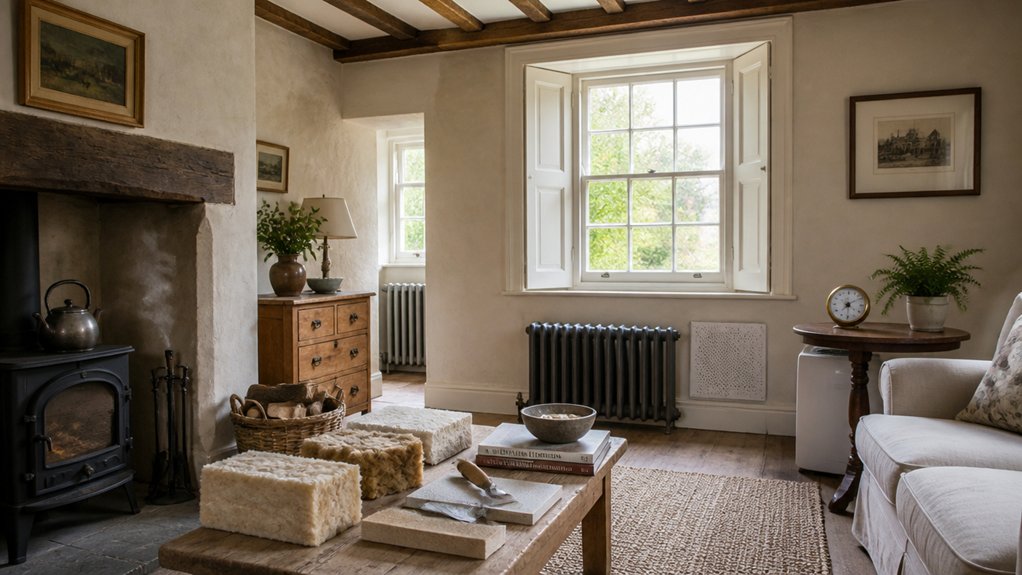
To warm your Georgian cottage without trapping moisture, you’ll choose breathable insulation that suits solid walls and traditional lime finishes.
You’ll balance ventilation and airflow—working with existing chimneys, trickle vents, and underfloor voids—so heat stays in while damp air still escapes.
You’ll also manage condensation risk by targeting cold bridges, keeping steady background heat, and monitoring humidity so upgrades don’t create hidden mould or rot.
Breathable Insulation Choices
When you insulate a Georgian cottage, you’re not just chasing warmth—you’re also managing moisture that older, lime-built walls were designed to shed by “breathing.” Choose insulation that stays vapour-open and works with traditional materials, so water vapour can pass through and dry out rather than condense behind an impermeable layer.
Prioritise Breathable insulation that pairs with lime plaster and timber, and keep junctions tidy so you don’t trap moisture at edges, joist ends, or chimney breasts. Aim for steady performance, not the thinnest U-value at any cost.
- Wood fibre boards: great for internal wall lining, capillary-active, and robust under lime finishes.
- Sheep’s wool: suits studwork and floors, buffers humidity, and tolerates minor leaks.
- Hemp-lime: ideal for infill, adds thermal mass, and supports natural ventilation through the fabric.
Ventilation And Airflow Balance
Where does damp creep in after you’ve improved insulation—at the points where warm, moisture-laden air stalls and cool surfaces hide behind furniture, in corners, and at joist ends. Your job is to keep air moving gently, not to blast draughts through original joinery.
Start by mapping natural paths: reopen blocked chimneys with ventilated caps, clear subfloor air bricks, and keep internal doors undercut modestly to link rooms.
Add discreet mechanical ventilation in wet rooms and the kitchen, ducted through existing service voids or redundant flues to protect lath-and-plaster.
Use airflow control: trickle vents on repaired sash frames, boost switches timed to activities, and balanced extract points so no room becomes stagnant.
Confirm with smoke pencils around skirtings and cupboard backs.
Condensation Risk Management
How does a Georgian cottage end up wetter after you’ve made it warmer? You’ve raised indoor air’s moisture capacity, then let that humid air hit cold bridges: single glazing, stone corners, chimney breasts, and uninsulated eaves. Condensation follows, and historic lime plaster can’t dry if you’ve sealed it in.
Use ventilation strategies and moisture control that respect the fabric:
- Keep background ventilation steady: trickle vents, openable fanlights, and timed extract in kitchen and bath
- Reduce cold surfaces: secondary glazing, insulated shutters, and loft insulation that doesn’t block eaves airflow
- Manage sources: lids on pans, vent tumble dryers, dry logs outside, and maintain gutters and pointing
Aim for gentle, even heat, and monitor RH; 50–60% keeps timber and plaster healthier year-round.
Update Georgian Cottage Wiring and Plumbing Gently
Although modern electrics and pipework can make a Georgian cottage safer and more comfortable, you’ll get the best result by treating services as reversible upgrades rather than reasons to tear into historic fabric. Run cables through existing voids, floorboard edges, and redundant chimneys, and label routes for future access. Choose surface-mounted conduit in discreet runs where chasing plaster would scar lath and lime. Keep original skirtings; lift boards carefully and refix with lost-head nails.
For plumbing, reuse penetrations, avoid notching joists, and favour isolated, accessible valves. Insulate pipes to prevent freezing without trapping moisture against timbers. If you add radiators, position them to respect sightlines around Victorian furniture and avoid blocking shutters.
Coordinate external vents and drainage with garden landscaping so grilles, rodding eyes, and downpipes sit quietly. Test, certify, and document everything.
Refresh a Georgian Cottage Kitchen, Period-Friendly
Because a Georgian cottage kitchen often sits at the crossroads of daily wear and historic character, you’ll get the best refresh by improving function without flattening the building’s patina. Keep original stone flags or pine boards where possible, then repair and seal instead of replacing.
Choose Traditional cabinetry with simple frames, inset doors, and muted paint; you can add discreet soft-close hinges without changing the look. Restore sash windows, and fit slimline secondary glazing only if draughts persist.
For worktops, consider honed stone or oiled hardwood that will age gracefully. Add period lighting—brass pendants, shaded wall brackets—wired neatly and dimmable, so the room reads warm, not showroom.
Patch plaster, don’t over-skim; keep gentle undulations. Vent moisture with a quiet extractor hidden in a cupboard. Use ironmongery in aged brass or blackened steel.
Add a Modern Bathroom, Keep Cottage Charm
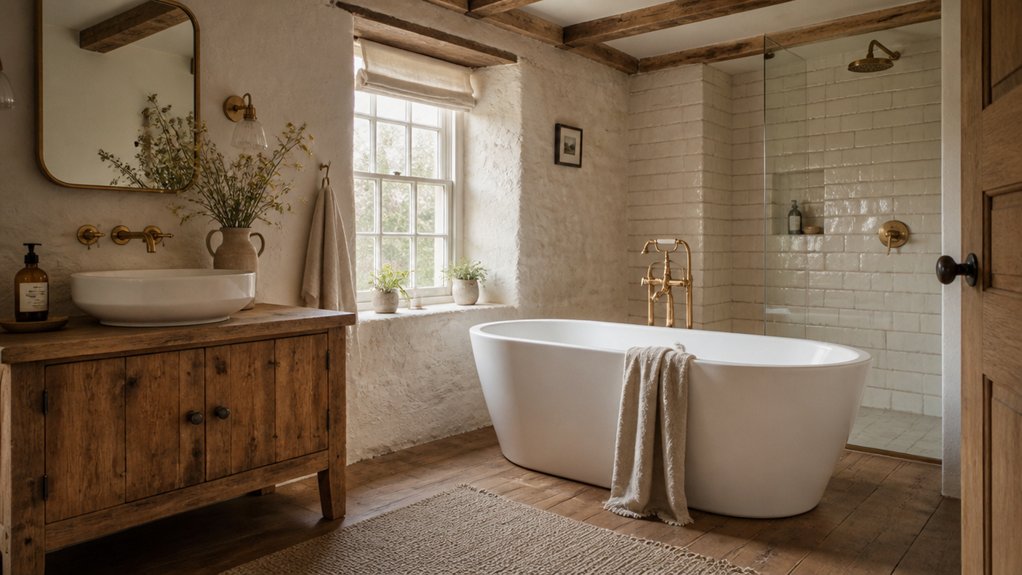
Once you’ve made the kitchen work hard without stripping its age, the bathroom deserves the same approach: modern comfort fitted with a light touch. Keep the layout close to existing plumbing runs to protect joists and lath, and choose Modern fixtures with simple profiles that won’t fight original mouldings.
A wall-hung basin can feel airy, but you’ll need solid backing between studs; in older masonry, use breathable lime-compatible fixings.
Prioritise energy efficiency with a thermostatic shower, low-flow taps, and a dual-flush WC. Add underfloor heating only with appropriate insulation and a vapour-aware build-up so you don’t trap moisture.
Finish with heritage cues: metro or encaustic-style tiles, a painted timber vanity, and warm brass or nickel, plus proper ventilation.
Conclusion
You’re the steward of an old ship: if you rip out the timbers, it won’t sail as itself. You chart the course—record details, check listings, and agree a plan before you lift a tool. You mend first with like‑for‑like lime, timber, and sash repairs, then thread in discreet wiring, plumbing, and breathable insulation. You heat gently, manage ventilation, and keep water out. In the end, your cottage stays true—and fit for living.
About the Author



