
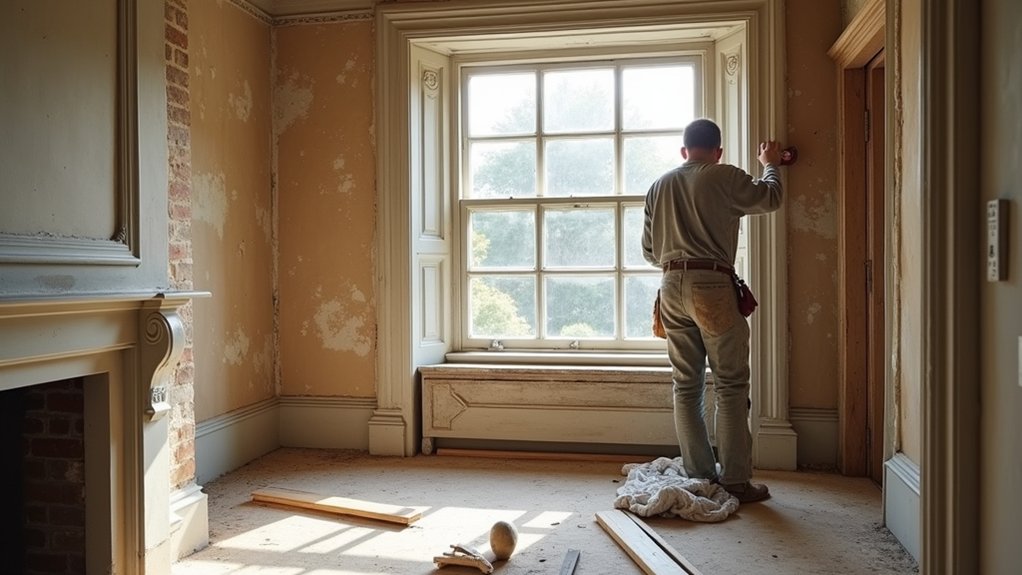
You probably don’t know that many “upgrades” fail because you change the building’s moisture route, not its fabric. You start with a proper survey, then decide what you can keep, repair, or replace like-for-like—lime, timber, and traditional mortar. You plan the work in the least-harm order, fix damp at its source, and route insulation and services so the house still breathes. The next step is where most people get it wrong…
Key Takeaways
- Survey exterior and interior first: map cracks, check gutters, ground levels, rooflines, and record findings with photos and sketches.
- Diagnose damp before upgrades: inspect subfloors and joist ends, measure humidity, and confirm moisture causes with salts or targeted tests.
- Repair like-for-like using traditional methods: splice joinery, patch lime plaster, match mortar and timber species, and keep original mouldings and tool marks.
- Specify breathable assemblies: avoid cement and impervious paints; use lime finishes and vapour-open insulation, detailing junctions to prevent cold, wet pockets.
- Sequence work to protect fabric: roof and drainage first, then walls and floors; route services in voids and retain ventilation paths.
Survey Your Period Home First (Structure, Damp, Decay)
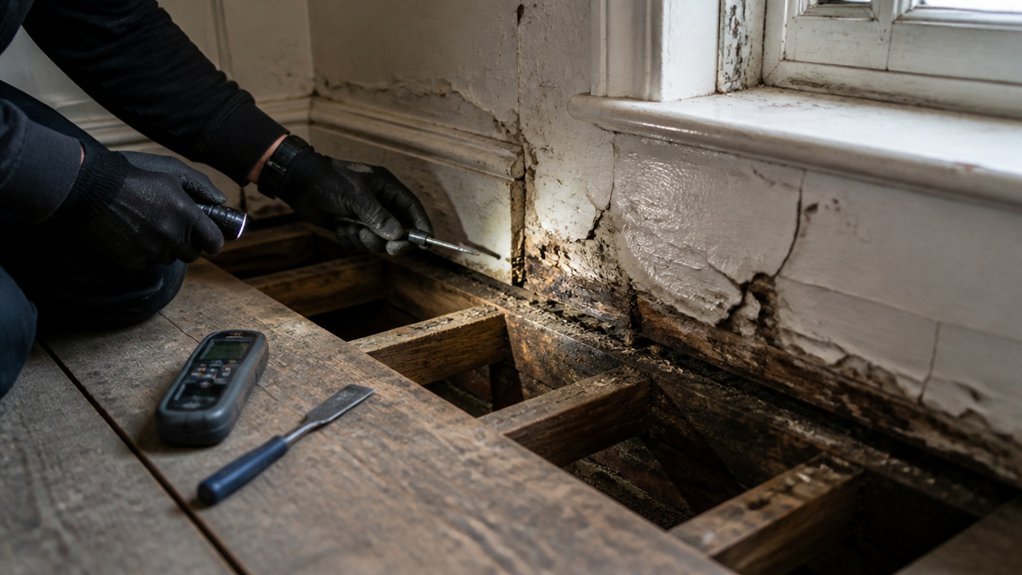
Before you lift a floorboard or strip back plaster, start by surveying the house as it stands—because in a period home, hidden movement, damp, and timber decay often explain every crack and cold spot you can see.
Walk the exterior first: check rooflines, gutters, downpipes, and ground levels for overflow, bridging, or splashback.
Inside, map cracks, sloping floors, sticking doors, and chimney breast separation to understand structural drift.
Use a moisture meter cautiously, then confirm with smell, salt staining, and ventilation patterns; note cement renders or modern paints that trap moisture.
Probe skirtings and joist ends for softness, beetle flight holes, and fungal growth.
Record findings with photos and sketches, keep the Historical context in mind, and plan targeted Preservation techniques before you disturb anything.
Keep, Repair, or Replace Original Features
Once you’ve logged where the building’s moved and where moisture’s getting in, you can judge each original element on evidence rather than impulse: keep what’s sound and doing its job, repair what’s worn but fundamentally viable, and replace only what’s missing, failed, or beyond honest repair.
Prioritise Historical authenticity by comparing what you see to period details, not modern expectations. Use Preservation techniques that respect the original fabric and leave a clear record of change.
- Test timber with a bradawl; keep sections that are hard and dry.
- Repair joinery by splicing like-for-like, retaining mouldings and tool marks.
- Replace only after documenting profiles, sizes, and fixings with photos and sketches.
- Reuse salvageable ironmongery, glazing, and boards; label and store them carefully.
Choose Breathable Materials That Match the Building
Because period walls and joinery manage moisture by absorbing it and letting it evaporate, you’ll get better long-term results when you choose breathable materials that behave like the originals. Aim for lime plaster, limewash, and softwood repairs where they suit the age and exposure.
Avoid dense cement renders or modern impervious paints that can trap damp and salts.
Focus on matching building fabric: match mortar strength to the brick or stone, match aggregate size and colour, and match timber species, grain, and moisture content.
Specify natural insulation options that still allow vapour movement, and detail junctions so they don’t create cold, wet pockets.
If you must use modern products, pick vapour-open systems and test small areas first.
Plan Upgrades the Traditional Way (Least-Harm Order)
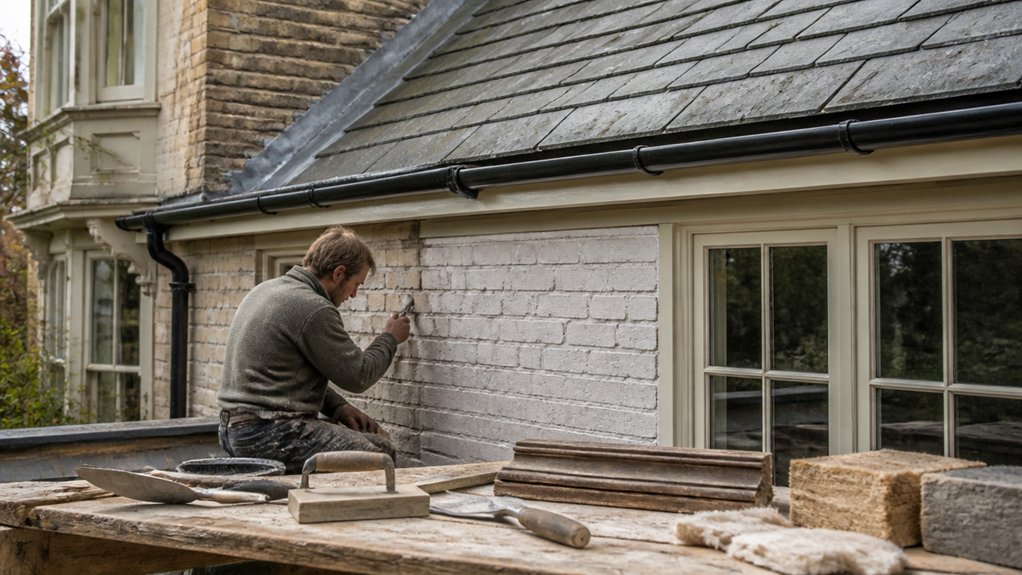
Although it’s tempting to jump straight to visible improvements, you’ll get the best heritage outcome if you plan works in a least-harm order: start by understanding how the house moves water and air, then tackle maintenance and defect repair (rainwater goods, ground levels, roof coverings, pointing, ventilation paths), and only then add upgrades like insulation, heating, or new finishes.
Build your scope around Historical accuracy and aesthetic preservation, so each intervention stays reversible and compatible with existing fabric. Work like a traditional builder: small, tested steps, with records for future owners.
- Survey room-by-room, noting original joinery, plaster, and floor build-ups.
- Sequence access: scaffold, roof, then ceilings and walls.
- Specify like-for-like repairs before performance upgrades.
- Protect details: skirtings, cornices, and hearths during works.
Diagnose and Fix Damp (Not Just the Symptoms)
Before you reach for dehumidifiers or tanking slurry, track where the moisture enters, how it travels through the fabric, and why it can’t dry out. Start outside: check gutters, downpipes, ground levels, and splashback at thresholds. Trace staining to defects, not room humidity.
Indoors, log temperature, RH, and surface temps to spot condensation; look for cold bridges at chimney breasts, bay junctions, and blocked flues. Lift a floorboard to inspect joist ends, sleeper walls, and subfloor airflow.
Use a moisture meter as a comparator, then confirm with salts or carbide tests before calling it “rising damp.” Remove cement renders and impervious paints that trap water. Restore breathable finishes, repair drainage, and add discreet Moisture barriers only where proven necessary.
Implement Ventilation strategies: clear vents, reinstate chimneys, and balance extract fans.
Repair Lath-and-Lime Plaster With Heritage Methods
When original lath-and-lime plaster starts to sag, crack, or “drum” hollow under your knuckles, you can usually save it with repairs that keep the wall breathable and flexible instead of chasing a flat, modern finish. Work patiently and match the old mix so movement and vapour can still pass.
- Stabilise: screw plaster washers through to sound laths, pulling loose keys back without crushing the face.
- Re-key: inject lime slurry behind voids, then gently press until it grips, using Heritage techniques.
- Patch: cut back to firm edges, fix new riven laths if missing, and build up with haired lime base, then fine lime finish.
- Cure: mist lightly, protect from sun and drafts, and wait before paint to complete plaster restoration.
Level and Strengthen Old Floors Without Sealing Them
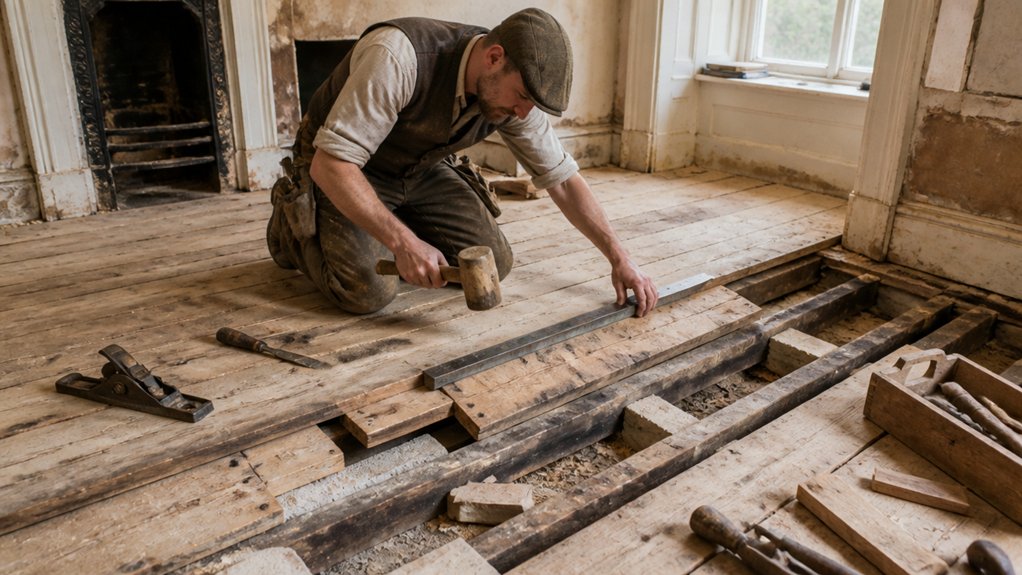
Before you touch the boards, you assess the joists and subfloor for sag, rot, and old cut‑outs so you’re fixing the structure, not masking it with sealers.
You’ll level the run by sistering joists where they’ve weakened, keeping your additions sympathetic to the original timber and fastener patterns.
Then you add solid bridging or herringbone strutting to stiffen the span and stop bounce, all while leaving the floor able to breathe as it was built to.
Assess Joists And Subfloor
Although an old floor might feel springy or slope toward a chimney breast, you can’t choose a sympathetic repair until you’ve assessed the joists and subfloor for level, span, moisture staining, and insect damage.
Start with careful joist inspection from below if you can, lifting a discreet board only where necessary to protect original fabric. Keep notes so you don’t over-intervene, and aim for subfloor stability without trapping moisture.
- Check spans and bearing: measure joist depth/width, note notches, and confirm full support on walls and binders.
- Read the timber: probe soft ends, look for frass, and map old leaks around hearths and external walls.
- Track level: use a long straightedge and winding sticks to locate crowns, dips, and local settlement.
- Assess ventilation: confirm clear air paths and dry voids before any strengthening work.
Sister Joists, Add Bridging
If your joists prove sound but the floor still bounces or falls out of level, you can stiffen it by sistering new timber alongside the originals and adding bridging between them—work that upgrades load sharing while keeping the void breathable.
Set a string line or laser to find the low spots, then pack with tapered hardwood shims, not foam. Fit sister joists of matching depth where possible, running them past midspan and over supports; bolt or screw through with washers, and use construction adhesive sparingly so the assembly can still move with seasons.
Don’t notch old timbers for services; reroute instead.
Next, add bridging (solid noggins or herringbone strutting) tight between joists to reduce twist and squeaks.
Keep air paths clear and avoid sealing finishes underneath.
Stop Window Draughts and Improve Sash Performance
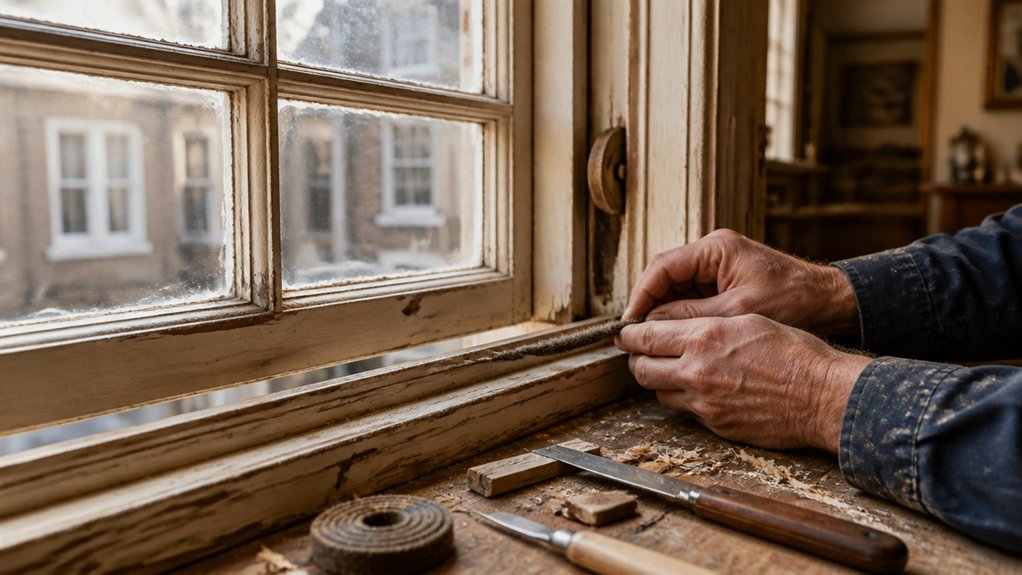
Where does that icy ribbon of air really come from when your sash window looks shut? On a period window, leaks usually hide at the staff bead, parting bead, meeting rail, or worn pulley stile. You’ll improve sash performance fastest by tightening tolerances without erasing historic joinery.
- Check for rattle: close both sashes, then press the meeting rails; note movement and light gaps.
- Renew cords and weights: frayed cords and mismatched weights make sashes drop, opening gaps.
- Fit discreet brush pile: replace tired parting/staff beads with like‑profile timber carriers to seal while sliding.
- Ease and true: plane sticking edges, wax the channels, and square the locks so the meeting rail pulls tight.
You’ll feel warmth, keep sightlines, and preserve original fabric.
Insulate and Add Services Without Trapping Moisture
Because period walls and floors were built to breathe, you need to add insulation and modern services in a way that preserves airflow paths and keeps timber, lath, and masonry dry. Choose vapour-open materials like woodfibre, hemp, or mineral wool, and keep existing air bricks and vents clear.
Detail junctions to reduce thermal bridging: insulate reveals, loft eaves, and floor perimeters, and fit tight, continuous layers without compressing batts.
When you run electrics or plumbing, route them in service voids so you don’t chase historic plaster or cut joists. Avoid impervious moisture barriers on solid walls; instead, use smart membranes only where needed, taped carefully to prevent interstitial condensation.
Check for leaks, improve drainage outside, and allow drying time before closing up linings.
Conclusion
You’ll get the best results when you treat your period home as a system: survey first, then repair, then upgrade in the least-harm order. You’ll keep original fabric where you can, match it with lime, timber, and breathable insulation, and route services so moisture can still move. Worried that “traditional” means slower and pricier? It doesn’t have to—targeted repairs, staged work, and like-for-like materials often prevent costly damp and decay later.
About the Author



