
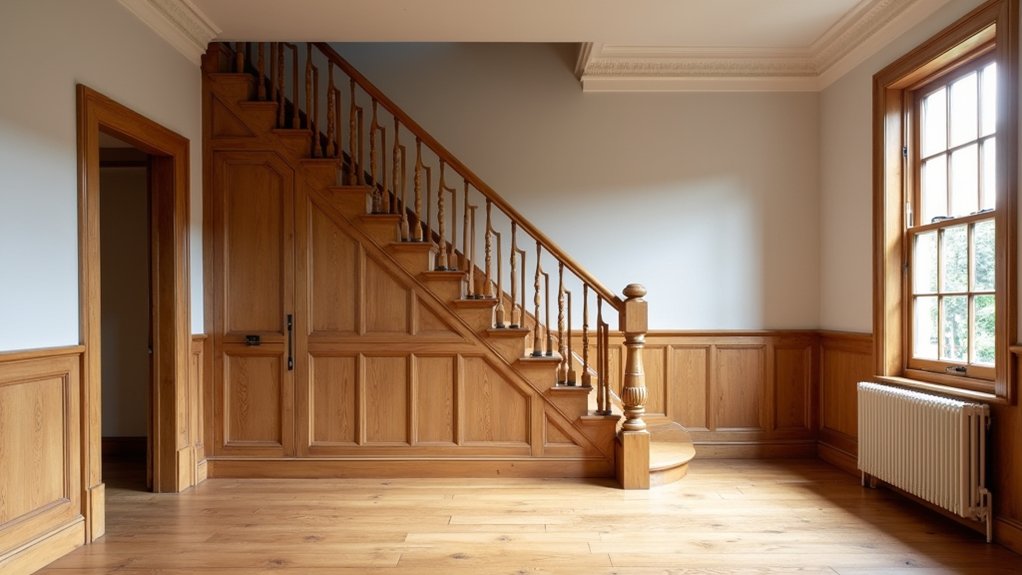
You probably don’t know that most “rot” in period timber is localised, and a careful splice can keep far more original fabric than wholesale replacement. You start with a joinery survey, map every profile, and save what you can with like-for-like UK species and historically correct joints. You match architraves, skirtings, and stair parts from surviving fragments, then finish with shellac or linseed oil paint. The real transformation happens in the decisions you make next…
Key Takeaways
- We began with a detailed joinery survey, documenting profiles, tool marks, alterations, and ironmongery to guide accurate restoration decisions.
- We assessed timber condition using moisture readings and probing, choosing splice repairs over replacement to preserve patina and heritage value.
- We sourced matching species and moisture content from sustainable UK suppliers, aligning with conservation and listed-building requirements.
- We recreated missing mouldings from surviving fragments, machining to exact profiles and hand-finishing for seamless integration with original features.
- We applied traditional finishes like shellac, linseed oil paint, and hardwax oil, sealing end grain and de-nibbing coats for durability and authenticity.
Start With a Period Joinery Survey

Before you pick up a chisel or order timber, commission a period joinery survey to record exactly what you’ve got and what must be preserved. You’ll map every door, sash, architrave, skirting, panelling run, stair component, and built-in, noting profiles, moulding quirks, tool marks, and later alterations.
Ask for measured drawings, high-resolution photos, and a schedule tagging each item by date, species, and condition.
You’ll also capture construction details that drive Historical accuracy: pegged mortice-and-tenon joints, lamb’s tongue stops, glazing bar widths, and ironmongery patterns typical to your region and era.
Build Material sourcing around the survey’s findings: specify matching species, moisture content, and sustainable UK suppliers, and flag any listed-building constraints or conservation officer requirements early.
Decide What Original Timber to Restore
Next, you’ll assess each timber element’s condition—checking for rot, beetle flight holes, splits, loose joints and later paint build-up—so you know what’s sound and what’s beyond repair.
You’ll then identify what’s genuinely original, such as Victorian skirting, Georgian panel doors, sash boxes, architraves and stair parts, and separate it from modern replacements.
Finally, you’ll prioritise restoration where heritage value is highest and repair will last, keeping patina where it matters and reserving like-for-like replacement for timber that can’t be saved.
Assess Timber Condition
Although a lot of period timber looks past saving at first glance, you’ll get the best heritage outcome by evaluating its condition methodically and only replacing what truly can’t be repaired.
Start with a close visual survey under raking light, then probe with a bradawl to map soft fibres, splits, and insect flight holes.
Check moisture with a meter, especially at skirtings, window cills, and joist ends built into external walls, where condensation and leaking gutters often bite.
Use modern techniques such as borescope inspection and resistograph drilling to confirm sound cores without needless removal.
Record decay boundaries in pencil, photograph joints, and flag movement around pegged tenons.
Avoid quick fixes with synthetic materials; favour reversible consolidation, spliced repairs, and breathable finishes.
Identify Original Features
Once you’ve mapped sound and decayed areas, decide which timbers are genuinely original so you can restore them rather than defaulting to replacement.
Start by reading the building: look for hand-planed faces, pit-sawn kerf marks, irregular arrises, and early nail types. Check jointing—pegged mortice-and-tenon, diminished haunches, and scribed braces often signal pre-industrial work.
Compare moulding profiles on skirtings, architraves, and dado rails; slight asymmetry can indicate site-made joinery. Trace paint layers and soot staining to confirm age and sequence.
Use local context for Historical accuracy: regional species like oak, Scots pine, or elm. Record findings for Material sourcing and to guide matching repairs, not wholesale swaps.
Prioritise Restoration Value
Before you pick up a saw, rank each original timber by its heritage value and how much of it still performs, so you restore what carries the building’s story and only replace what can’t be saved safely.
Start with the pieces visitors touch and see: stair strings, skirting, architraves, dado rails, sash boxes. Probe for rot at ends, check beetle flight holes, and test joints for movement.
If the section is sound, splice in matching species rather than wholesale renewal, and keep tool marks where they’re honest.
Where you must replace, specify like-for-like profiles cut by a local joiner, but tune proportions for Modern design so rooms feel crisp, not pastiche.
Demand Sustainable sourcing with FSC timber, reclaimed boards, and documented chain of custody.
Repair and Splice Timber Before Replacing It
Where original timber has survived a century or more, you’ll usually get a better result by repairing and splicing it than by tearing it out. You keep the patina, tool marks, and tight grain that new softwood can’t mimic, and you preserve the building’s story.
Start by sounding sections with a bradawl and checking moisture around sills, joist ends, and window linings. Cut back only to firm fibres, then use timber splicing with matching species and similar growth rings.
You’ll set a long scarf or stepped joint, bond with a reversible adhesive, and secure with oak pegs or concealed screws. Treat remaining timber with boron, improve ventilation, and reinstate drip details so water sheds properly. These restoration techniques save character and reduce waste.
Recreate Missing Period Mouldings to Match
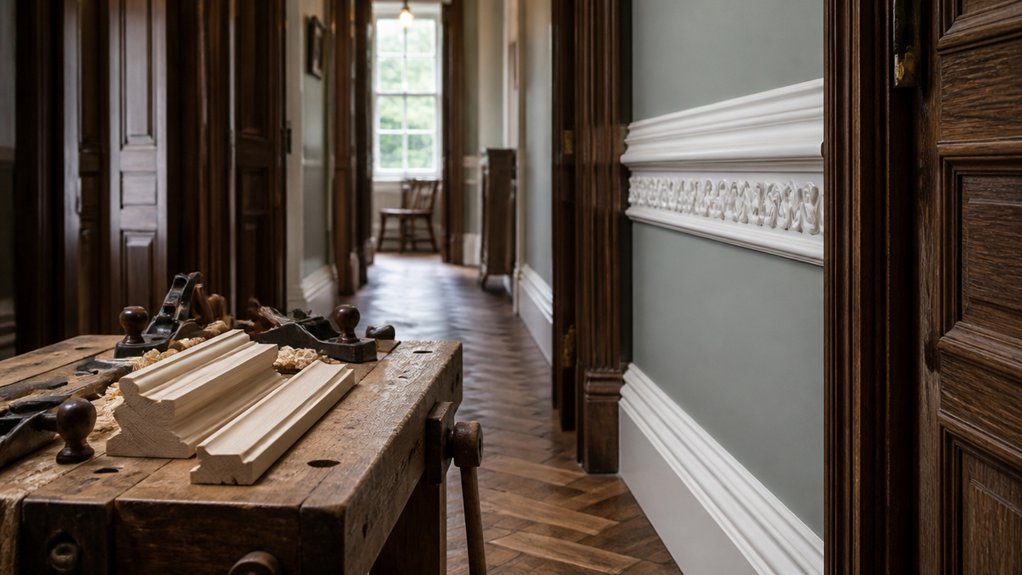
Even if only a short run survives, you can recreate missing period mouldings by treating that fragment as your master pattern rather than guessing from photos. You’ll lift a clean profile with a comb gauge, then take a rubbing to capture quirks in radius and arris that define Historical accuracy in Georgian, Victorian, or Edwardian rooms.
Next, you’ll plan Material sourcing: match species, grain and density (often pine, deal, or oak), and choose kiln-dried stock that’ll behave in centrally heated UK houses. Machine the section, then finish by hand so new work sits quietly alongside old.
- Record: measure projection, depth, and any lamb’s-tongue or ovolo details.
- Replicate: run sample lengths, checking shadows under raking light.
- Blend: ease edges, prime, and undercoat to unify the line.
Fit Bespoke Period Doors and Architraves
Although you can buy off-the-shelf doors, bespoke period doors and architraves let you match the proportions, panel layout, and moulding profiles that define a Georgian, Victorian, or Edwardian opening.
You’ll start by surveying each reveal, noting out-of-square masonry, original hinge positions, and latch heights, then set out a door thickness and stile widths that sit true to the house.
For Historical accuracy, you’ll choose the right construction: mortice-and-tenon frames, raised-and-fielded panels, and traditional ovolo or lamb’s-tongue architraves.
Material sourcing matters too, so you’ll specify responsibly sourced European oak or slow-grown softwood, and replicate period beadings where needed.
You’ll fit with concealed intumescent options only where required, keeping sightlines crisp and shadow lines consistent.
Match Skirting and Panelling to Room Proportions
Once your period doors and architraves sit true, you’ll want the skirting and any wall panelling to carry those same proportions around the room so nothing jars. In UK terraces and villas, read the ceiling height, window heads, and dado line before you fix profiles, so the joinery looks original rather than stuck on. Keep projections consistent, align rails with glazing bars, and let corners die neatly into frames.
- Set skirting height to suit the room: taller in 3m-plus spaces, slimmer in modest bedrooms.
- Match panel stiles and rails to door widths, keeping reveals crisp and equal.
- Use deeper bases with a Modern interior, but hold heritage mouldings for Contemporary contrast.
Done right, every wall feels planned, calm, and properly period.
Choose Authentic Timber Finishes That Last
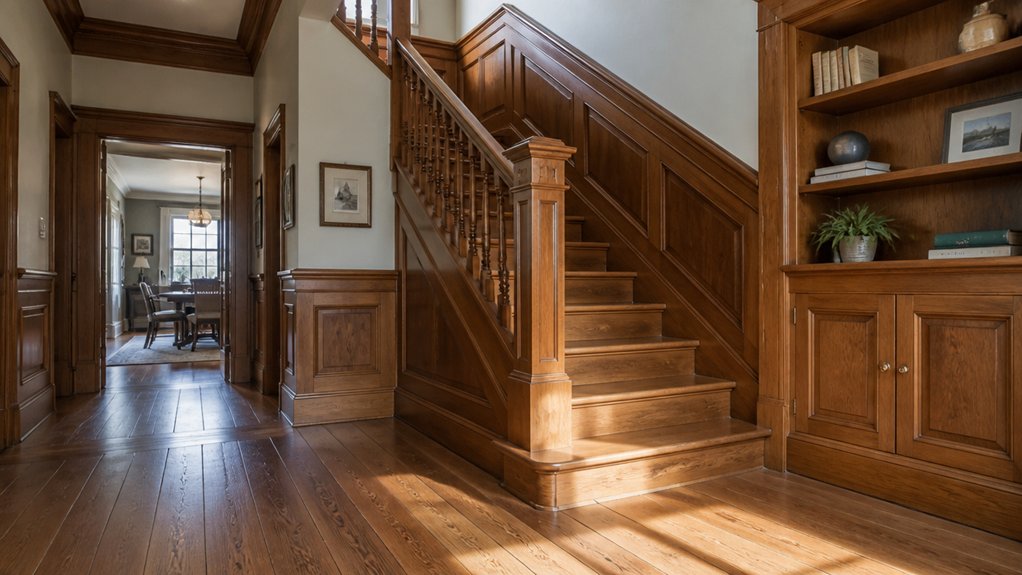
When you choose a timber finish, treat it as part of the building fabric rather than a final cosmetic coat, because it has to suit both the species and the way a UK period home breathes. In older brick and lime-plastered houses, avoid plasticised films that trap moisture and cause peeling around sash linings and architraves.
For Vintage authenticity, match the original intent: use shellac or beeswax on internal mouldings, and linseed oil paint for softwood skirtings and panelling. On oak, favour hardwax oil that keeps grain definition while resisting kitchen splashes.
Prep matters: de-nib between coats, seal end grain, and keep edges crisp so your joinery reads true. For Timber preservation, maintain annually—clean gently, re-wax high-touch rails, and touch in scuffs before water gets in.
Conclusion
When you start with a proper joinery survey and treat every timber run as salvageable first, you don’t just “renovate” — you steward. On one landing, you’ll splice a sound oak tread and keep 80% of the original board; it’s like mending a tweed jacket rather than buying new: the patch tells the truth. With matched mouldings, bespoke doors, and shellac or linseed finishes, you’ll leave a home that reads as one honest, UK-grown story.
About the Author



