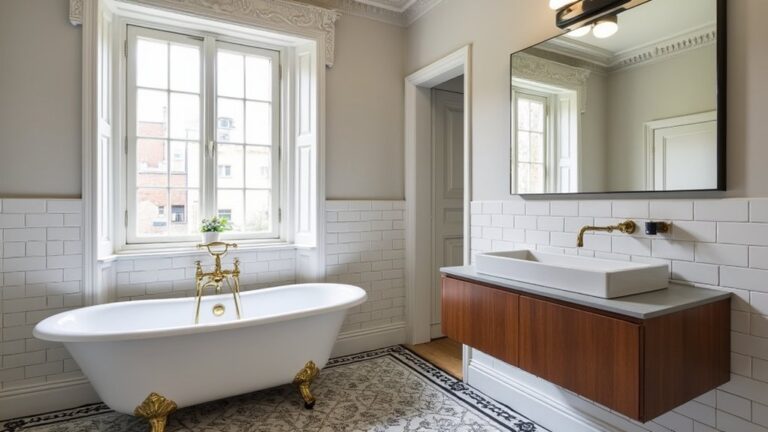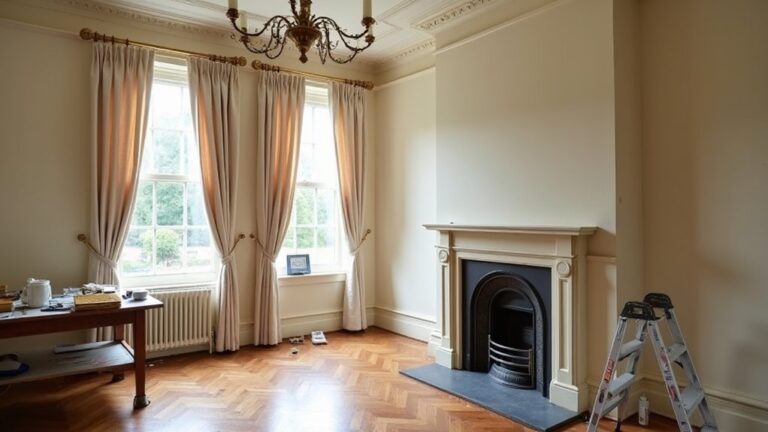
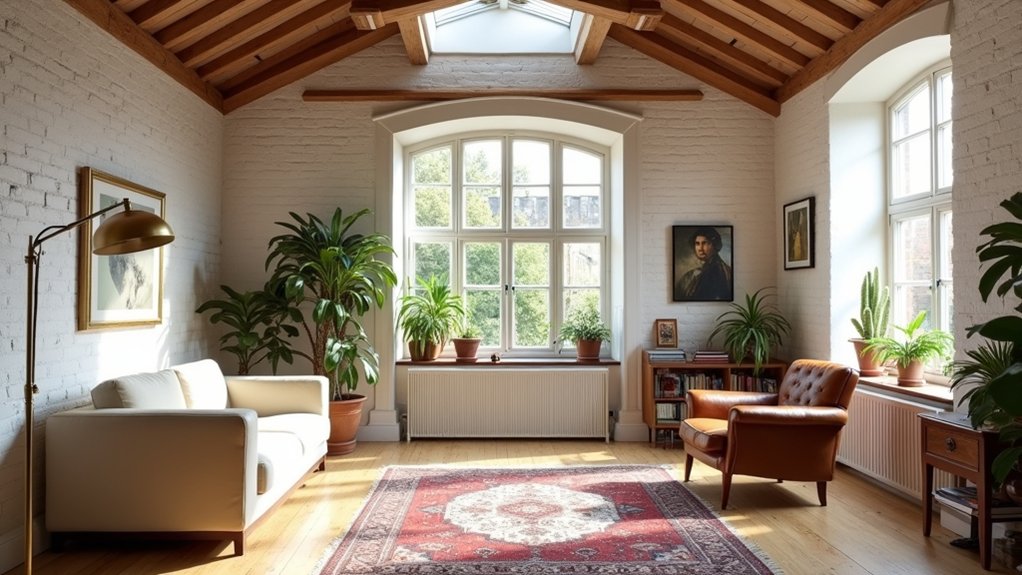
When you squeeze 2.1m of head height out of a dusty Edwardian loft, it feels like turning a suitcase into a wardrobe. You start by checking ridge height, rafters, and where the existing wiring runs, then you map a layout that actually works: a calm bedroom, a bathroom with proper ventilation, and a landing that doesn’t waste space. You’ll keep character with dormer proportions and built-ins—but the staircase choice changes everything…
Key Takeaways
- We assessed head height, joists, and roof structure early, solving low eaves, sagging risks, and unsafe ladder access with a proper floor.
- We secured Permitted Development or planning approval and met Building Regulations for structure, insulation, and fire safety, keeping all drawings and certificates.
- We created brightness with a rear dormer or well-placed rooflights, prioritising the best aspect, ventilation, and glare control without losing roofline character.
- We insulated with PIR between rafters plus insulated plasterboard, maintained ventilation gaps, and sealed junctions to prevent draughts and condensation.
- We added character and calm using built-in eaves storage and chimney-breast joinery, matching original details, and layering task lighting to avoid dim corners.
Our Edwardian Loft Before: The Real Problems
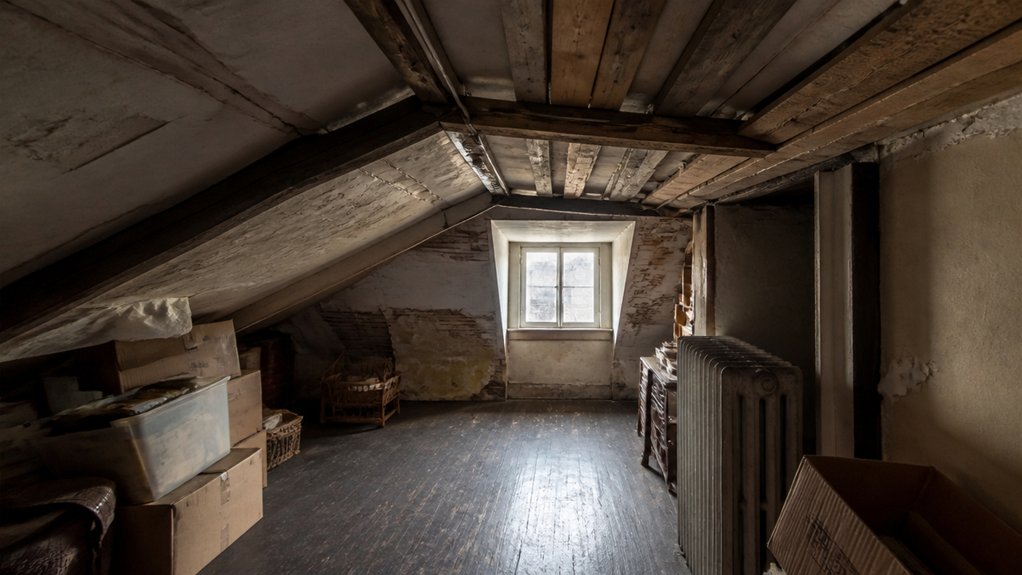
Although the loft sat neatly under our Edwardian roofline, it wasn’t remotely usable: the head height pinched hard at the eaves, the hatch and wobbly ladder made access a faff, and the joists were only sized for light storage rather than a proper room.
You also dealt with dusty mineral wool, draughts around the chimney breast, and dim light sneaking through a single gable vent. The wiring looked like a DIY patchwork, with no obvious lighting circuit and a lone socket spur.
You couldn’t store much without blocking the water tank and pipework, and every step squeaked through the lath-and-plaster ceiling below. Vintage charm was there, but buried.
Your Material choices mattered because every fix needed to suit old fabric.
Can Your Edwardian Loft Be Converted? (Head Height + Structure)
Once you’ve clocked the low eaves, shaky joists and makeshift wiring, the next question is simple: can this Edwardian loft actually become a room? Start with head height: you’ll want around 2m clear at the new stair and main circulation line, and check how much usable space you’ve got once insulation and floor build-up steal precious centimetres.
Measure from existing ceiling joists to ridge, then factor in new structural floor depth.
Next, assess structure. Edwardian ceilings often hang from undersized joists, so you’ll likely need new floor joists or steelwork spanning loadbearing walls.
Keep chimney breasts, rafters and purlins where possible for Historical preservation and architectural authenticity, but don’t ignore sagging timbers or spreading walls. Get it surveyed early.
Permissions for an Edwardian Loft Conversion (UK Basics)
Before you order drawings or start pricing steels, map out which permissions your Edwardian loft conversion will need, because the rules differ depending on your house and the type of alteration.
Many rear dormers fall under Permitted Development, but only if you’re not in a flat, maisonette, or certain designated areas; check your council’s conservation-area and Article 4 status. If you’ll raise the ridge, change the roof shape to the front, or add prominent rooflights, you’ll likely need planning permission.
Even with PD, you still need Building Regulations approval: submit a Full Plans application for clearer sign-off. Your inspector will focus on fire protection, stairs, insulation, and especially Structural integrity—steel sizes, bearings, and load paths.
Keep records: drawings, calculations, and any Legal permits for future sale.
Edwardian Loft Layout: Bed, Bath, and Landing
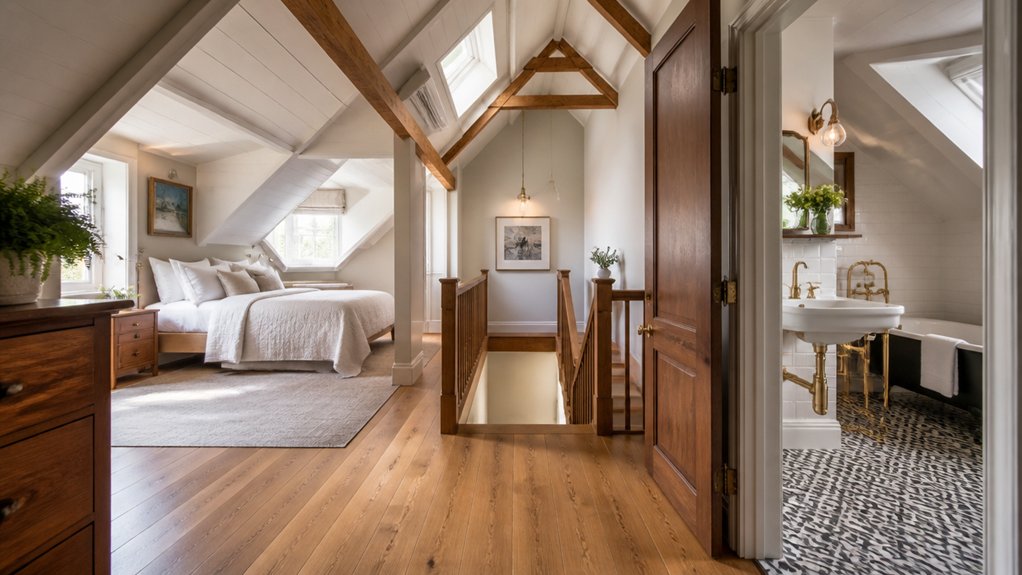
You’ll want to position the bed nook where the roof pitch gives you usable headroom and a clear route to the stairs, often tucked behind the chimney breast or a stud wall.
Plan the bath zone around the soil stack and party wall lines to keep pipe runs short, meet ventilation needs, and leave comfortable standing space by the basin and shower.
Then you can make the landing work harder with built-in eaves cupboards, shallow shelving, and a neat spot for linens without narrowing the escape route.
Bed Nook Placement
Where should the bed sit in an Edwardian loft so it feels tucked away without pinching the circulation? You’ll get the best flow by pushing the bed into the quietest eaves corner, beyond the landing line, so you keep a clear route from the stairs to storage and windows.
Create a bed nook with a short stud wall or joinery spine that screens the mattress but still lets daylight spill through.
Check head height before you commit: aim for comfortable sit-up clearance at the pillow end, and use the lowest slope for feet or built-in drawers.
Keep at least 600mm along the open side for passing, and centre bedside sockets and switched lighting within easy reach.
Add shallow shelves instead of bulky tables.
Bath Zone Planning
How do you carve out a bath zone in an Edwardian loft without turning the landing into a corridor of damp and doors? You site the bathroom where head height peaks, usually beside the staircase, so you’re not ducking around the WC. Keep the door tight to the landing and use a pocket or outward-opening leaf to stop clashes.
Run new soil and hot/cold feeds in the eaves and drop them near the existing stack to limit boxing-in and noise. Choose compact bathroom fixtures: a short-projection pan, 500mm basin, and an 800–900mm shower tray over a bath. Build a full-height tiled wet wall and specify an inline extractor to meet Part F.
For water efficiency, fit a dual-flush cistern, aerated taps, and a low-flow shower valve. Add decent acoustic insulation.
Landing Storage Solutions
Soften that awkward strip of loft landing by treating it as built-in storage, not leftover circulation: run low wardrobes and drawers into the eaves on the shallow side, keep at least 800mm clear walk-through, and add a full-height cupboard beside the stair head for linens and the hoover.
Fit sliding or pocket doors where head height dips, and scribe carcasses to rafters so you don’t lose millimetres. Use shallow pull-outs for shoes, bags, and spare loo rolls, and wire an LED strip with a PIR sensor under the handrail for safe night trips.
Keep Vintage charm with panelled fronts, brass knobs, and a painted timber cornice that nods to Historic preservation without faking age. Paint interiors pale so you’ll find everything.
Bring In Light: Dormer vs Rooflights (Edwardian-Friendly)
To bring daylight into your Edwardian loft, you’ll usually choose between a rear dormer that boosts headroom and floods the new room with light, or rooflights that keep the original roofline largely intact.
A well-proportioned dormer can transform how usable the space feels, especially around the stairs and any en‑suite, but you’ll need to balance it against planning constraints and neighbour sightlines.
Rooflights (top-hung or centre-pivot, and conservation-style if you’re in a protected area) can suit Edwardian houses when you place them neatly between rafters and keep the frame colour and glazing proportions in step with the existing roof.
Dormer Benefits For Light
While the roof structure sets the limits, you can still make an Edwardian loft feel properly bright by choosing the right opening: a dormer brings light in from a vertical face, whereas rooflights pull daylight straight through the slope.
With a dormer, you gain a full-height window that catches low winter sun and spreads it deeper across the room, especially when you align it with the stairwell or landing. You’ll also protect vintage charm by keeping the main roofline quieter, and you can thicken attic insulation around the cheeks without losing usable headroom.
- Face the dormer to the best aspect for consistent daylight
- Use larger glazing for fewer, brighter openings
- Add a slim cill for plants and reflected light
- Control glare with blinds set within the reveal
Rooflight Options For Edwardians
Dormers give you that full-height window and a more “room-like” feel, but rooflights often suit Edwardian lofts when you want maximum daylight with minimum change to the roofline. You’ll usually get them through permitted development if you keep them flush and to the rear slope, but check conservation rules and your council’s guidance.
Choose centre-pivot units for easy cleaning from inside, or top-hung for a clearer view when you’re standing. Specify low-profile flashings to sit neatly with slate or clay tiles, and add insulated upstands to reduce condensation.
For ventilation options, pick trickle vents, rain sensors, or solar openers if access is awkward. Think ahead on roof maintenance: leave safe access points, fit insect screens, and plan gutter and flashing inspections.
Insulation That Saves Headroom (Warmth Without Bulk)
Because Edwardian lofts often come with shallow rafters and tight eaves, you can’t afford to lose precious headroom to chunky insulation. You’ll get thermal comfort by choosing insulation techniques that deliver high performance in slim build-ups and still meet UK Building Regs targets.
- Fit rigid PIR boards between rafters, then add a thin insulated plasterboard layer to reduce cold bridging.
- Leave a clear ventilation gap to the felt or membrane, using rafter vents to prevent condensation.
- Seal every junction with foil tape and expanding foam around rafters, purlins, and rooflights to stop draughts.
- Upgrade the eaves with insulated cavity closers and airtightness membranes so warmth doesn’t leak at the margins.
Specify thicknesses to suit your roof build-up, then keep services in a shallow batten void.
Edwardian Loft Stairs: Where They Go and What Works
If you get the stair position right early, you’ll keep your Edwardian loft conversion feeling like a natural extension of the house rather than an awkward add-on.
In most UK terraces and semis, the cleanest route is above the existing staircase, landing you near the centre of the new floor and preserving a proper hallway below. You’ll usually need 2m headroom at the pitch line, so check where the ridge sits before fixing the opening.
A straight flight often fits best, but a quarter-turn can dodge chimney breasts and keep the door swing workable.
Match balustrades to your original newel posts for Vintage charm, and echo skirtings and architraves so the Architectural details read as one. Keep risers consistent, and plan safe guarding.
Built-In Storage That Makes an Edwardian Loft Feel Bigger
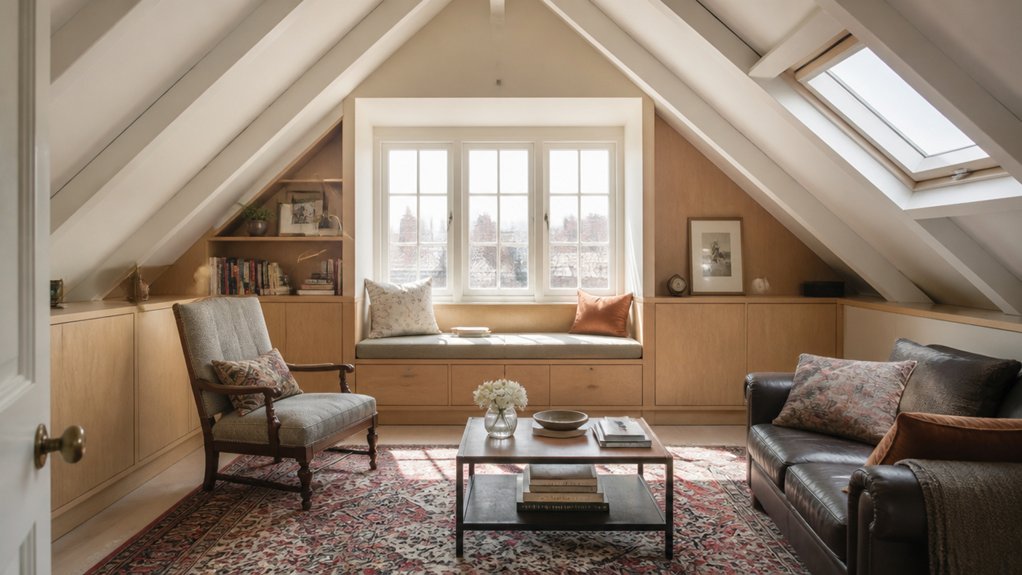
Once you’ve fixed the stair location, you can make an Edwardian loft feel noticeably bigger by building storage into the awkward bits—eaves slopes, chimney breast nibs, and the low triangles behind knee walls—rather than filling the room with freestanding furniture. Keep the joinery flush, run it wall-to-wall, and you’ll calm the roof angles while gaining metres of hidden capacity.
Plan depths around suitcases, drawers, and hanging rails, and use push-latches where headroom’s tight.
- Full-height wardrobes on the gable wall for coats and linen
- Eaves drawers on heavy-duty runners for bulkier items
- A chimney-breast bookcase with cupboards below for Vintage charm
- Painted MDF carcasses with oak or tulipwood fronts: smart Material selection
Finish with slim skirtings and period-style knobs so it feels original.
Our Edwardian Loft Reveal: Lessons and Regrets
Although the built-ins have made the loft feel calmer and far more usable, the reveal has been a mixed bag of wins, compromises, and a few “we’d do that differently” moments that only show up when you start living up there day-to-day.
You’ll love how the eaves cupboards hide clutter and keep sightlines clean, but you might regret skimping on warm task lighting; UK winter afternoons make dim corners feel miserable.
You’ll appreciate the preserved Architectural details—rafters, chimney breast, and picture rail—because they deliver Vintage charm without fuss.
Still, you may wish you’d widened the loft hatch or specified a quieter extractor; noise travels.
Pick scrubbable paint for scuffs, add a small radiator boost, and double-check storage door clearances before final fit-off.
Conclusion
You’ve turned a dusty, low-slung void into a calm top-floor retreat, like lifting the roofline of your daily life. By checking head height and structure, getting the right permissions, and choosing dormers, slim PIR insulation, and well-placed stairs, you’ve kept warmth, light, and flow without stealing space. Built-ins do the heavy lifting, so clutter can’t settle. You’ll finish with an Edwardian-feeling loft that lives like new—bright, safe, and properly yours.
About the Author