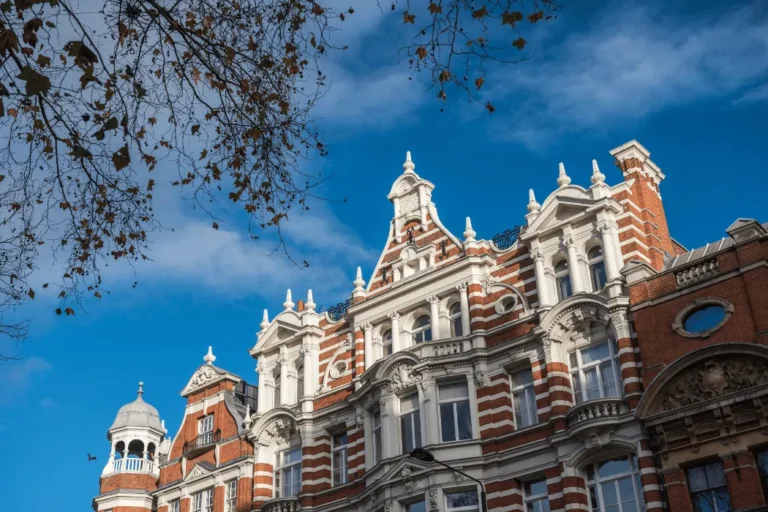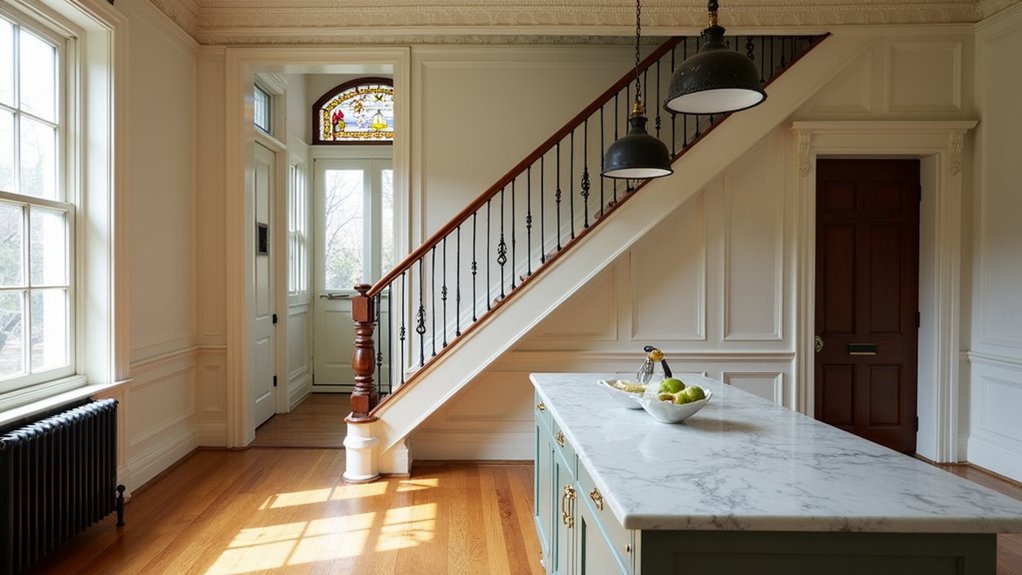
You probably don’t know that many Victorian “updates” that look original were early retrofits, not first‑build details. You start by mapping what’s truly period—millwork profiles, plaster medallions, window sash—and what’s later but worth keeping. Then you tackle structure, knob‑and‑tube, and hidden moisture without scarring trim or plaster. Only after that do you adjust flow, kitchens, baths, lighting, and insulation so nothing looks forced—because one small choice can undo the whole house.
Key Takeaways
- Document original Victorian details room-by-room, photographing and measuring trim, plasterwork, doors, windows, fireplaces, and flooring before making changes.
- Fix structure and water issues first: foundation, racking, roof, flashing, chimneys, and rot, then proceed to finishes.
- Modernize hidden systems safely, mapping wiring, plumbing, and HVAC routes to avoid damaging plaster, trim, and historic sightlines.
- Improve flow with subtle layout tweaks—pocket doors, cased openings, built-ins, transoms—while matching original trim profiles and room hierarchy.
- Update kitchens, baths, lighting, and finishes with period-appropriate fixtures, muted heritage colors, layered lighting, and discreet performance upgrades like interior storms.
Identify Victorian Features Worth Preserving
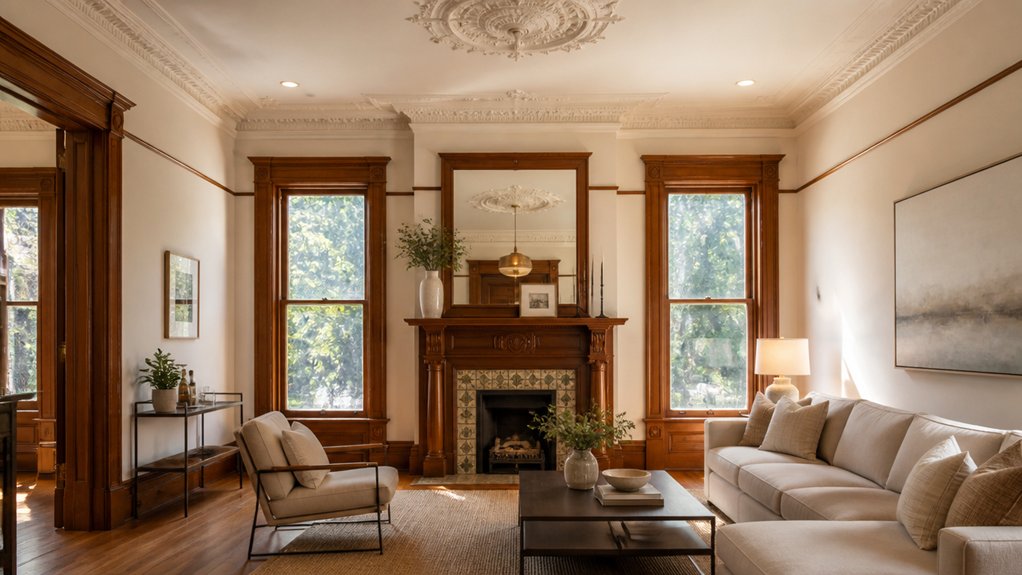
Before you draw up plans or price out new finishes, walk the house room by room and note the Victorian details that still do the heavy lifting: original millwork (baseboards, door and window casings, picture rails), plaster medallions and cornices, stair newels and balusters, paneled doors with period hardware, tall sash windows, fireplace surrounds, and any intact flooring such as heart pine or parquet.
Photograph each element, measure profiles, and map what’s continuous versus altered. Check for crisp joinery, hand-planed surfaces, and layered paint that signals age.
Keep standout Victorian ornamentation where it frames sightlines—entry halls, stair landings, and parlors. When you refresh finishes, test period appropriate colors against natural light and the wood’s undertone, so preserved details read intentional, not fussy.
Handle Victorian Structure, Hazards, and Systems First
Before you refinish trim or restore plaster, you’ll confirm the house stands sound by inspecting the foundation, framing, and roof for settlement, rot, and past patchwork.
Next, you’ll bring the hidden work up to code by updating wiring, plumbing, and HVAC so you’re not sealing hazards behind fresh finishes.
Once the structure and systems are steady, every period-correct repair you make will last and won’t get torn open later.
Assess Foundation, Framing, Roof
Once you’ve walked the rooms and admired the millwork, shift your attention to what actually keeps the house standing: the foundation, framing, and roof. You’ll preserve character best when you stabilize the bones first, using evidence, not guesswork.
- Start with a Foundation inspection: look for stepped brick cracks, spalling stone, damp piers, and out-of-level floors; note where gutters dump water.
- Move to the sill and joists: probe for rot at pockets and along exterior walls, and plan discreet framing reinforcement where spans sag.
- Check plaster clues: recurring diagonal cracks and sticking doors can signal racking; verify with a level and stringline.
- Climb to the roof: inspect slate or shingles, flashing, valleys, and chimney joints; fix leaks before they rewrite your ceilings.
Update Wiring, Plumbing, HVAC
Although the plaster medallions and picture rails get the attention, the safest way to modernize a Victorian is to tackle wiring, plumbing, and HVAC early—because these systems hide in joist bays, chimney chases, and wall cavities that don’t forgive careless cutting.
Start by mapping every circuit and pipe run before you open lath-and-plaster. Plan wiring upgrades to replace knob-and-tube, add grounded receptacles, and right-size the panel while preserving original switch locations and trim.
For plumbing enhancements, swap galvanized lines, add shutoffs, and protect cast-iron stacks you can keep.
When you route ducts, favor high-velocity or mini-splits to avoid soffits that bury crown molding.
Seal balloon framing to stop drafts, then ventilate attics and basements.
Test for asbestos wrap and lead, and use gentle access holes you can patch invisibly.
Improve a Victorian Layout Without Erasing Character
When you’re trying to make a Victorian floor plan work for modern life, you don’t have to gut it to get better flow. You can relieve pinch points while keeping the hierarchy of rooms, tall thresholds, and the pause of a proper entry.
- Widen movement, not rooms: square off tight door swings, rehang doors, or convert one to a pocket in a secondary hall.
- Keep the parlor sequence: open sightlines with a cased opening that matches existing trim profiles and Victorian ornamentation.
- Reclaim dead corners: add a shallow cloak closet, mud bench, or built-in shelf where circulation stalls.
- Use light as a guide: swap heavy partitions for glazed transoms or interior windows, then tie changes together with period appropriate colors.
Modernize a Victorian Kitchen Without Looking Modern
If you treat the Victorian kitchen as a hardworking service room—not a glossy showpiece—you can upgrade function without breaking the house’s spell.
Keep the room’s bones: retain plaster coves, picture rails, and the chimney breast, then build storage around them. Choose inset Shaker or simple beaded doors, painted in muddy heritage tones; skip high-gloss lacquer.
Hide modern appliances behind panels, and vent the hood through an existing flue where possible. Use honed stone, wood, or soapstone counters and a deep fireclay sink with bridge taps.
Fit warm, layered lighting: schoolhouse pendants and under-shelf strips. Add a scrubbed pine table or other period furniture, and place herbs from the Victorian garden on open shelves.
Update Victorian Bathrooms With Period-Style Materials
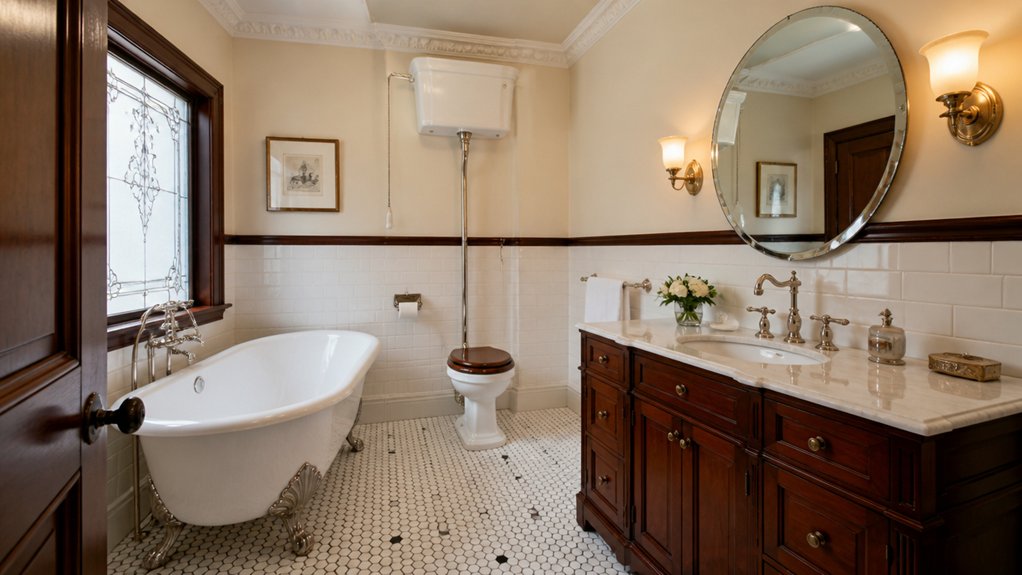
Start with classic tile and grout that read unmistakably Victorian—think small-format hex or subway tile with tight, crisp joints and a grout color that won’t turn dingy.
Choose vintage-style fixtures and hardware you can live with every day, like a high-tank pull-chain or pedestal sink paired with cross-handle faucets in polished nickel or unlacquered brass.
When you match these finishes and proportions to the room’s scale, you’ll get modern reliability without losing the period mood.
Classic Tile And Grout
Although modern finishes promise easy upkeep, nothing preserves a Victorian bath’s credibility like tile and grout that match the era. Choose classic tile in small formats—hex mosaics, 3×6 subway, or encaustic-look patterns—so the floor reads crisp, not oversized. Keep colors disciplined: white, cream, black, and muted sage sit comfortably with aged plaster and painted trim.
- Set a tight layout with clean sightlines at thresholds and around radiators.
- Specify a period-leaning grout color (warm gray or bone) to avoid harsh contrast.
- Use a simple border or dot motif to echo late-19th-century geometry.
- Plan grout cleaning: seal where appropriate, ventilate well, and use pH-neutral cleaner plus a soft brush.
Vintage Fixtures And Hardware
Once your tile and grout set the Victorian baseline, the fixtures and hardware bring the room’s “age” into focus. Choose vintage fixtures with high-arc spouts, cross handles, and exposed supply lines in unlacquered brass, nickel, or polished chrome, depending on your era. Pair them with a pedestal sink or console basin to keep the floor visually open.
Before buying repro, inspect what you’ve got: you can often keep original taps, tub fillers, and towel bars through careful hardware restoration. Disassemble, soak mineral scale, replace washers, and re-pack stems; then re-plate only if pitting threatens function.
Match escutcheons, hinge profiles, and screw heads, and keep a consistent finish so the room reads intentional, not patched.
Get Victorian Lighting, Paint, and Trim Details Right
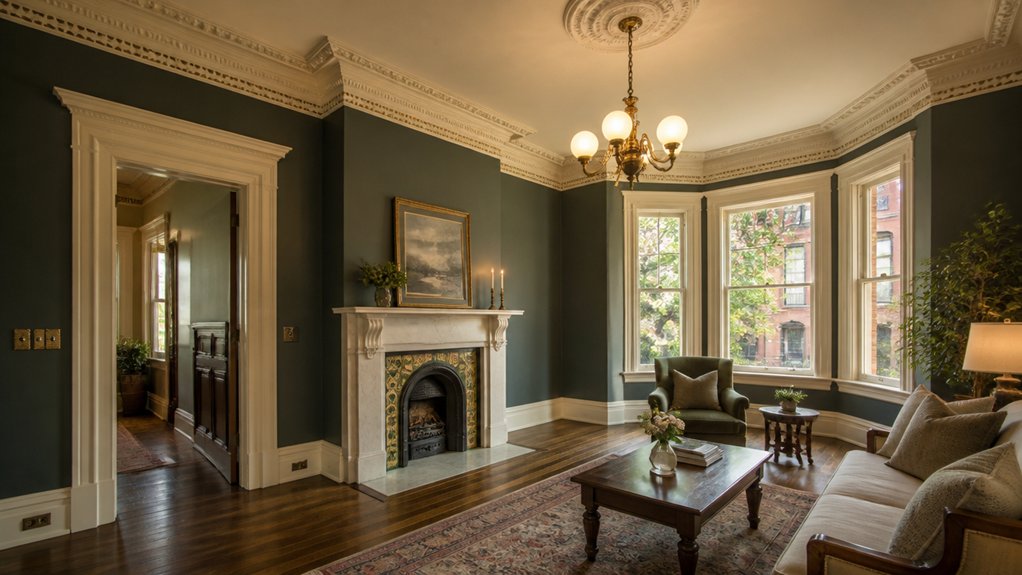
Before you pick up a brush or swap a fixture, lock in the Victorian “bones” that make a room read era‑correct: layered, warm lighting; historically plausible paint tones and sheen; and crisp trim profiles with intentional contrast. Nail Victorian lighting and paint details by working from what the house already tells you—plaster texture, window size, and existing casings.
- Layer light: pair a central pendant with wall sconces and a shaded table lamp; choose warm bulbs and milk-glass or etched shades.
- Pick period colors: favor complex, muted hues; use eggshell on walls, flat on ceilings, and gloss on trim.
- Honor trim profiles: match baseboards, backbands, and rosettes; avoid skinny modern casing.
- Create contrast: keep trim one to two shades deeper or lighter than walls.
Add Quiet Energy Upgrades to a Victorian Home
When your lighting, paint, and trim read Victorian, you can modernize what’s behind the scenes without disturbing the look. Start in the attic: air-seal around chimneys, wiring, and top plates, then add dense-pack cellulose so rafters stay dry and quiet.
In the basement, insulate the rim joist and tune your steam or hot-water system; balanced radiators heat evenly without cranking the thermostat. Keep sash profiles but upgrade performance with interior storms or true soundproof windows sized to existing stops.
Swap in smart, dimmable LEDs behind period shades, and run new circuits through closets to avoid plaster damage.
Outside, use low-glare landscape lighting on warm color temperature to echo gaslight, and put fixtures on timers.
Conclusion
When you update your Victorian, you’ll get the best results by saving what’s original, fixing what’s hidden, then adding comfort in a way that doesn’t shout. Keep the millwork profiles, plaster details, and warm metal finishes consistent room to room. Tackle wiring, plumbing, and moisture before you touch tile or paint. A useful benchmark: the U.S. EIA says space heating averages about 42% of home energy use—so tighten leaks quietly, and you’ll feel it.
About the Author