
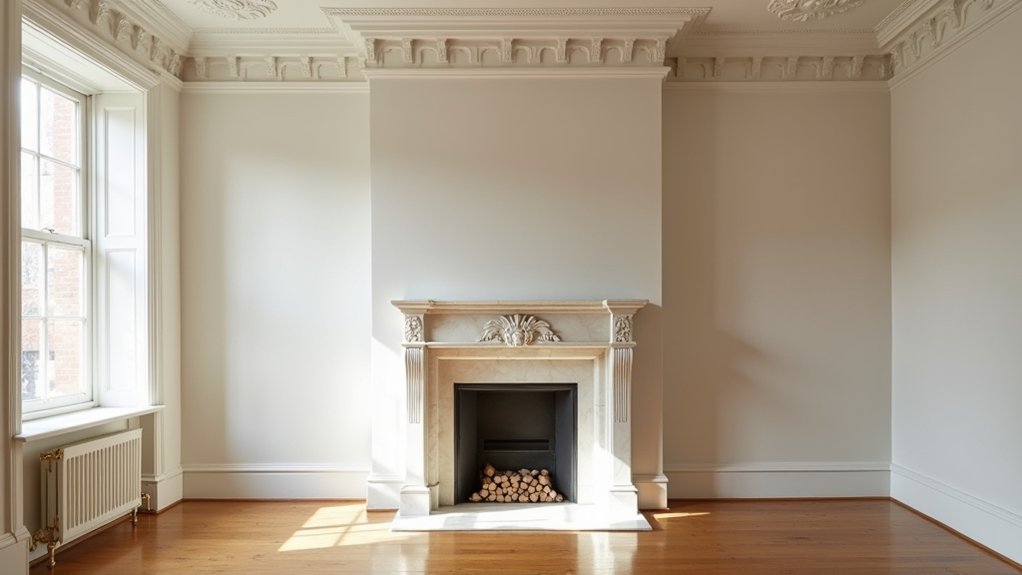
You don’t start a Georgian restoration with paint charts—you start by tracing the subtle quirks in sash meeting rails, cornice runs, and worn skirting profiles that tell you what’s original. You document every room, measure details, and test finishes before you touch a thing. You repair with reversible methods and like-for-like materials, replacing only what’s beyond saving. But once you’ve mapped what can stay, the real decisions begin—what do you keep, and what can you change without losing the house’s truth?
Key Takeaways
- We began with a room-by-room Georgian features survey, recording mouldings, joinery, window proportions, and condition issues with photos and measured templates.
- We secured listed-building permissions early, aligning proposals with conservation guidance and prioritising reversible, minimally invasive interventions.
- We repaired rather than replaced original joinery, using splices, scarf joints, and compatible fillers to retain sound historic timber.
- We restored sash windows by splicing decayed sections, retaining historic glass where possible, and upgrading draught-proofing with discreet brush seals.
- We preserved original proportions by avoiding lowered ceilings, routing services through existing voids, and reinstating openings and alignments to original axes.
Start With a Georgian Features Survey
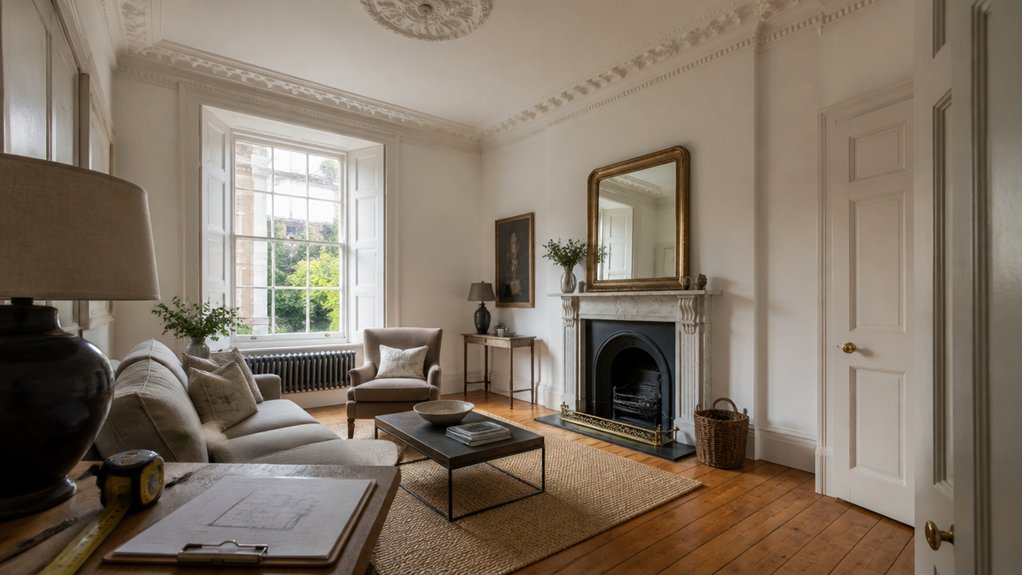
Before you lift a chisel or order replacement joinery, begin with a Georgian features survey that records what you actually have—and what must be protected. You’ll walk room by room, noting cornice profiles, skirting heights, architrave mouldings, stair baluster spacing, hearth construction, and window proportions.
You’ll photograph junctions, measure with calipers, and sketch details so later work matches existing tolerances.
You’ll also map condition: hairline cracks, previous repairs, moisture staining, insect exit holes, and paint build-up that blunts crisp edges. You’ll log materials and finishes, then cross-check against local listing notes and conservation guidance.
Finally, you’ll flag where Modern amenities and contemporary design may interact with original fabric, so services routes, ventilation, and lighting layouts respect heritage lines.
Decide What to Restore vs Replace
Now you’ll decide what to restore and what to replace by weighing each element’s historical significance, from original joinery and plasterwork to later alterations.
You’ll test structural integrity—timber soundness, moisture damage, fixing failures—so you don’t preserve fabric that can’t perform safely.
Then you’ll balance cost and authenticity, prioritising repairs where they protect character and choosing like-for-like replacement only when restoration won’t last or won’t serve your needs.
Assess Historical Significance
Although every Georgian detail can feel worth saving, you’ll get the best outcome by evaluating each element’s historical significance before you lift a chisel or place an order. You’ll start by mapping original fabric, later alterations, and features that define the room’s proportions and craftsmanship.
Then you’ll weigh client priorities—patina, authenticity, and day-to-day use—so interventions stay defensible and reversible. You can document decisions with modern technology, and specify contemporary materials only where they won’t dilute the period character.
- Date it: confirm whether it’s original, early, or late addition
- Rarity: check if profiles, glass, or joinery are uncommon locally
- Visibility: prioritise prominent features that anchor first impressions
- Evidence: preserve tool marks, finishes, and wear that tell the story
Evaluate Structural Integrity
Once you’ve established what carries the most historical weight, you need to confirm it can still do its job safely and predictably, because significance doesn’t offset structural failure. You start with measured surveys: plumb checks on party walls, deflection readings in joists, and moisture mapping around embedded timbers.
You inspect hairline cracking to distinguish settlement from shrinkage, then verify Foundation stability by reviewing drainage routes, historic footings, and any prior underpinning.
You’ll decide to restore when sound material remains continuous and load paths stay intact; you’ll replace when decay, corrosion, or fracture breaks that continuity.
Where preservation is viable, you specify discreet Structural reinforcement—sistered joists, concealed plates, lime-based grouts—so original profiles read true while performance meets today’s safety expectations.
Balance Cost And Authenticity
Before you price a single trade package, set clear rules for what must remain original to keep the Georgian character legible—and where you’ll accept renewal to control risk and budget.
You’ll walk room by room, grading each element for heritage value, performance, and repairability, then choose the least intrusive option that still meets today’s use.
Keep Modern interventions reversible, and let Environmental considerations guide durable, breathable materials and low-waste methods.
Use a decision matrix you can defend to planners, insurers, and your future self:
- Restore joinery when profiles, tool marks, and timber are sound
- Replace only failed substrates or unsafe services, like wiring
- Replicate missing details using matched moulds and species
- Upgrade discreetly: secondary glazing, insulation, fire stopping
Permissions, Listed Status, and Constraints
Because Georgian houses often sit within a web of legal protections, you’ll want to confirm permissions early so your restoration respects both the building’s fabric and the authorities who safeguard it. Start by checking the listing grade, curtilage status, and any conservation area controls; these define what counts as “like-for-like” and what needs consent.
You’ll typically need Listed Building Consent for alterations affecting character, even when you’re adding modern amenities or introducing contemporary design. Plan pre-application discussions with conservation officers, and bring drawings, method statements, and a clear heritage impact rationale.
If you’re changing layouts, services routes, or openings, expect requests for reversible solutions and minimal intervention. Align the programme with approval timelines, and budget for surveys and specialist reports.
With permissions secured, you’ll protect value, avoid enforcement risk, and keep your project moving smoothly.
Repair Original Joinery the Right Way
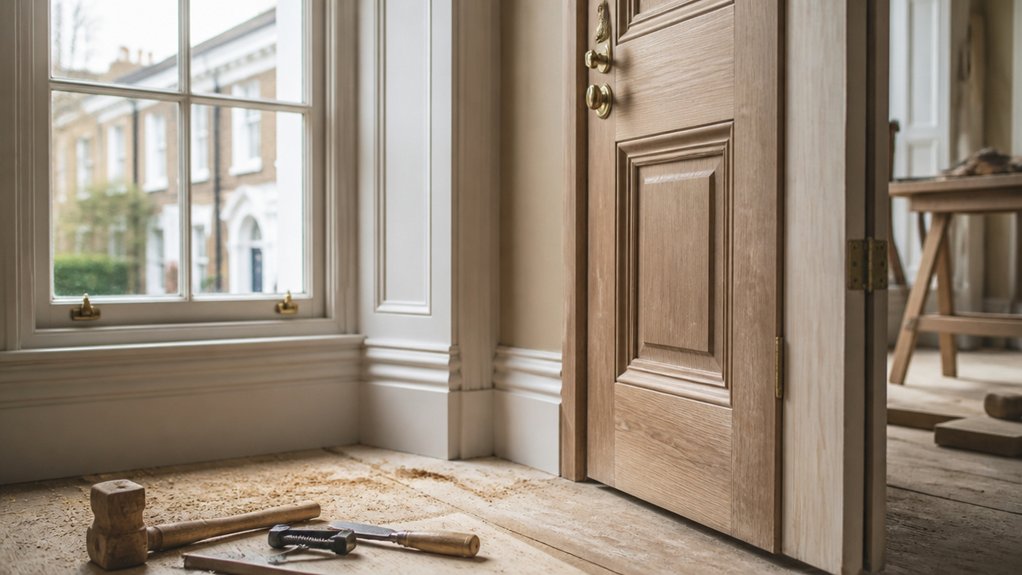
Start by evaluating your original joinery for decay, distortion, loose tenons, and failed glue lines so you know what truly needs intervention.
You’ll then match historic profiles precisely—mouldings, sash bars, and glazing rebates—so repairs read as authentic and protect the building’s character.
Where you do intervene, you’ll choose reversible repairs, keeping as much sound timber as possible and ensuring future conservation remains straightforward.
Assess Joinery Damage
Where’s the joint actually failed—at the glue line, in the timber, or in the surrounding masonry? You’ll start by stabilising the area, then test movement with light hand pressure and a thin feeler gauge, noting what shifts and what stays true.
You’ll identify joinery materials so you don’t misread old hide-glue creep as rot, or treat resin-rich softwood like dense hardwood. Map damage patterns room by room, because repeating faults often point to moisture ingress, past forcing, or settlement.
- Check moisture content and staining around end grain
- Probe for softness, insect frass, and hollow sound
- Inspect fasteners for corrosion, splits, and prying marks
- Photograph, tag, and log each defect before intervention
Match Historic Profiles
Once you’ve confirmed the joint will take a repair, match the historic profile before you cut anything away, so the finished work reads as original from every angle. You’ll start by taking rubbings and caliper measurements of mouldings, ovolos, and quirks, then compare them to adjacent, undisturbed sections.
Use story sticks and a full-size template to capture subtle run-outs at the meeting rail or stile, not just the headline curve. When Modern landscaping has altered sightlines, you’ll check the piece in situ to verify shadows and reveals still align.
You’ll also coordinate the repair profile with discreet weathering details so draught lines stay tight, supporting energy efficiency without changing the Georgian character your home deserves.
Use Reversible Repairs
With the profile recorded and templated, you can carry that accuracy into repairs that respect the original fabric and can be undone without harm. You’ll keep historic joinery working by consolidating, splicing, and pinning where possible, rather than replacing whole members.
Choose Modern materials only when they’re compatible and clearly secondary, so future conservators can read what’s original.
- Use hide glue or reversible PVA where specification allows, so joints can be released cleanly.
- Insert timber splices with matching grain, scarfed and pegged, to preserve maximum sound wood.
- Add discreet stainless pins or screws only in existing voids, and isolate metals from tannins.
- Fill losses with lime-based putties or soft resin packs designed for Reversible interventions.
You’ll document every step, giving clients confidence and maintaining listing compliance.
Restore Georgian Sash Windows Carefully
Although they look straightforward at a glance, Georgian sash windows demand a careful, conservation-minded approach if you want to preserve their slender glazing bars, crisp joinery, and original character.
Start by surveying each sash for rot, loose tenons, and distorted rails, then splice in matching timber rather than replacing whole members. You’ll strip paint selectively, keep moulded profiles sharp, and repair pulleys, cords, and weights so the windows run smoothly without forcing.
Where glass is wavy or historic, you’ll retain it and re-bed with linseed putty; where performance must improve, specify Modern glazing that fits the existing rebates and sightlines.
Add discreet brush seals and guarantee proper draught paths to raise energy efficiency while keeping the frame breathable and the meeting rails tight.
Finish with microporous paint and accurate colour matching.
Keep Georgian Room Proportions Intact
You’ll protect Georgian character by keeping original ceiling heights intact, even when you’re routing services or upgrading insulation.
You’ll also preserve symmetrical wall openings, so doors, shutters, and sightlines still align as the house intended.
When you prioritise these proportions, you get a room that feels authentically balanced and refined rather than newly forced.
Respect Original Ceiling Heights
Why do Georgian rooms feel so effortlessly grand? You feel it the moment you honour the original ceiling height, because those vertical proportions were calibrated for light, warmth, and status. When you resist lowering ceilings for services, you keep cornices reading crisply and allow tall joinery to breathe.
You’ll also address acoustic considerations: high volumes can echo, yet careful, reversible interventions keep conversation comfortable without compromising plasterwork. We guided you through every decision so heritage value and daily use stayed aligned.
- Survey existing levels before any demolition or design work
- Route wiring and ducting through discreet voids, not new soffits
- Repair lath-and-plaster with like-for-like materials and profiles
- Specify soft furnishings and rugs to temper reverberation, gently
Preserve Symmetrical Wall Openings
When you preserve symmetrical wall openings, the whole Georgian room settles back into its intended calm and hierarchy. You start by mapping door and window centres, head heights, and reveal depths, checking them against cornice lines and skirting runs.
If a later alteration has shifted an opening, you don’t just “square it up”; you reinstate the original axis so circulation and sightlines read correctly. You’ll often need to rebuild nibs, reset architraves, and match lath-and-plaster thickness to keep jambs crisp.
That work restores symmetrical balance, so furniture layouts and fireplace focal points feel natural again. By keeping paired openings equal in width and proportion, you recover visual harmony without introducing new ornament. Clients notice the room breathe and straighten.
Save Cornices, Skirting, and Architraves
Although they’re often dismissed as mere trim, original cornices, skirting, and architraves carry the crisp proportions and shadow lines that define Georgian interiors, so it’s worth treating them as joinery to conserve rather than timber to replace.
You start by surveying profiles room by room, then salvage every sound length, even if it needs piecing-in.
- Record Decorative cornice designs and intersections before stripping paint layers.
- Match Skirting board styles by height, quirk, and mould run, not just thickness.
- Repair splits with scarf joints and concealed pins; keep original tool marks where possible.
- Refit architraves after easing doors, so margins stay even and reveals read sharp.
You’ll prime end grain, use breathable finishes, and only commission like-for-like replicas where losses are beyond repair.
Bring Fireplaces and Hearths Back to Life
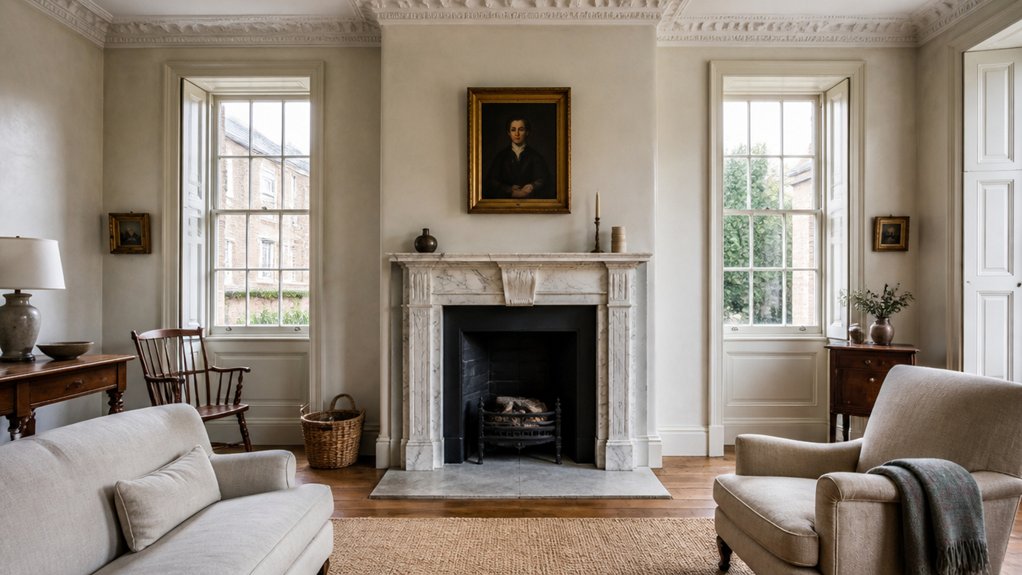
Because the fireplace typically anchors a Georgian room’s symmetry and sense of scale, you’ll get the best result by treating the surround, opening, and hearth as one carefully balanced composition rather than a cosmetic feature.
You start by evaluating the existing fireplace design: check the proportions, original profiles, and any later infill that’s narrowed the opening. You’ll carefully strip inappropriate paint, retain crisp moulded edges, and repair chips with like-for-like stone or timber splices rather than heavy sanding.
Next, you’ll confirm the flue’s integrity and ventilation, then reinstate a correctly sized register plate and tidy reveal lines.
When you select hearth materials, you’ll match period expectations—slate, York stone, or marble—laid flush, with minimal joints and a subtle chamfered edge for durability.
Use Lime Plaster and Breathable Finishes
To keep Georgian walls looking crisp while staying healthy, you’ll want lime plaster and truly breathable finishes that let moisture move naturally through the fabric instead of trapping it behind modern gypsum, vinyl paints, or cement-based patching. You’ll match the original porosity, reduce salts, and avoid blistering that ruins fine mouldings and joinery lines.
Start by testing existing coats, then specify compatible materials and curing times.
- Use lime plaster for repairs, blending aggregates to match historic texture.
- Choose breathable finishes like limewash or silicate paints, not acrylics.
- Detail junctions carefully so cornices, reveals, and skirtings stay sharp.
- Control drying with gentle ventilation, misting, and protection from rapid heat.
You’ll preserve authenticity, keep future maintenance straightforward, and deliver a calm, even surface your rooms deserve.
Add Comfort Upgrades Without Harming Character
Once you’ve kept the walls breathable with lime and compatible finishes, you can focus on comfort upgrades that won’t blunt Georgian proportions or disrupt how the building manages moisture.
You’ll get Modern comfort by upgrading insulation where it’s invisible: sheep’s wool between joists, insulated shutters, and draught-proofing to sash windows using brush seals and repaired staff beads.
Choose heating that respects original joinery—slimline radiators beneath existing window lines, or low-temperature underfloor only in secondary rooms with lifted floors and reversible build-ups.
Add discreet ventilation with humidity-controlled extract in wet areas, routing ducts through cupboards, not cornices.
For lighting, use warm LEDs in period-appropriate fittings and dimmers to preserve shadow and depth.
Every change should read as original, delivering aesthetic harmony without sacrificing performance.
Conclusion
When you step back, you don’t just see “repairs”—you sense the house holding its breath. You’ve surveyed every moulding, chosen repair over replacement, and navigated permissions without losing momentum. You’ve spliced joinery, eased sash cords, and kept cornices, skirting, and architraves true to their profiles. Fireplaces glow again, lime plaster quietly breathes, and modern comfort slips in unseen. Then comes the reveal: Georgian elegance, intact—and unmistakably yours.
About the Author



