
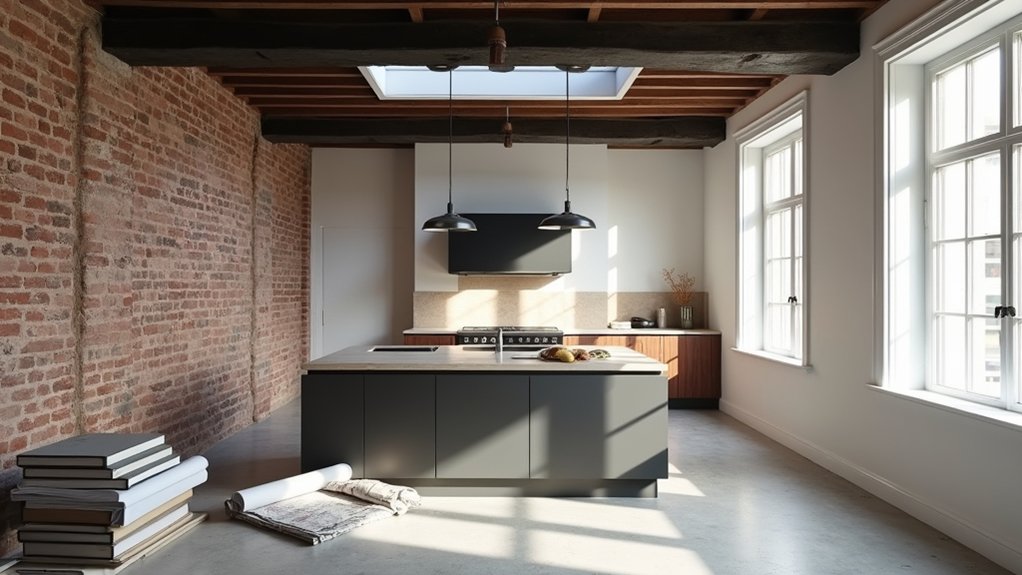
You’re working with ornate Victorian charm and modern expectations for light and comfort. Start by commissioning a structural survey so you don’t waste money on a loft that can’t meet minimum head height, loading, fire escape, or insulation targets under Building Regulations. Then you’ll map stairs, storage, and eaves before choosing roof windows or dormers that boost daylight without triggering avoidable planning hurdles. Get these early calls wrong, and everything else gets pricier…
Key Takeaways
- Start with a structural survey and headroom check, then confirm planning, party wall, and Building Control requirements before designing anything.
- Fix the layout early: place compliant stairs where headroom works, align with existing hallways, and build storage into eaves and knee walls.
- Maximise daylight using well-positioned rooflights, light wells, or a rear dormer where allowed, coordinating openings around rafters and purlins.
- Insulate and ventilate properly: meet target U-values, add a continuous vapour control layer, ensure airtightness, and maintain required ventilation gaps to prevent damp.
- Choose modern finishes that suit Victorian character: breathable paints, durable flooring with acoustic underlay, and period-appropriate joinery while meeting fire and moisture performance rules.
Confirm Loft Conversion Feasibility (Structure, Height, Regs)
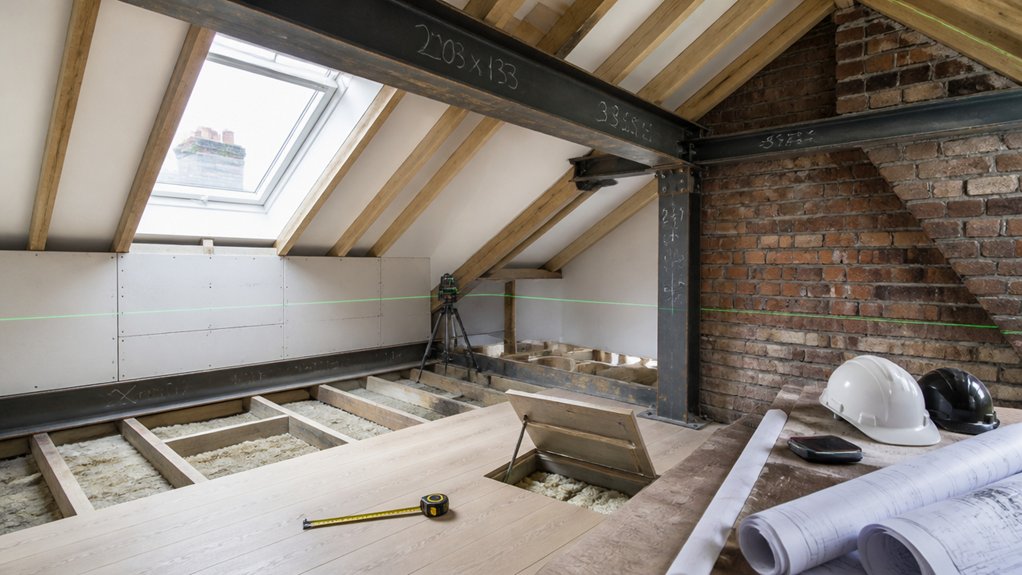
Before you fall in love with skylights and whitewashed beams, confirm your Victorian loft can legally and safely take the conversion. Start with a structural survey: check rafter size, spacing, ridge condition, and any historic alterations.
Verify clear head height; many councils expect around 2.0–2.2 m over key circulation, and you’ll need workable pitch and floor buildup. Price early engineering advice, because strengthening joists or adding steel can erase your budget fast.
Then map the regulatory route: permitted development limits, conservation-area constraints, party wall notices, and building-control sign-off for fire, insulation, and sound.
Make sure upgrades don’t strip Victorian charm while delivering modern amenities, safely, and compliantly.
Plan the Victorian Loft Layout (Stairs, Storage, Eaves)
Once you’ve confirmed the structure and regs stack up, lock in a layout that makes the loft feel like a real floor—not a cramped add-on—by prioritising stair position, storage lines, and eaves strategy early.
Put the stairs where you can steal headroom from the ridge, keep the run straight if possible, and meet minimum pitch, width, and handrail rules without costly rework. Align the stair opening with existing hallways to protect Victorian detailing below and keep budgets sane.
Then draw “storage lines” along the low zones: build wardrobes, drawers, and access hatches into the knee walls so you don’t waste usable floor.
Treat eaves as serviced voids too—plan insulation depth, ventilation paths, and fire-stopping—so Loft aesthetics stay clean and compliant.
Add Daylight With Roof Windows, Dormers, and Light Wells
Because Victorian lofts often suffer from deep floorplates and low eaves, you’ll get the biggest “modern” lift per pound by engineering daylight in early—then sizing openings to planning limits, structural needs, and Part L heat-loss rules.
Start with roof window placement: align units over stair runs, landings, and desk zones, keeping heads clear of purlins and valleys. You’ll often sidestep planning with flush rooflights, but check conservation areas and minimum set-backs from party walls.
If you need more headroom and views, price a rear dormer, then confirm ridge height, overlooking constraints, and fire-escape window requirements where applicable.
Nail light well design by splaying reveals to bounce light, keeping trims simple, and coordinating with rafters so you don’t pay for extra steelworks.
Insulate and Ventilate to Avoid Heat Loss and Damp
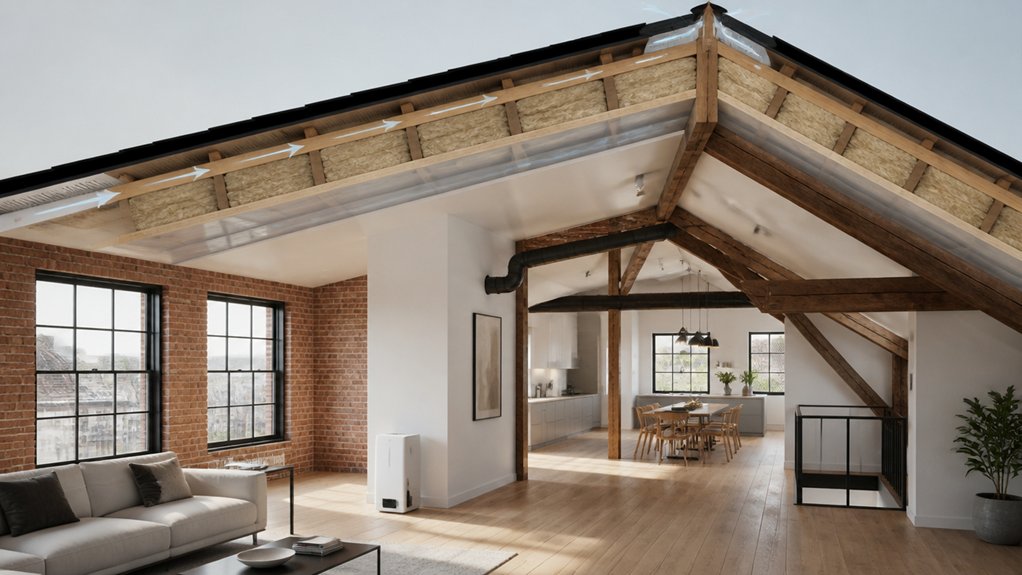
Although a Victorian loft conversion can look airtight and “finished” on day one, it’ll hemorrhage heat and grow damp fast if you don’t pair high-performing insulation with a planned ventilation path that satisfies Part L and Part F.
Start by confirming your target U-values and choosing thermal insulation that fits the roof build-up: rigid PIR between and under rafters, or mineral wool with an insulated plasterboard layer, while maintaining a continuous vapour control layer. Tape every joint to stop warm, moist air reaching cold timbers.
Budget smart: spend on airtightness details before premium boards. Then design ventilation systems to match your new airtightness—background trickle vents, continuous mechanical extract to wet zones, or MVHR if you’ve sealed thoroughly.
Keep a 50mm ventilation gap where required by design to protect rafters.
Pick Modern Finishes That Still Suit Victorian Details
If you choose modern finishes with the loft’s original proportions and trim in mind, you’ll get a crisp, bright space that still reads “Victorian” instead of a generic new-build. Keep Victorian detailing legible by pairing it with Modern materials that don’t fight the mouldings or window reveals. Aim for durable, easy-to-clean surfaces, but check fire ratings and moisture performance for loft conditions and Building Control.
- Paint: use matte mineral paint on plaster for breathability; pick warm whites that flatter cornices.
- Floors: choose engineered oak or LVT with an acoustic underlay to meet sound regs and save on leveling.
- Joinery/metal: specify slim blackened steel, simple shaker doors, and period-profile skirting—standard sizes cut costs while keeping lines correct.
Conclusion
You’ve now got a clear route from dusty rafters to a bright, modern Victorian loft. Start with a structural survey and head-height checks, then design stairs, storage, and eaves so every pound earns its place. Bring in daylight with well-sized roof windows or compliant dormers, and don’t skip insulation and ventilation to meet regs and stop damp. Finish with breathable paints and period-friendly fixtures—like letting your home inhale sunlight again.
About the Author



