
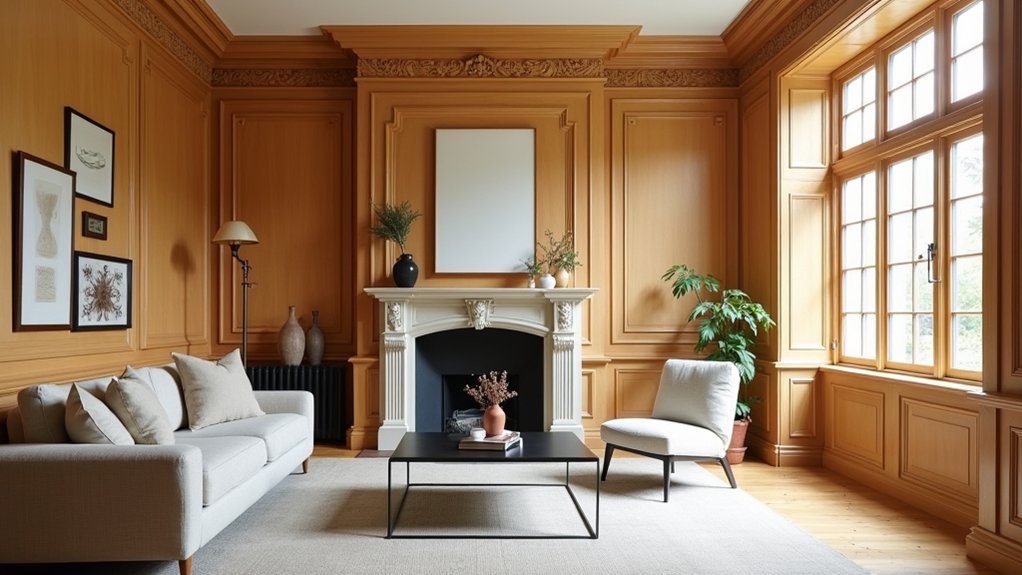
You’re inheriting a few “well‑loved” layers of gloss and filler, and it’s up to you to decide what stays. You start by mapping which Edwardian trim is original, then choose a lead‑safe stripper that won’t soften sharp beads and ogees. You’ll reglue loose blocks, patch splits with compatible filler, and sand just enough to keep patina while staying on budget. But the real shift happens when you choose stain versus paint and set the lighting to catch every rail…
Key Takeaways
- Survey and document original trim profiles, then repair loose joinery, sprung mitres, and splits to preserve authentic Edwardian details.
- Test for lead, seal the room, and strip paint using chemical gels or infrared heat to protect crisp moulding edges.
- Clean, neutralize, and lightly sand with the grain, keeping pressure low to avoid rounding delicate profiles and corners.
- Choose period-sympathetic colors and finishes—muted walls, lighter ceilings, and warm off-white trim—to balance heritage woodwork with modern style.
- Use warm, dimmable lighting and subtle accent sources to highlight arches, picture rails, and skirtings while keeping furniture slightly off trim.
Decide What Original Trim to Keep
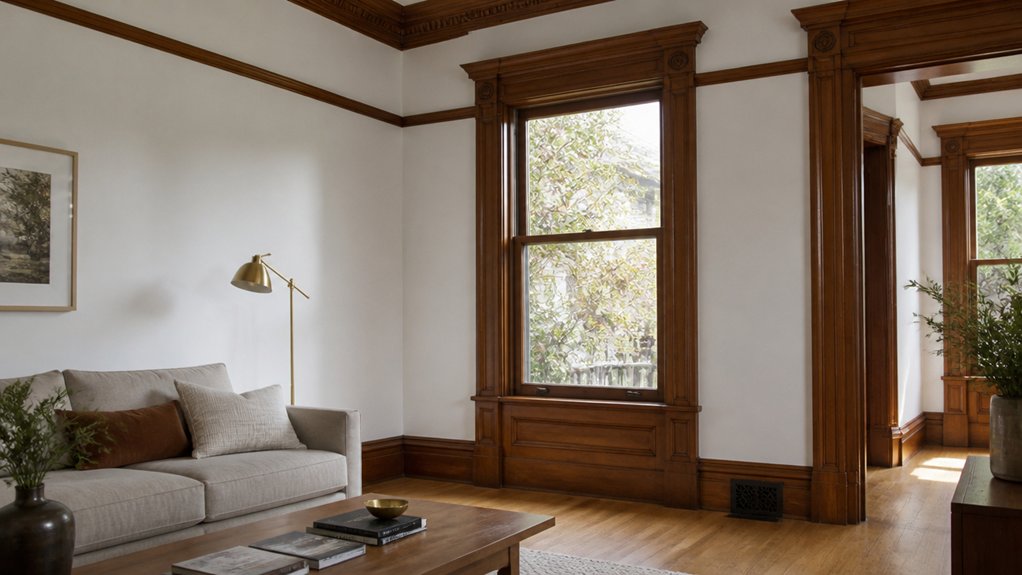
Before you pick up a pry bar, walk each room and decide which Edwardian trim still does its job—and which pieces you can afford to lose. Photograph profiles, measure widths, and label corners so you can reinstall accurately.
Prioritize casings that hide plaster cracks, baseboards that protect walls from vacuums, and picture rails that support modern hanging systems without new holes.
For Historical accuracy, keep distinctive elements: backbanded door surrounds, reeded or ovolo mouldings, and original plinth blocks.
If budgets bite, let go of duplicate or heavily patched runs in closets and secondary halls, but save one intact sample for matching.
Practice Material preservation by removing only what blocks wiring or insulation upgrades, and store pieces flat, dry, and tagged.
Pick a Paint-Stripping Method (Lead-Safe)
Before you strip a century’s worth of paint off Edwardian trim, you’ll test for lead and set up tight containment—plastic sheeting, taped seams, and a HEPA vac—so dust doesn’t spread through the house.
Then you’ll choose between a budget-friendly chemical stripper that keeps profiles crisp and an infrared heater that softens layers with less dust, weighing cost, speed, and ventilation needs.
Finally, you’ll follow strict cleanup and disposal protocols, bagging chips and slurry, wet-wiping surfaces, and handling waste per local rules so the restoration stays both authentic and safe.
Lead Testing And Containment
Although Edwardian joinery often hides under a century of paint, you can’t choose a stripping method until you’ve tested for lead and planned containment, because the cheapest “quick scrape” can turn into a costly cleanup—or a health hazard.
Start with an EPA‑recognized swab test on each paint color layer and on dust-prone edges; if results are positive or uncertain, assume lead contamination.
Budget for disposable coveralls, nitrile gloves, P100 respirators, and painter’s tape—it’s cheaper than remediation.
Seal the room: poly sheeting on floors, taped seams, and a zipper doorway. Turn off forced-air heating, cover vents, and keep pets and kids out.
Work wet when you can, collect chips onto plastic, and HEPA‑vacuum before you fold sheeting inward and bag everything.
Chemical Vs Infrared Stripping
Once you’ve confirmed lead and sealed the space, you can choose between chemical stripper and infrared heat—and the safest, cheapest option depends on your Edwardian woodwork’s details.
For crisp beads, reeded casings, and carved plinth blocks, Chemical stripping lets you keep profiles sharp without abrasive scraping. Choose a low‑odor, lead‑rated paste, work in small sections, and use plastic scrapers so you don’t gouge soft pine or oak veneer.
Infrared removal suits broad architraves, flat doors, and thick, alligatored enamel common after 1901; it softens layers quickly and reduces airborne dust compared with sanding. Keep the tool moving, shield glass and glue lines, and watch for resin bleed on old knots.
Budget-wise, stripper costs less upfront; infrared saves time on big runs.
Cleanup And Disposal Protocols
Chemical paste or infrared heat will get the paint off, but your job isn’t finished until you’ve contained the mess the way an Edwardian joiner’s shop steward would’ve insisted—neat, controlled, and accounted for. Treat every flake as lead until proven otherwise, and plan your Safety precautions before you start stripping.
- Lay taped polythene like a taut drop-cloth, with a “dirty” edge folded up to trap scrapings.
- Keep a lidded metal tin for softened sludge, used pads, and bagged dust wipes.
- Set a bucket-and-sponge station for damp-wiping tools, skirting, and your boots.
Vacuum only with a HEPA unit; sweeping just redistributes grit. Double-bag waste, label it, and follow your council’s hazardous pickup rules to limit environmental impact. Reuse sheeting when clean; it saves money.
Strip Paint Without Damaging Profiles
If you want to preserve crisp Edwardian beads, ogees, and chamfers, you’ll need to strip paint with restraint rather than brute force. Start with a test patch: many Edwardian trims carry multiple eras of paint, so choose the mildest method that works for historical accuracy and your budget.
Use a low‑odor solvent gel or alkaline paste, keep it off adjacent plaster, and let chemistry do the lifting. Scrape with a sharp carbide pull scraper held flat; switch to dental picks and shaped card scrapers for tight quirks.
Avoid heat guns on profiles—they round edges and can drive paint into grain. Neutralise residues, then rinse lightly and dry fast.
Finish by sanding only with folded paper, then apply polish techniques to reveal the original geometry.
Fix Loose Trim, Cracks, and Missing Bits
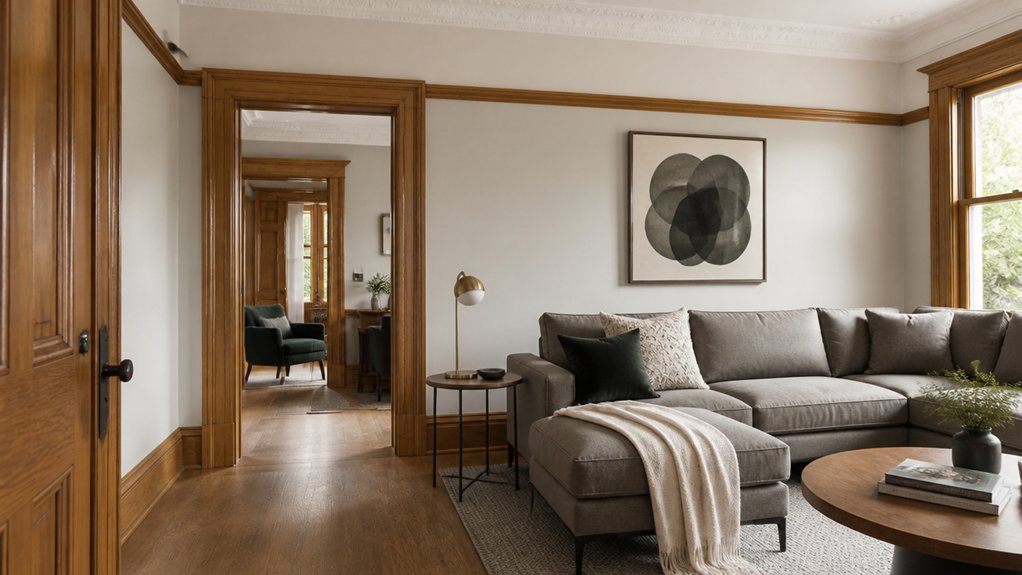
Freshly stripped profiles tend to reveal what paint was hiding: sprung mitres, hairline splits along the grain, and beads knocked flat by a century of knocks and over‑nailing. You’ll get better Historical accuracy if you re‑secure what’s there before you replace anything.
- A cornice corner that opens like a book: pull it tight with a clamp, then pin with fine brads into sound timber.
- A split architrave: wick in hide glue or PVA, close it, and clean squeeze‑out immediately.
- A missing ogee nib: splice in matching reclaimed pine, align the grain, and pare to the profile.
For Decorative accents, salvage original rosettes and plinth blocks; reglue, then use tinted wax or shellac sticks to disguise nail holes without costly full replacements.
Sand and Clean for a Smooth Finish
Once you’ve tightened joints and filled losses, sand with a light hand so you keep the crisp Edwardian arrises that modern power‑sanding loves to round over. Start with 120–150 grit on blocks, following the grain on stiles, rails, and beading; step to 180 only where repairs feather in.
Keep profiles sharp by wrapping paper around a cork or offcut shaped to the moulding, not your fingertips.
For true Surface preparation, vacuum first, then brush out corners with a dry paintbrush. Wipe with a barely damp microfiber to lift soot and sanding bloom, and let it dry fully before you proceed.
If you hit old wax or greasy hand marks, spot‑clean with sugar soap solution, rinse, and dry. These finishing techniques cost little, yet they prevent fisheyes, nibs, and patchy adhesion later.
Choose Paint vs Stain for Edwardian Woodwork
Although Edwardian joinery often arrived with a painted finish in halls and stairwells and a stained or varnished one in parlours, you don’t need guesswork—let the wood and the room’s history steer the choice. If your trim is softwood with patched knots, paint hides repairs and keeps costs down; if it’s oak or mahogany, stain shows off rays and grain you’ve just uncovered. Test with methylated spirits to spot old shellac, and sample under a switch plate before committing to Color palettes.
Prioritise Finish durability where hands and hoovers hit: skirting, door edges, stair rails.
- Milk paint over crisp beadwork, matte and calm
- Warm stain catching medullary fleck in afternoon light
- Varnish sealing a handrail’s satin glow against scuffs
Pick Modern Colors That Suit Period Trim
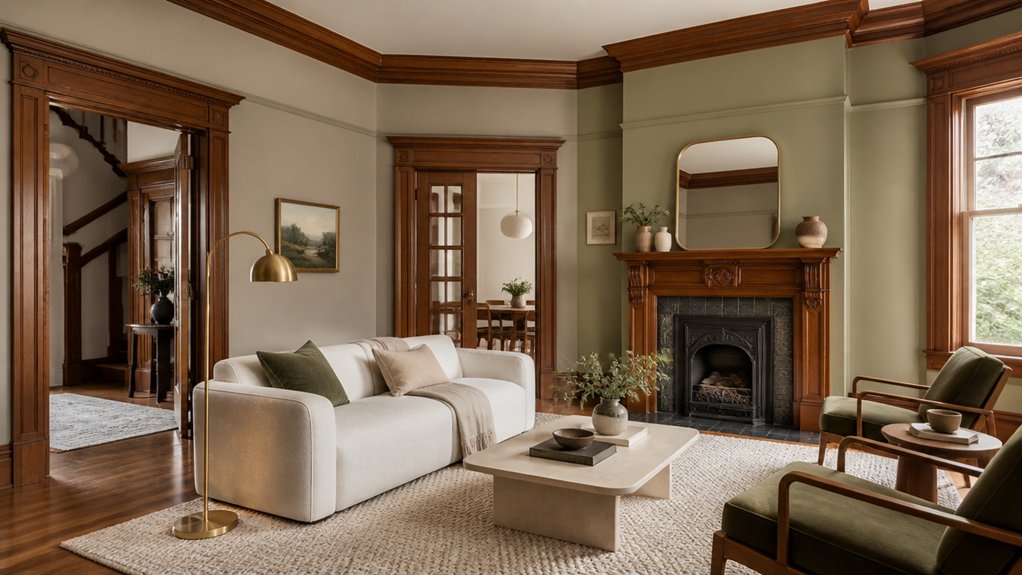
If you want Edwardian trim to feel right without freezing your rooms in 1905, start by matching modern paint to the woodwork’s profile and the light it lives in. Deep skirtings and picture rails read crisp with softly muted walls—think stone, putty, celadon, or smoke-blue—rather than stark white.
For Period authenticity, borrow from early-20th-century Color palettes: warm neutrals, mineral greens, inky blues, and oxblood accents. Keep ceilings a shade lighter than walls to preserve height without shouting “heritage.”
If your wood is stained, choose wall colors with similar undertones (gold with gold, red with red) so the grain looks intentional. If you’re painting trim, use an off-white with a hint of umber to avoid a plasticky contrast.
Buy tester pots first.
Use Lighting to Accent Arches and Rails
Modern paint can flatter Edwardian profiles, but lighting makes arches, picture rails, and deep skirtings read like architecture rather than background trim. Start with ambient illumination: a warm ceiling pendant or discreet flush fitting echoes early‑1900s proportions without over-bright glare.
Then add accent lighting to skim mouldings and pull out shadow lines your eye expects in period rooms.
- Place a slim uplighter near the arch to wash the curve and show its depth.
- Tuck LED strip above the picture rail so the wall glows while the rail crisps in silhouette.
- Aim a small adjustable wall light across skirtings to reveal the stepped profile, not the carpet.
Choose 2700K lamps and dimmers; they’re cheap, reversible, and keep the room feeling lived-in, not museum-lit.
Style and Maintain Woodwork the Easy Way
Once you’ve brought out Edwardian mouldings with light, keep them looking sharp with a few period-appropriate styling choices and low-effort maintenance habits.
Choose matte or eggshell paint in heritage shades so profiles read crisply without looking plastic. Anchor the room with a simple rug and set furniture a few inches off skirting boards to prevent scuffs and show the joinery.
If you’re doing furniture restoration, match wood tones to existing trim rather than chasing a full “set.” For upkeep, dust with a soft brush attachment, then wipe with barely damp microfiber; standing water lifts old shellac.
Treat dents with steam and a cloth before you reach for filler. Finally, log any cracks or loose mitres—small, timely fixes are the cheapest form of historic preservation.
Conclusion
You’ve brought your Edwardian trim back to life without blowing your budget or sanding off its history. By keeping the best original pieces, stripping paint safely, and repairing profiles instead of replacing them, you’ve preserved craftsmanship that new millwork can’t match. Whether you chose stain or a period‑friendly paint, your modern palette now reads intentional—not trendy. Add warm, directional lighting, and the rails and arches do the work. Remember: measure twice, cut once.
About the Author



