
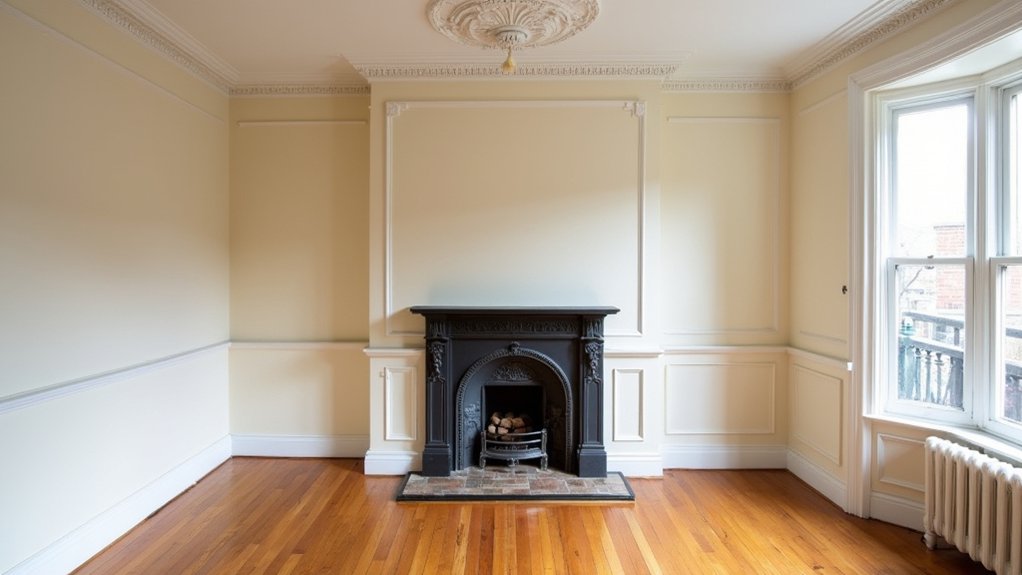
Sooty tiles catch the morning light, while hairline cracks run through cornices and floorboards whisper underfoot. You start with a careful survey for damp, movement, and past “improvements,” then decide what you can save, what you can repair, and what you must replace on a sensible budget. You keep acids off original stone, patch with lime and reclaimed timber, and check the chimney before you touch the grate—but one hidden fault can change your whole plan.
Key Takeaways
- Survey every room, map damp and cracks, photograph changes, and identify original lime plaster, softwoods, and hearth materials before disturbing anything.
- Decide what to save, repair, or replace, prioritising sound original fabric and using reversible, period-appropriate methods like splicing timber and lime repairs.
- Restore fireplaces safely by sweeping and camera-scanning flues, testing draw, checking flashings, fitting liners if needed, and installing a carbon monoxide alarm.
- Match and repair mouldings by gauging profiles, copying grain and tool marks, dry-fitting, then fixing with hide glue; cast missing cornice sections from silicone moulds.
- Repair Victorian floors by lifting boards, stopping squeaks, patching with reclaimed pine, scraping and sanding lightly, then finishing with breathable oils or waxes and spot-recoating lanes.
Survey Your Victorian Terrace: Damp, Cracks, Alterations
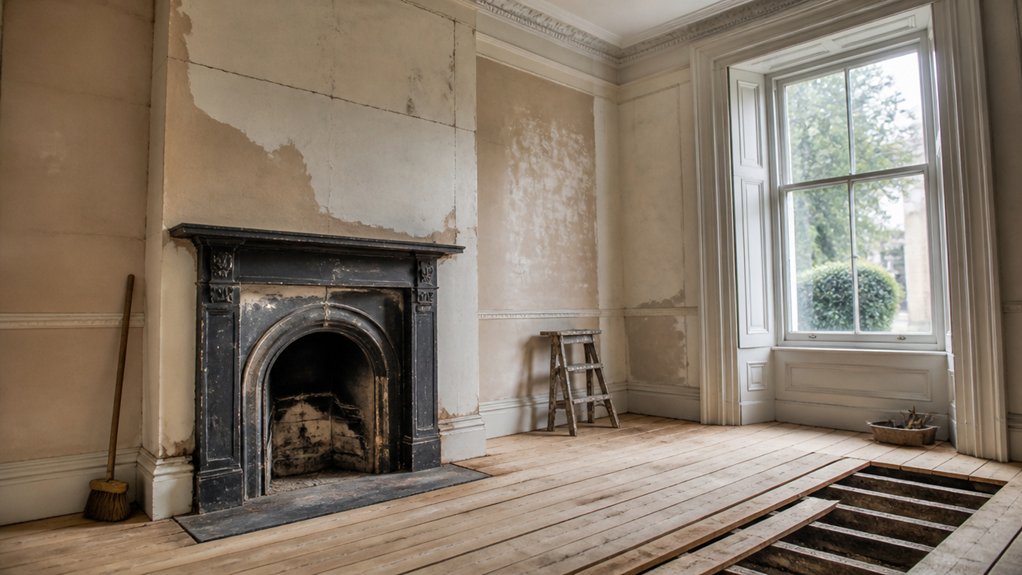
Before you lift a scraper or order paint, walk your Victorian terrace room by room and note what the building’s telling you—damp tide marks on chimney breasts, hairline plaster cracks over door heads, and any “modernised” shortcuts like cement render, sealed fireplaces, or missing cornices.
Map everything on a simple floor plan and date-stamp photos so you can track movement and moisture over weeks, not guesses.
Check skirtings with a bradawl, sniff for sooty drafts at blocked flues, and look for salts blooming through paint near party walls.
Outside, follow gutter runs and downpipes to see where water’s dumping.
For Historical accuracy, identify original lime plaster, softwoods, and slate hearths before you disturb them.
For Material sourcing, note profiles, widths, and timber species you’ll need to match.
Set Priorities: Save, Repair, or Replace Originals
Once you’ve mapped what’s wrong, sort every original element—plaster, joinery, sash windows, floorboards, fireplaces—into three buckets: save, repair, or replace, and let condition (not cosmetics) drive the call.
You’ll protect Historical accuracy by keeping sound fabric, even if it’s ugly under paint, and you’ll spend smarter by fixing defects before chasing finishes. Use preservation techniques that match the era: lime over gypsum, splices over wholesale renewal, and reversible fixes where possible.
- Save: intact profiles, tight joints, minimal rot; strip carefully, consolidate, and recoat.
- Repair: cracked cornices, loose skirtings, worn treads; patch, scarf, and pin with like-for-like timber.
- Replace: missing sections, failed past repairs, severe decay; copy mouldings, match widths, and date-stamp new work.
- Sequence: stabilise first, then cosmetic work, so your budget doesn’t vanish twice.
Check Victorian Fireplaces and Chimneys for Safety First
Although a Victorian fireplace looks like a ready-made focal point, you’ve got to treat it as a safety system—hearth, surround, firebox, flue, and chimney stack—and check it top to bottom before you light anything.
Start with chimney safety: book a sweep who can camera-scan the flue, then confirm the pot, flashing, and mortar joints aren’t letting water in.
Inside, look for sulphur staining, crumbling parging, loose bricks, and a cracked hearth that could transfer heat to joists.
Test the draw with a smoke pellet and check for blocked vents; solid-fuel fires need reliable fireplace ventilation and an external air path.
Fit a carbon monoxide alarm, and don’t skimp on a certified liner if the flue fails integrity tests.
Restore Victorian Fireplaces: Tiles, Grates, Surrounds
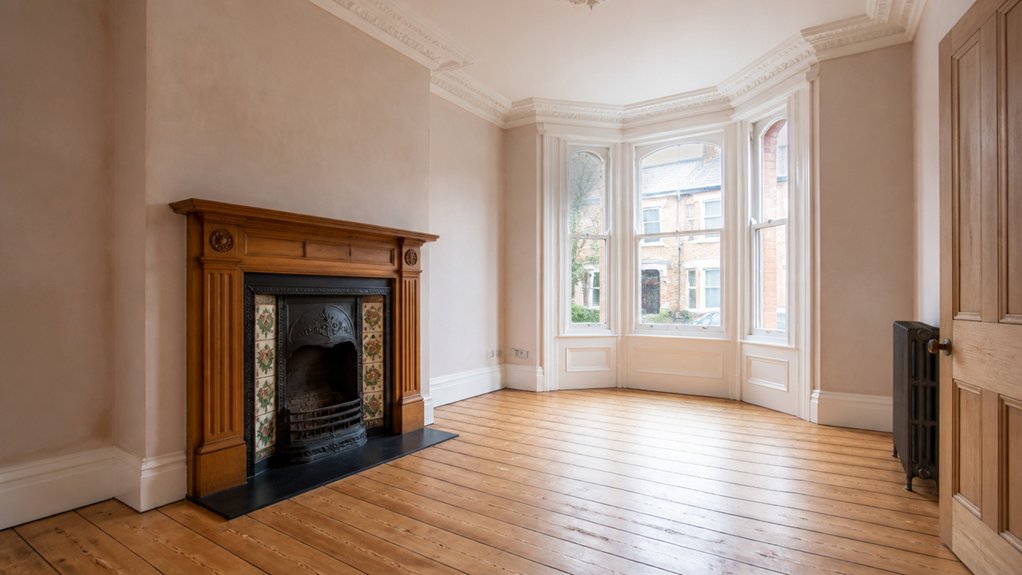
When the flue’s sound and you’ve sorted ventilation and alarms, you can turn to the visible parts that give a Victorian fireplace its character: the tile set, cast-iron grate, and surround.
Start with gentle dry brushing, then use warm water and non-ionic soap; avoid acids that etch glazes during Victorian tile restoration. Re-bed loose tiles with lime-based adhesive so moisture can move, and keep joints fine and tidy.
- Photograph the layout before lifting anything, so patterns go back true.
- Strip paint from iron with a poultice or low-odour gel, not a blowtorch.
- Wax or graphite-black the grate after rust removal for fireplace grate preservation.
- Patch chipped marble or slate with colour-matched epoxy, then hand-polish low sheen.
Repair Victorian Mouldings by Matching the Profile
Start by evaluating the existing moulding’s profile—ogee, cavetto, bead, and fillet—using a profile gauge or card template taken from an intact run. Then note the projection and spring lines so the new piece sits true.
You’ll save money and keep the period look by matching timber species and grain direction, then crafting short replacement sections with a router plane, moulding planes, or a custom knife rather than replacing the whole run.
Dry-fit, tweak the arrises, and only then fix with hide glue and fine pins so the joint disappears under paint or polish.
Assess Existing Moulding Profile
Before you buy new trim or mix any plaster, take a hard look at the moulding profile you’ve already got—because Victorian work varies wildly by room, year, and budget.
Start by cleaning back paint blobs and soot so the true arrises show, then study how light catches the decorative details: is it a crisp cyma recta, a softer ogee, or a deep undercut typical of later High Victorian work?
Measure depth and projection with calipers, and sketch a quick section so you don’t rely on memory.
- Photograph every run with a ruler for scale
- Note timber vs plaster and any lath lines
- Check corners for shrinkage gaps and earlier repairs
- Match sheen, paint layers, and tool marks to date changes
Craft Matching Replacement Sections
Although it’s tempting to grab the closest off-the-shelf ogee and call it “close enough,” Victorian mouldings telegraph every mismatch in shadow line, so you’ll get a cleaner, cheaper repair by fabricating a true profile match.
Use your profile gauge or card template to mark the section onto straight-grained pine (common in terraces) or lime plaster for cornice runs, keeping material matching faithful to what’s already there.
Mill the timber on a spindle moulder or router table with a custom cutter, then refine with scratch stock and sharp chisels—restoration techniques that preserve crisp arrises without over-sanding.
Dry-fit, check the light rakes across the face, then glue and pin with lost-head nails.
Finally, fill joints with compatible putty, not hard filler, so it moves like the original.
Replicate Missing Cornices and Trim With Accurate Moulds
When an original cornice run or window casing has vanished, you can still restore the room’s Victorian profile by taking an accurate mould from any surviving section and reproducing the missing lengths. You’ll start by cleaning the sound fragment, then capturing its Cornice detailing with a silicone rubber mould and a rigid mother mould to prevent distortion. Cast new pieces in lime plaster or fibre-reinforced plaster for crisp arrises, then offer them up, scribe to uneven walls, and pin with adhesive and lost-head nails.
- Choose the least-painted, least-chipped sample for sharper detail
- Mark the run direction so ogees and beads align
- Keep profiles consistent at corners with mitre templates
- Price per metre before casting to control Trim restoration costs
Refinish Victorian Floorboards and Use Breathable Finishes
Start by lifting a few boards to check joists, fix squeaks, and replace only the truly rotten planks with matching reclaimed pine to keep costs in check.
When you sand, use the lightest cut that levels ridges without erasing saw marks and nail shadows that give Victorian floors their honest patina.
Finish with breathable hardwax oil or traditional wax so moisture can move through the timber, then buff and spot-recoat instead of stripping the whole room later.
Assess And Repair Floorboards
Before you touch a sander, take time to assess your Victorian floorboards board by board, because the right repair saves money and preserves original fabric. Lift rugs, then listen for squeaks, flex, and hollow patches that signal loose joists or failed fixings. Mark damaged boards, photograph widths, and check gaps for seasonal floorboard expansion so you don’t “repair” natural movement.
- Probe for rot at chimney breasts, bay windows, and around old hearth infills.
- Re-seat loosened boards with traditional nail fastening techniques, not brittle screws.
- Add discreet noggins where edges bounce, keeping original joist layout.
- Patch with reclaimed pine of matching thickness, grain, and square edges.
Finish repairs by punching nails, filling sparingly, and re-lining gaps with draught strip only where needed.
Sanding For Period Patina
With loose boards re-seated and patches blended in, you can sand for a lived-in Victorian patina rather than a glass-flat new-build look.
Start with a sharp scraper on paint drips and soot marks, then use a drum or belt sander diagonally to level only the high ridges, not the whole face. Switch to the grain for your second pass, and finish with an edging sander and hand block around hearths and skirtings so you don’t dish the boards.
Choose 60–80 grit first, then 100; stop before the floor looks bleached. Vacuum between grits and tap out gaps for dust, keeping costs down and abrasives lasting longer.
Your goal is clean timber plus honest wear, not perfection.
Breathable Oils And Waxes
Why lock down Victorian boards under a plastic film when they were meant to breathe? After sanding, you’ll get a tougher, more honest floor by choosing Natural finishes: hardwax oil for daily wear, or a traditional beeswax/turpentine polish for quieter rooms. These breathable products sink in, flex with seasonal movement, and let old pine release moisture instead of blistering.
- Test a hidden board: oils can deepen amber tones fast
- Seal knots with shellac to stop resin bleed
- Work thin coats, buff between, and stop before it looks “new”
- Patch with reclaimed boards, then tint wax to blend repairs
You’ll spend less by spot-recoating traffic lanes, not stripping the whole room. Keep a rag bin lidded: oily cloths can self-heat.
Conclusion
You don’t need a limitless budget to bring your Victorian terrace back with integrity. If you’re worried restoration costs more than replacement, start by saving what’s sound: clean gently, patch with lime-based mixes, and splice in reclaimed timber only where boards truly fail. Check chimneys and hearths for safety first, then refit tiles and grates to original lines. Match moulding profiles with careful templates and simple silicone moulds, and finish floors with breathable oils.
About the Author



