
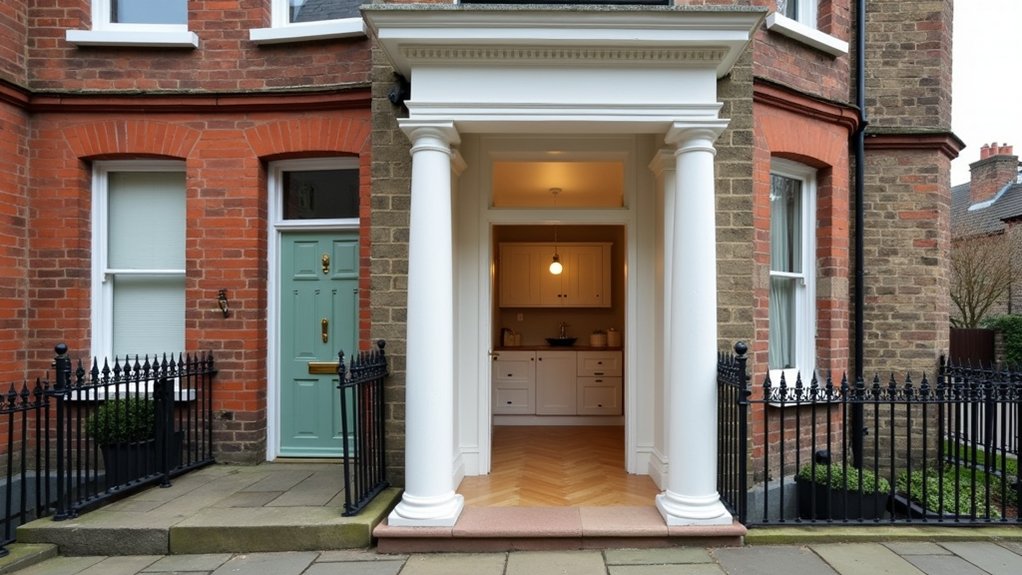
You’re about to juggle preservation and practicality, so you need a clear order of work. Start by deciding what stays (cornices, sash windows, fireplaces) and what changes for modern living, then check whether you’ll need Listed Building Consent, planning, or just Building Regs. Get surveys for damp, structure, and hidden services before you set a budget, because the worst costs sit behind plaster and floorboards. Next, you’ll tackle…
Key Takeaways
- Survey and document original features, then decide what to restore, repair, or change for daily function and circulation.
- Confirm conservation, listing, Building Regulations, and party wall requirements early, and schedule inspections and neighbour notices.
- Build a trade-by-trade budget including preliminaries, VAT, and 10–20% contingency for hidden defects like damp, rot, and old services.
- Fix moisture and ventilation first—gutters, ground levels, air bricks, subfloor airflow—then treat timbers and plan breathable insulation upgrades.
- Restore floors, plasterwork, and sash windows, then add modern-heritage finishes using warm dimmable lighting, period joinery, and sympathetic colours.
Decide What to Keep: and What to Change
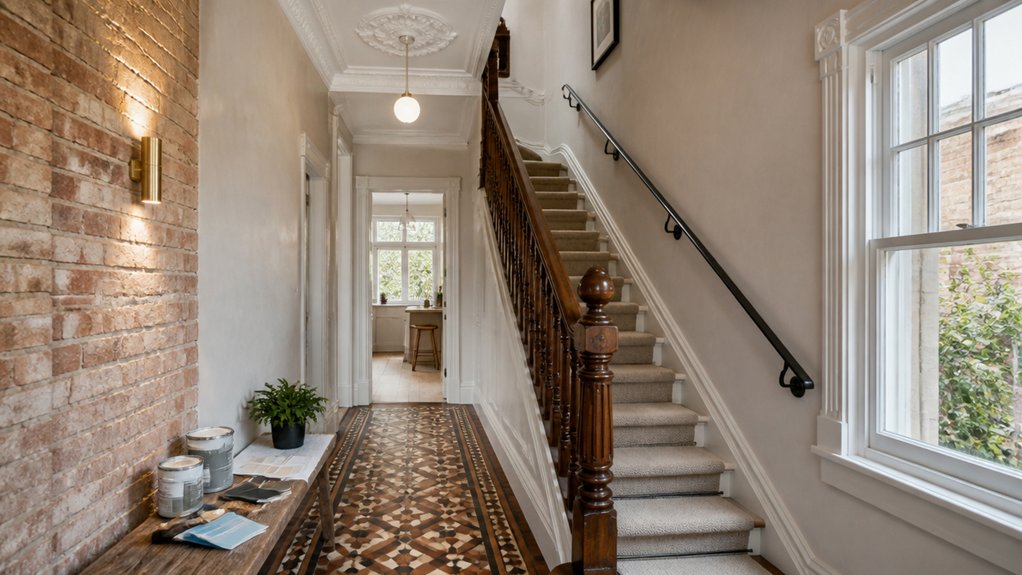
Before you touch a wall or order a skip, walk through the terrace and separate what’s worth preserving from what’s simply costing you comfort or efficiency.
List original features: cornices, ceiling roses, skirting, sash windows, floorboards, fireplaces, and any encaustic tiles.
Photograph everything, note condition, and price repairs using local trades.
Keep items that anchor the period and can be restored: refinish boards, strip architraves, overhaul sashes with draught-proofing.
Change what blocks daily use: poor lighting runs, awkward door swings, or boxed-in alcoves.
Test your plan with furniture arrangements: check circulation, sofa depths, and dining clearances.
Upgrade decorative accessories last, so finishes set the palette.
Choose reclaimed hardware, and match paints to Victorian tones.
Check What Permissions You Actually Need
Although Victorian terraces often sit in conservation areas or carry quirky historic alterations, you can’t assume every upgrade needs planning permission—so check the basics early. Start with your council’s online planning map, then ring duty planning to confirm what’s classed as permitted development on your street.
If you’re leasehold, your freeholder’s consent can bite before any building permits do. Keep records: emails, drawings, and photos support lawful development claims if neighbours object later. Also factor Building Regulations approval even where planning isn’t needed; enforcement is costly.
- Check conservation area status and any Article 4 Direction
- Confirm if it’s listed (inside and out both count)
- Review prior conditions attached to earlier consents
- Identify party wall notices and neighbour consultation triggers
- Ask Building Control about regs, inspections, and legal restrictions
Survey Damp, Structure, and Hidden Services
Once you’ve confirmed what you’re allowed to do, get a proper survey of damp, structure, and hidden services so you don’t design around guesswork. Book an RICS Home Survey Level 3 or a building surveyor used to Victorian terraces, and ask for a Damp assessment that separates condensation from penetrating and rising damp, checks sub-floor ventilation, and flags bridged DPCs, cement renders, and blocked gutters.
Then commission Structural analysis where needed: look for stepped cracking, bulging brickwork, failing lintels, altered chimney breasts, and undersized RSJs from past knock-throughs.
Finally, trace services: use a cable/pipe detector, lift a few boards, and map stop taps, soil stacks, gas runs, and old lead or iron pipework before you finalise layouts.
Build a Realistic Victorian Terrace Budget
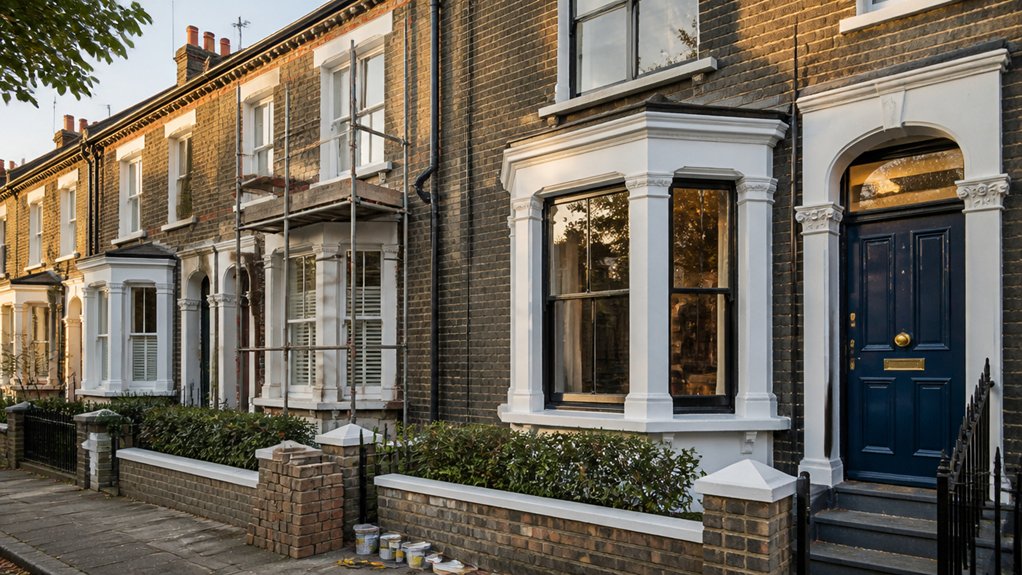
You’ll build a workable Victorian terrace budget by pricing each trade separately—brickwork and pointing, roofing and leadwork, carpentry and joinery, plastering, electrics, plumbing and heating, plus windows, kitchens, and bathrooms.
Then add prelims like scaffolding, skips, parking permits, and Building Control fees.
You’ll also set a contingency (often 10–20%) because damp repairs, rotten joists, chimney and party wall work, and rewires behind lath-and-plaster can surface once you open things up.
If you’re aiming for modern heritage styling, you’ll cost in the premium bits upfront—bespoke timber sash repairs, lime plaster, and period-appropriate ironmongery—so you don’t get hit by “hidden upgrades” mid-job.
Cost Breakdown By Trade
Before you lock in designs or pick finishes, break your Victorian terrace refurbishment budget down by trade, because that’s how UK quotes, labour rates, and VAT actually land in real life. Ask each contractor for a labour/material split, day rates, and whether they’re VAT‑registered, then map spend to your programme so you don’t double‑pay for prep or making good. Use Cost effective upgrades where they’re trade-led (not finish-led), and tighten Material sourcing so lead times don’t push labour.
- Strip-out and waste: skips, permits, labour, protection
- Structural and carpentry: joists, studwork, sash repairs
- Plumbing and heating: rads, cylinder/boiler, bathrooms
- Electrical: rewire, consumer unit, lighting circuits
- Plastering, joinery, decorating: skim, architraves, paint
You’ll spot the true drivers quickly.
Contingency And Hidden Costs
Even with a tight scope and fixed quotes, a Victorian terrace refurb can still throw up costs you can’t see until you open up floors, chase walls, or touch shared party walls.
Budget a contingency of 10–15% for light works, 15–20% if you’re moving kitchens/bathrooms or altering structure.
Common hidden items include rotten joist ends, damp behind gypsum, lead pipework, old wiring, chimney breast debris, and uneven floors needing levelling compound.
Allow for Building Control fees, structural engineer calcs, Party Wall surveyor time, skip permits, and scaffolding licences from the council.
Set aside cash for temporary protection, pest treatment, and making good in neighbours’ areas.
Contingency also covers unexpected expenses from site access issues, and project delays from material lead times or late inspections.
Fix Damp, Ventilation, and Timber Decay First
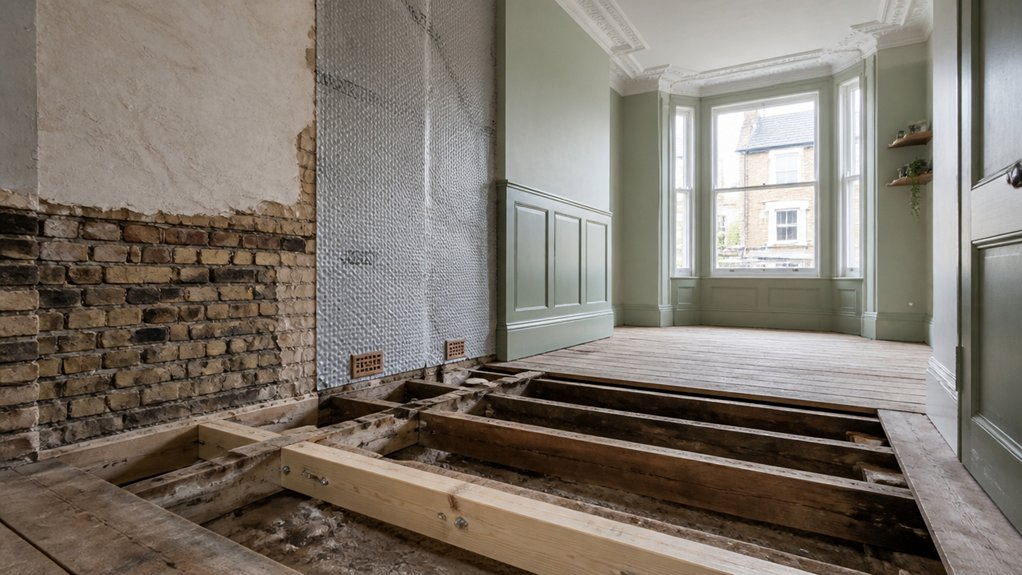
Because Victorian terraces breathe through their fabric, damp and stale air will undo any modern‑heritage upgrade unless you tackle the causes first: faulty rainwater goods, bridged DPCs, blocked air bricks, and poor sub‑floor airflow.
Start outside and work in, so you don’t trap moisture behind new finishes. Use compatible lime where needed, and treat decay as a building‑physics problem, not just cosmetic repair.
Prioritise timber preservation and practical ventilation strategies before plastering or joinery.
- Clear and test gutters, hoppers, and downpipes; fix leaks at joints.
- Lower external ground levels and remove render bridging the DPC.
- Unblock air bricks and add periscope vents where paths cover them.
- Improve sub‑floor cross‑ventilation; clear rubble; check sleeper walls.
- Survey joists for wet rot; splice repairs; apply boron treatment, not foam.
Plan a Terrace Layout That Respects Originals
Although you might want to open everything up, you’ll get a better result if you plan the layout around what the terrace already does well: a clear front‑to‑back room sequence, chimney breasts that anchor each bay, and original stair and party walls that carry load and control sound.
Keep those lines, then decide where you genuinely need permeability: often it’s between rear reception and kitchen, not across the whole ground floor.
Use structural engineer input before touching chimney breasts or trimming party walls; in Victorian architecture they stabilise floors and limit flank noise.
If you want a larger kitchen‑diner, push it to the side return with a modest opening, keeping a legible plan.
Check planning constraints and Heritage conservation expectations early, especially in conservation areas or listed terraces.
Restore Cornices, Roses, Floors, and Sash Windows
You’ll get the biggest heritage impact by repairing, not replacing, original cornices and ceiling roses—recasting missing sections in matching plaster and keeping crisp profiles.
You should lift and re-fix loose boards, splice in reclaimed timber where needed, then sand and finish with a hardwearing, low-sheen product that suits Victorian rooms.
On sash windows, you’ll overhaul pulleys, cords, and staff beads, fit draught-proofing, and upgrade glazing sensibly so you keep the proportions while meeting UK comfort and security expectations.
Cornices And Ceiling Roses
When you’re restoring a Victorian terrace, start overhead and work down: repair original cornices and ceiling roses, then move on to floors and sash windows so each trade doesn’t undo the last. Begin by checking for cracks, failed mitres, and previous overpainting that’s softened ornamentation details. If sections have come loose, inject adhesive and pin back, then make good with fine casting plaster.
For missing runs, take a silicone mould from an intact length and cast replacements; match profile and depth to your ceiling design. Strip cautiously with steam or alkaline paste, not aggressive sanding. Prime with a mist coat, then finish in a breathable, flat matt. Keep your electrician clear of roses until they’re cured.
- Photograph profiles
- Mark hairline movement
- Stabilise laths
- Recast damaged leaves
- Caulk lightly only
Restoring Floors And Sash Windows
Once the plasterwork’s sound and fully cured, shift to the parts that take daily wear: floors underfoot and sash windows on the external envelope.
For Floor restoration, lift carpets carefully, punch down protruding nails, and repair loose boards with matching reclaimed pine; keep original widths. Fill gaps with slivers, not mastic, then sand lightly to preserve patina. Finish with hardwax oil or traditional varnish, and add wool underlay to cut draughts without trapping moisture.
For sash window preservation, overhaul before replacing: splice rotten timber, renew staff and parting beads, and fit new sash cords and pulleys. Brush-strip discreetly, refit weights, and upgrade to slimline double glazing only where permitted by your council’s conservation guidance. Keep ironmongery, add key locks, and ensure smooth, balanced travel.
Blend Modern Heritage Style (Lighting, Colour, Joinery)
Although a Victorian terrace thrives on period detail, it still needs a modern layer of lighting, colour and joinery to feel practical for everyday UK living. You’ll get the balance right by selecting lighting fixtures that echo heritage forms yet perform to current standards.
By building disciplined colour palettes that link rooms without flattening original features, you can create a cohesive and lively interior. Keep joinery honest: clean lines, solid materials, and proportions that sit comfortably alongside skirting and architraves.
- Use warm LEDs (2700–3000K) with dimmers; add task lighting to kitchens and desks.
- Choose opal glass, aged brass, or black steel to reference gasoliers without pastiche.
- Set one consistent trim colour across the terrace to unify thresholds and stairs.
- Specify bespoke wardrobes that stop short of cornices and keep venting clear.
- Match new doors and panels to existing rail widths and bead profiles.
Choose Victorian-Appropriate Paints and Finishes
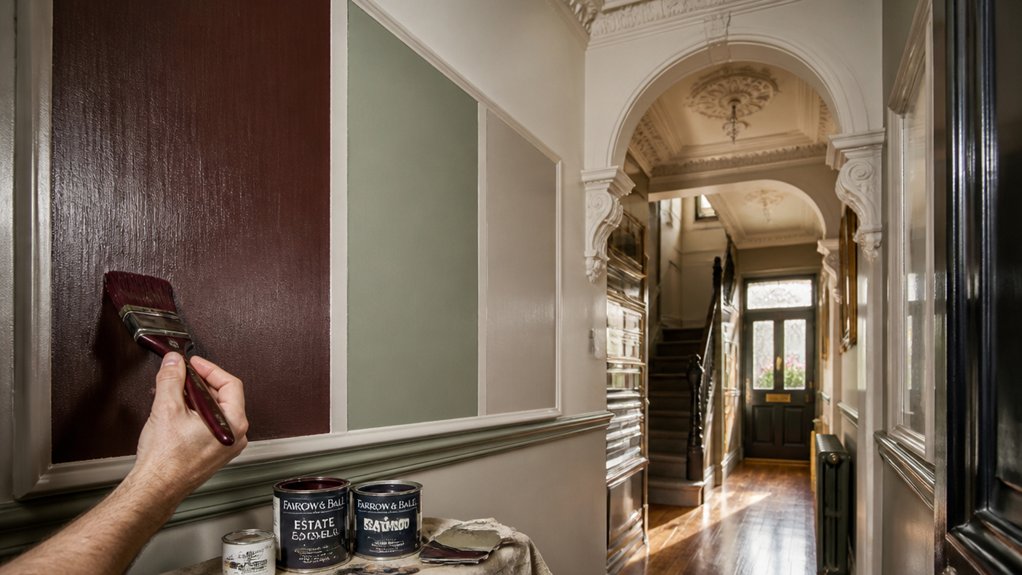
Get the lighting, colour palette and joinery working together, then lock the look in with paints and finishes that suit Victorian plaster, timber and the UK’s damp‑prone conditions.
Start with breathable systems: on solid walls and lime plaster, choose mineral or clay paints, or a quality permeable emulsion, so moisture can escape.
Keep gloss in check—use eggshell or satinwood on skirting, architraves and panelled doors for period sheen without plastic shine.
For Victorian color palettes, lean on muted ochres, earthy greens, inky blues and warm off‑whites; reserve stronger tones for hallways or stair spindles.
Prep properly: sugar‑soap, de‑nib, fill with flexible filler, and spot‑prime stains.
Finish with crisp cut‑lines and careful denibbing between coats.
Insulate and Heat a Victorian Terrace Safely
Because Victorian terraces rely on breathable solid walls and timber floors, you need insulation and heating upgrades that cut heat loss without trapping moisture or creating cold‑bridge mould.
Start by surveying damp, blocked air bricks, and leaky sash boxes, then plan thermal insulation that respects vapour movement and listed constraints.
- Fit woodfibre or lime‑based internal wall systems; avoid foil‑faced boards on solid brick.
- Lift floorboards, install sheep’s wool or woodfibre between joists, keep cross‑ventilation clear.
- Draught‑proof sashes and doors with brush seals; retain trickle ventilation.
- Upgrade loft insulation to 270mm mineral wool and insulate pipework in the eaves.
- Balance heating systems: size radiators properly, add TRVs, consider a modern condensing boiler or heat pump with weather compensation.
Finish by monitoring RH with a hygrometer and tuning airflow.
Conclusion
If you work methodically, you’ll end up with a terrace that feels authentic but lives like a modern home—so good it’s practically time travel. Keep the best original features, get the right consents (especially in conservation areas), and tackle damp, ventilation, and rotten timber before you spend on finishes. Restore cornices, floors, and sash windows, then add heritage‑style lighting, joinery, and colour. Insulate and heat carefully to avoid trapping moisture.
About the Author



